This tutorial is to show you how to send an email to the user using the Rule Engine.
- Use case
- Prerequisites
- Message flow
- Configure Rule Chains
- Modify Create/Clear Alarm & Send Email
- Post telemetry and verify
- See Also
- Next steps
Use case
In this tutorial we will implement the use case from the tutorial: create & clear alarms:
Let’s assume your device is using DHT22 sensor to collect and push temperature readings to ThingsBoard. DHT22 sensor is good for -40 to 80°C temperature readings.We want to generate Alarms if temperature is out of good range and send the email when the alarm was created.
In this tutorial we will configure ThingsBoard Rule Engine to:
-
Send an email to the user if the temperature was out of range, namely: less than -40 and more than 80 degrees.
-
Add current temperature to the email body using Script Transform node for saving current temperature in the Message Metadata.
Prerequisites
We assume you have completed the following guides and reviewed the articles listed below:
- Getting Started guide.
- Rule Engine Overview.
- Create & Clear alarms guide.
Message flow
In this section, we explain the purpose of each node in this tutorial:
- Node A: Transform Script node.
- This node will use for saving current temperature in the Message Metadata.
- Node B: To Email node.
- this node builds actual email from the configured template.
- Node C: Send Email node.
- this node will actually send email from the inbound message using system SMTP settings.
Configure Rule Chains
In this tutorial, we used Rule Chains from create & clear alarms tutorial.
We modified Rule Chain Create & Clear Alarms by adding nodes that was described above in the section Message flow
and renamed this rule chain to: Create/Clear Alarm & Send Email.
The following screenshots show how the above Rule Chains should look like:
- Create/Clear Alarm & Send Email:

- Root Rule Chain:

Download the attached json file for the Create/Clear Alarm & Send Email rule chain.
The following section shows you how to modify this rule chain from scratch.
Modify Create/Clear Alarm & Send Email
Adding the required nodes
In this rule chain, you will create 3 nodes as it will be explained in the following sections:
Node A: Transform Script
- Add the Transform Script node and place it after the Filter Script node with a relation type True and than connect it to Create Alarm node via relation Success.
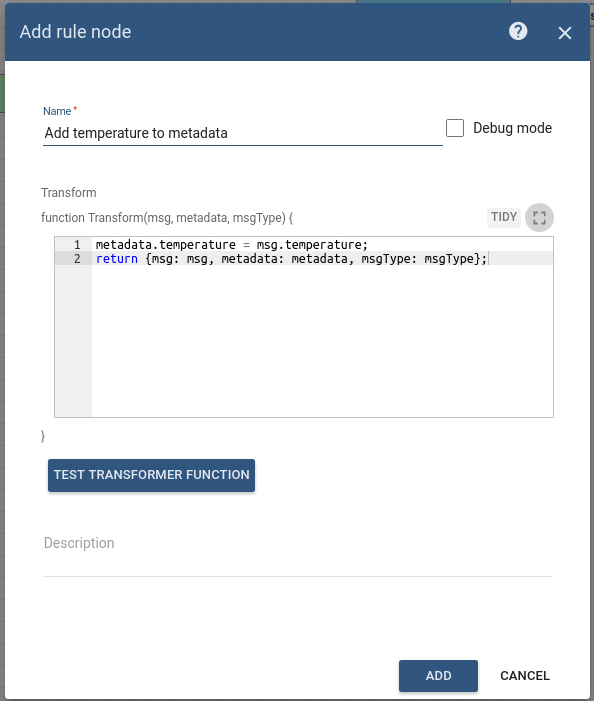
This node will use for saving current temperature from Message Data to the Message Metadata using the following script:
1
2
 metadata.temperature = msg.temperature;
 return {msg: msg, metadata: metadata, msgType: msgType};
- Enter the Name field as Add temperature to metadata.
Node B: To Email
-
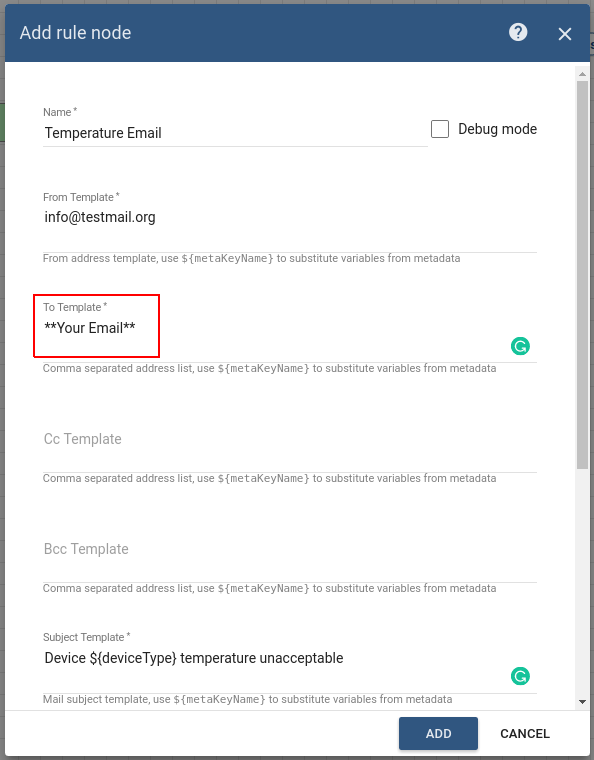
Add the To Email node and connect it to the Create Alarm node with a relation type Created.
This node does not send actual email it only construct email from configured template.
So you can use references to any fields that exist in Message Metadata. -
Fill in the fields with the input data shown in the following table:
Field Input Data Name Temperature Email From Template info@testmail.org To Template **Your Email** Subject Template Device ${deviceType} temperature unacceptable Body Template Device ${deviceName} has unacceptable temperature: ${temperature}
Node C: Send Email
-
Add the Send Email node and connect it to the To Email node with a relation type Success.
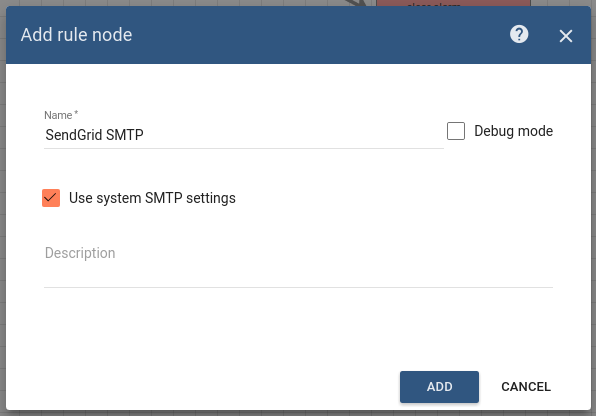
This node will actually send email from the inbound message using the system SMTP settings. -
Enter the Name field as SendGrid SMTP.
-
If you don’t have access the system administrator account you need make your own SMTP configuration for this node.
-
otherwise, mark a field Use system SMTP settings.
Please note that at Demo Server was already configured SendGrid provider as system SMTP.
The instructions of how to configure these settings will be explained in the section below.
Chain configuration is finished and we need to save it.
Configuring system SMTP settings
In this section, we explain to you how to configure system SMTP settings and try to send the test email:
-
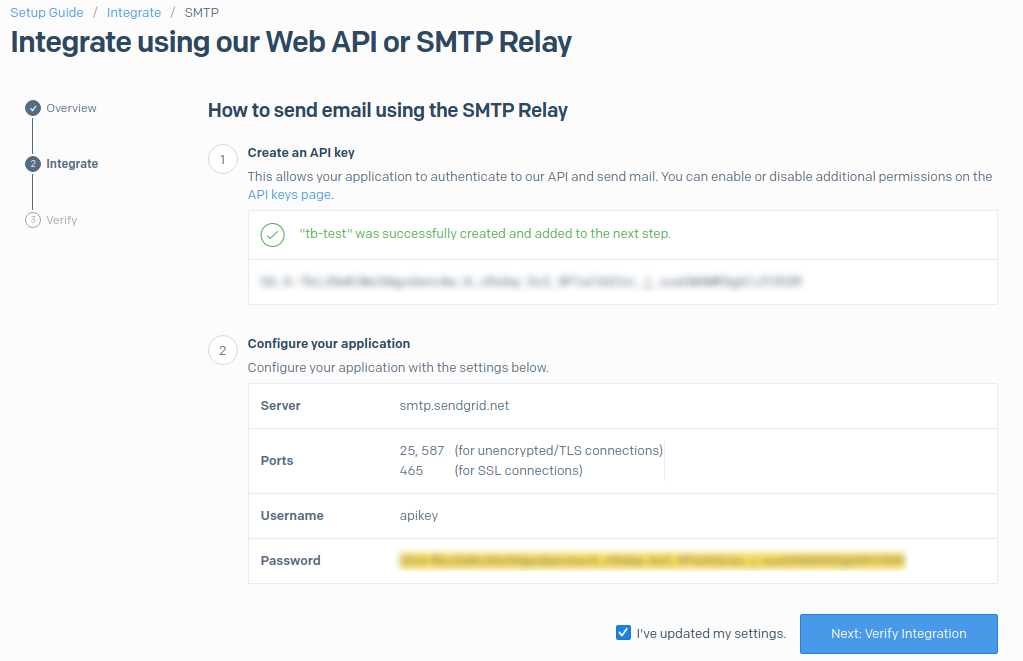
In the scope of this tutorial we will use SendGrid as SMTP provider and Thingsboard will send email using this provider. You can sign-up for trial using this link.
Once logged in into SendGrid open SMTP relay configuration page.
If you have permission to log in to ThingsBoard, with using system administrator account you can customize SMTP settings and send Test Email.
-
For the default system administrator account:
- login - sysadmin@thingsboard.org.
- password - sysadmin.
-
Go to System Settings -> Outgoing Mail and configure Outgoing Mail Settings as described in the following screenshot:
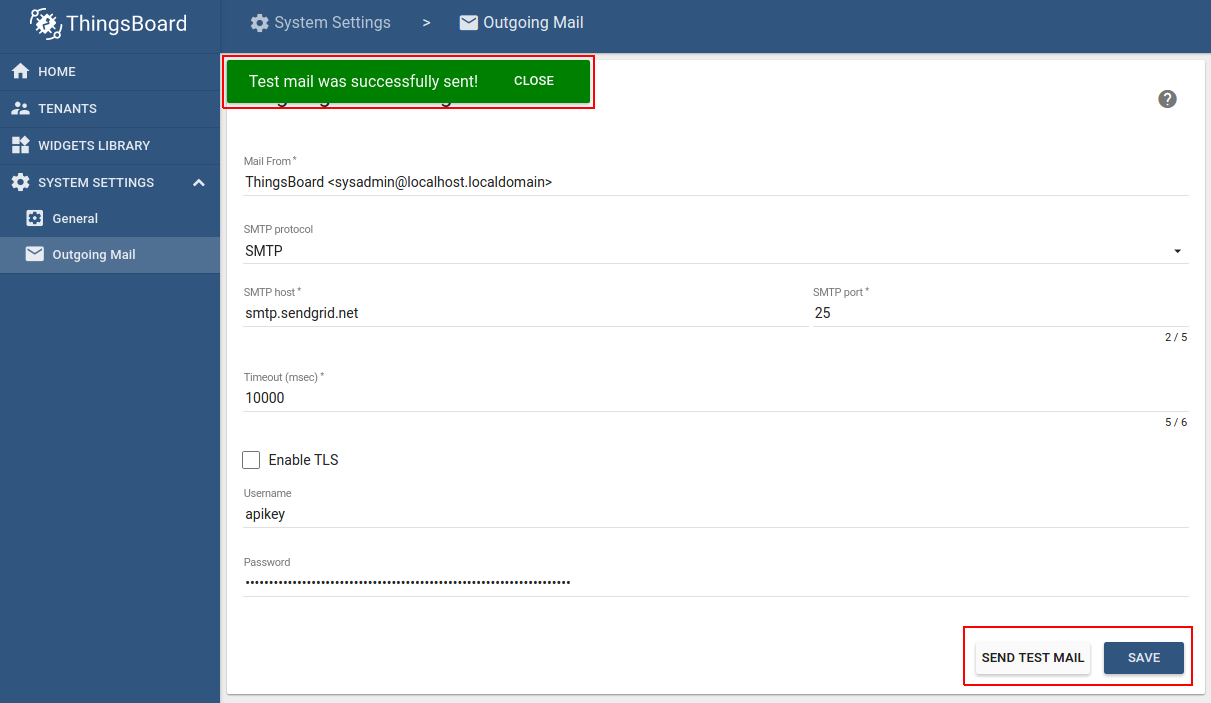
- Verify that you configure SMTP, by press button Send Test Email
If the System SMTP configure all right: you will see a pop-up message as shown in the screenshot above.
System SMTP settings configuration is finished. Don’t forget to press button Save.
If you can’t access to the account of the System administrator you could configured SMTP settings right in the node but you can’t be checked that email was successfully sent.
Post telemetry and verify
For posting device telemetry we will use the Rest APIs, Telemetry upload APIs. For this we will need to copy device access token from then device Thermostat Home.
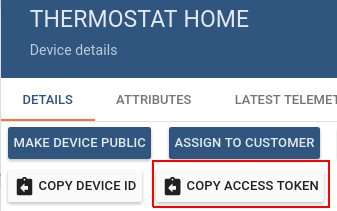
Lets post temperature = 180. Alarm should be created:
1
2
3
curl -v -X POST -d '{"temperature":180}' http://localhost:8080/api/v1/$ACCESS_TOKEN/telemetry --header "Content-Type:application/json"

**you need to replace $ACCESS_TOKEN with actual device token**
You should understand that message won’t be sent to the email when the alarm was updated, only in the case when alarm will be created.
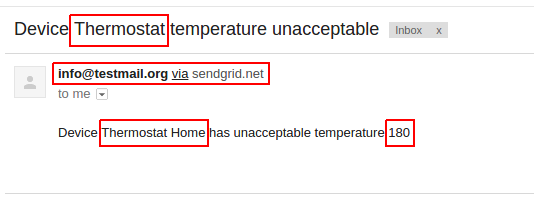
Finally we can see that email was received with correct values. (Please check your spam folder if you did not receive any email)
Also, you can see the more information about how to:
-
Send an email to the Customer of the Device.
-
Add additional data to the email body from the incoming message.
Please refer to the first link under the See Also section to see how to do this.
See Also
-
Send email to customer guide.
-
Create alarm with details guide.
Next steps
-
Getting started guides - These guides provide quick overview of main ThingsBoard features. Designed to be completed in 15-30 minutes.
-
Connect your device - Learn how to connect devices based on your connectivity technology or solution.
-
Data visualization - These guides contain instructions on how to configure complex ThingsBoard dashboards.
-
IoT Data analytics - Learn how to use rule engine to perform basic analytics tasks.
-
Advanced features - Learn about advanced ThingsBoard features.
-
Contribution and Development - Learn about contribution and development in ThingsBoard.