Overview
CoAP Integration allows to stream data from devices that use a CoAP protocol to connect to ThingsBoard and converts payloads of these devices into the ThingsBoard format.
Please review the integration diagram to learn more.
Prerequisites
In this tutorial, we will show you how CoAP integration works as part of tb-core service with NO SECURE security mode selected. In order to do this we will use:
-
The instance of ThingsBoard Professional Edition installed locally;
-
coap-client utility which is intended to simulate CoAP client that will connect to CoAP integration;
Let’s assume that we have a sensor which is sending current temperature and humidity readings. Our sensor device SN-001 publishes it’s temperature and humidity readings to CoAP Integration on coap://localhost URL.
For demo purposes we assume that our device is smart enough to send data in 3 different payload types:
- Text - in this case payload is:
1
SN-001,default,temperature,25.7,humidity,69
- JSON - in this case payload is:
1
2
3
4
5
6
{
  "deviceName": "SN-001",
  "deviceType": "default",
  "temperature": 25.7,
  "humidity": 69
}
- Binary - in this case, the payload looks like this (in HEX string):
1
\x53\x4e\x2d\x30\x30\x31\x64\x65\x66\x61\x75\x6c\x74\x32\x35\x2e\x37\x36\x39
Here is the description of the bytes in this payload:
- 0-5 bytes - \x53\x4e\x2d\x30\x30\x31 - device name. If we convert it to text - SN-001;
- 6-12 bytes - \x64\x65\x66\x61\x75\x6c\x74 - device type. If we convert it to text - default;
- 13-16 bytes - \x32\x35\x2e\x37 - temperature telemetry. If we convert it to text - 25.7;
- 17-18 bytes - \x36\x39 - humidity telemetry. If we convert it to text - 69;
You can use payload type based on your device capabilities and business cases.
Uplink Converter
Before setting up an CoAP integration, you need to create an Uplink Converter that is a script for parsing and transforming the data received by CoAP integration to format that ThingsBoard uses. deviceName and deviceType are required, while attributes and telemetry are optional. attributes and telemetry are flat key-value objects. Nested objects are not supported.
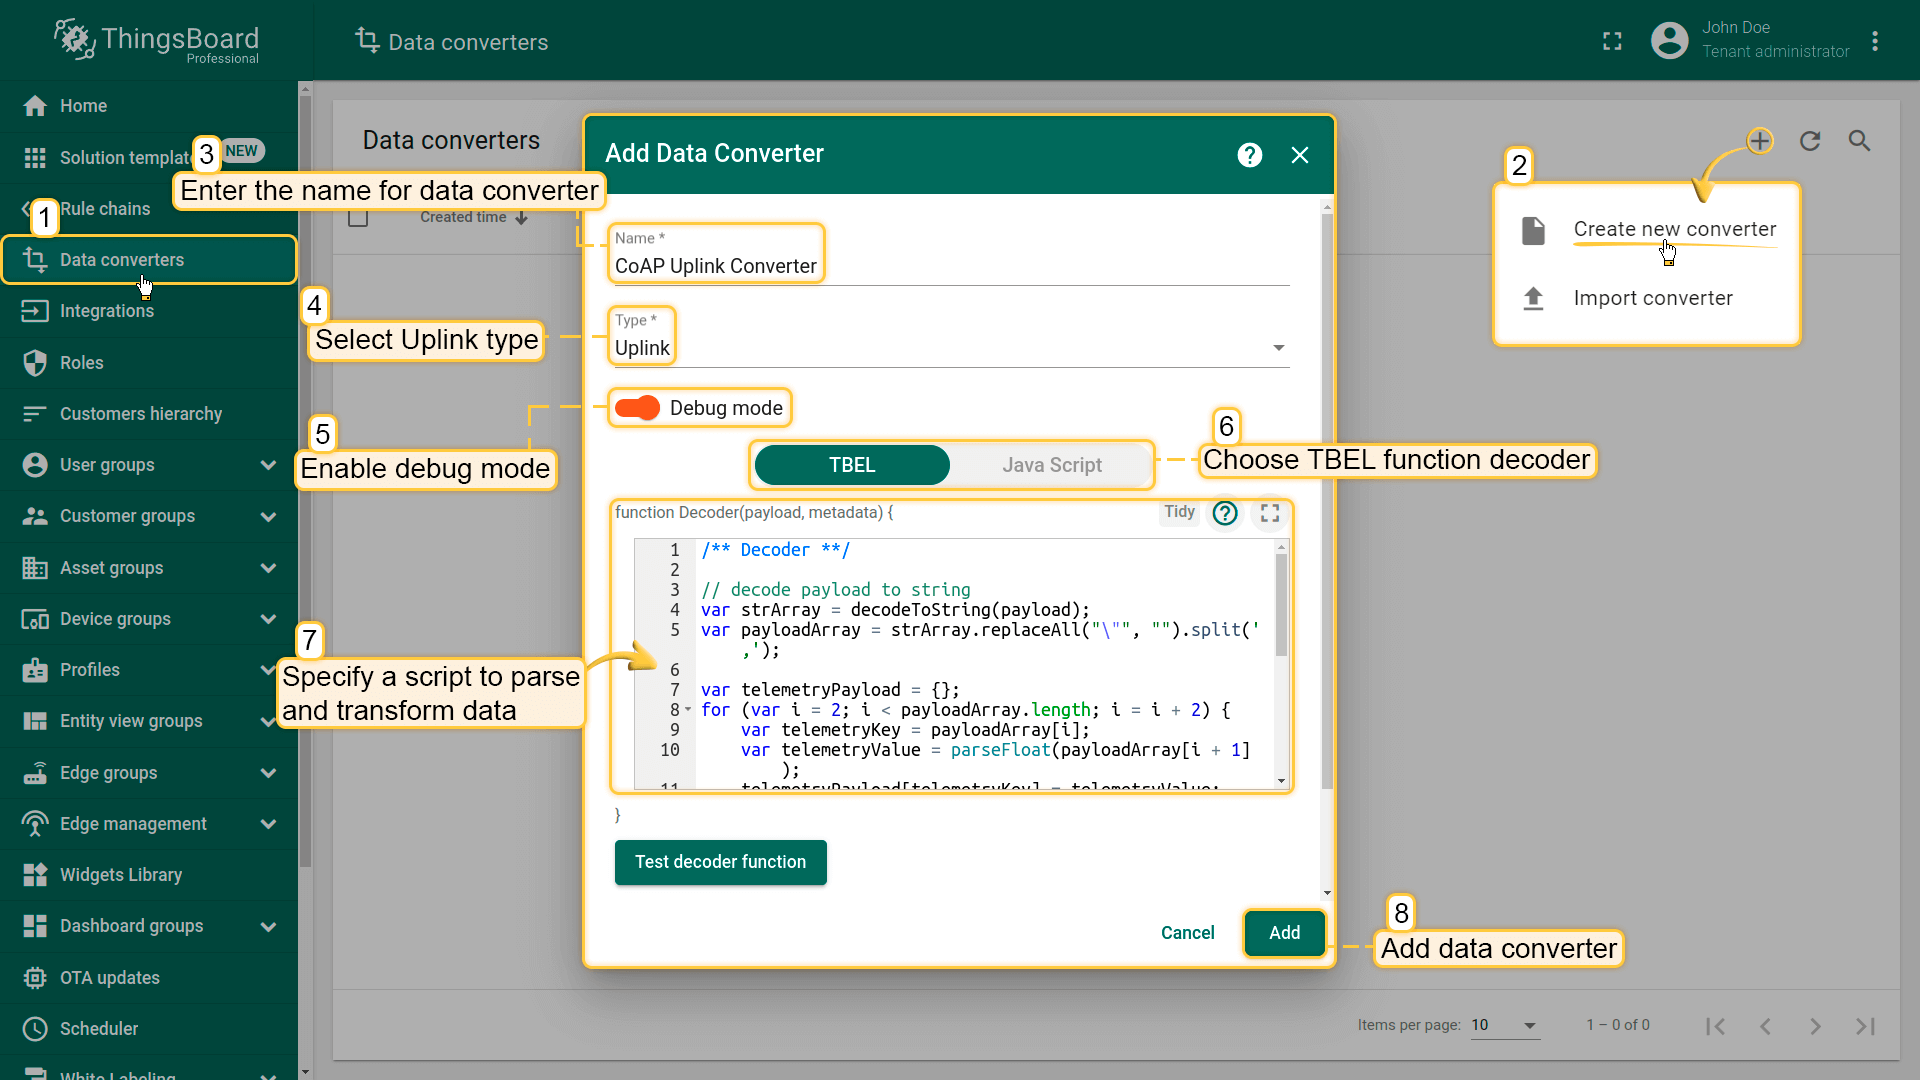
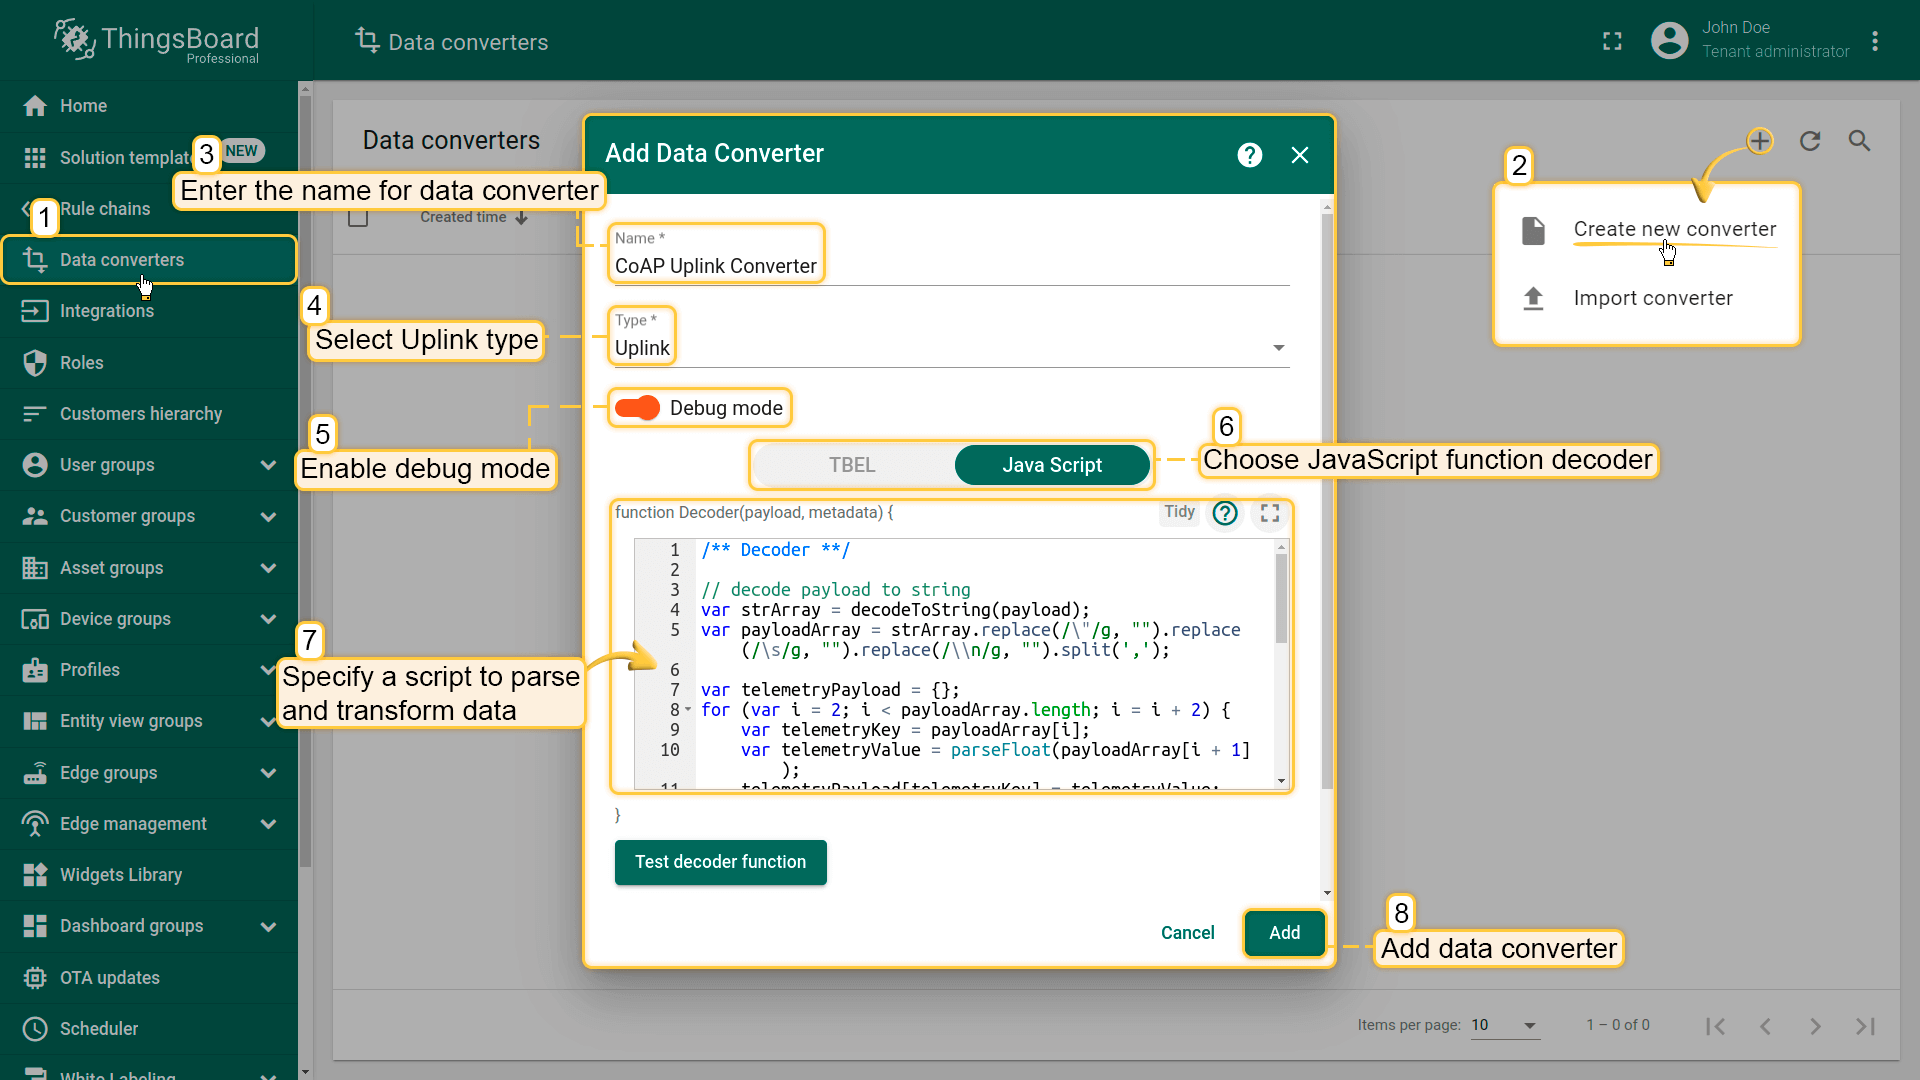
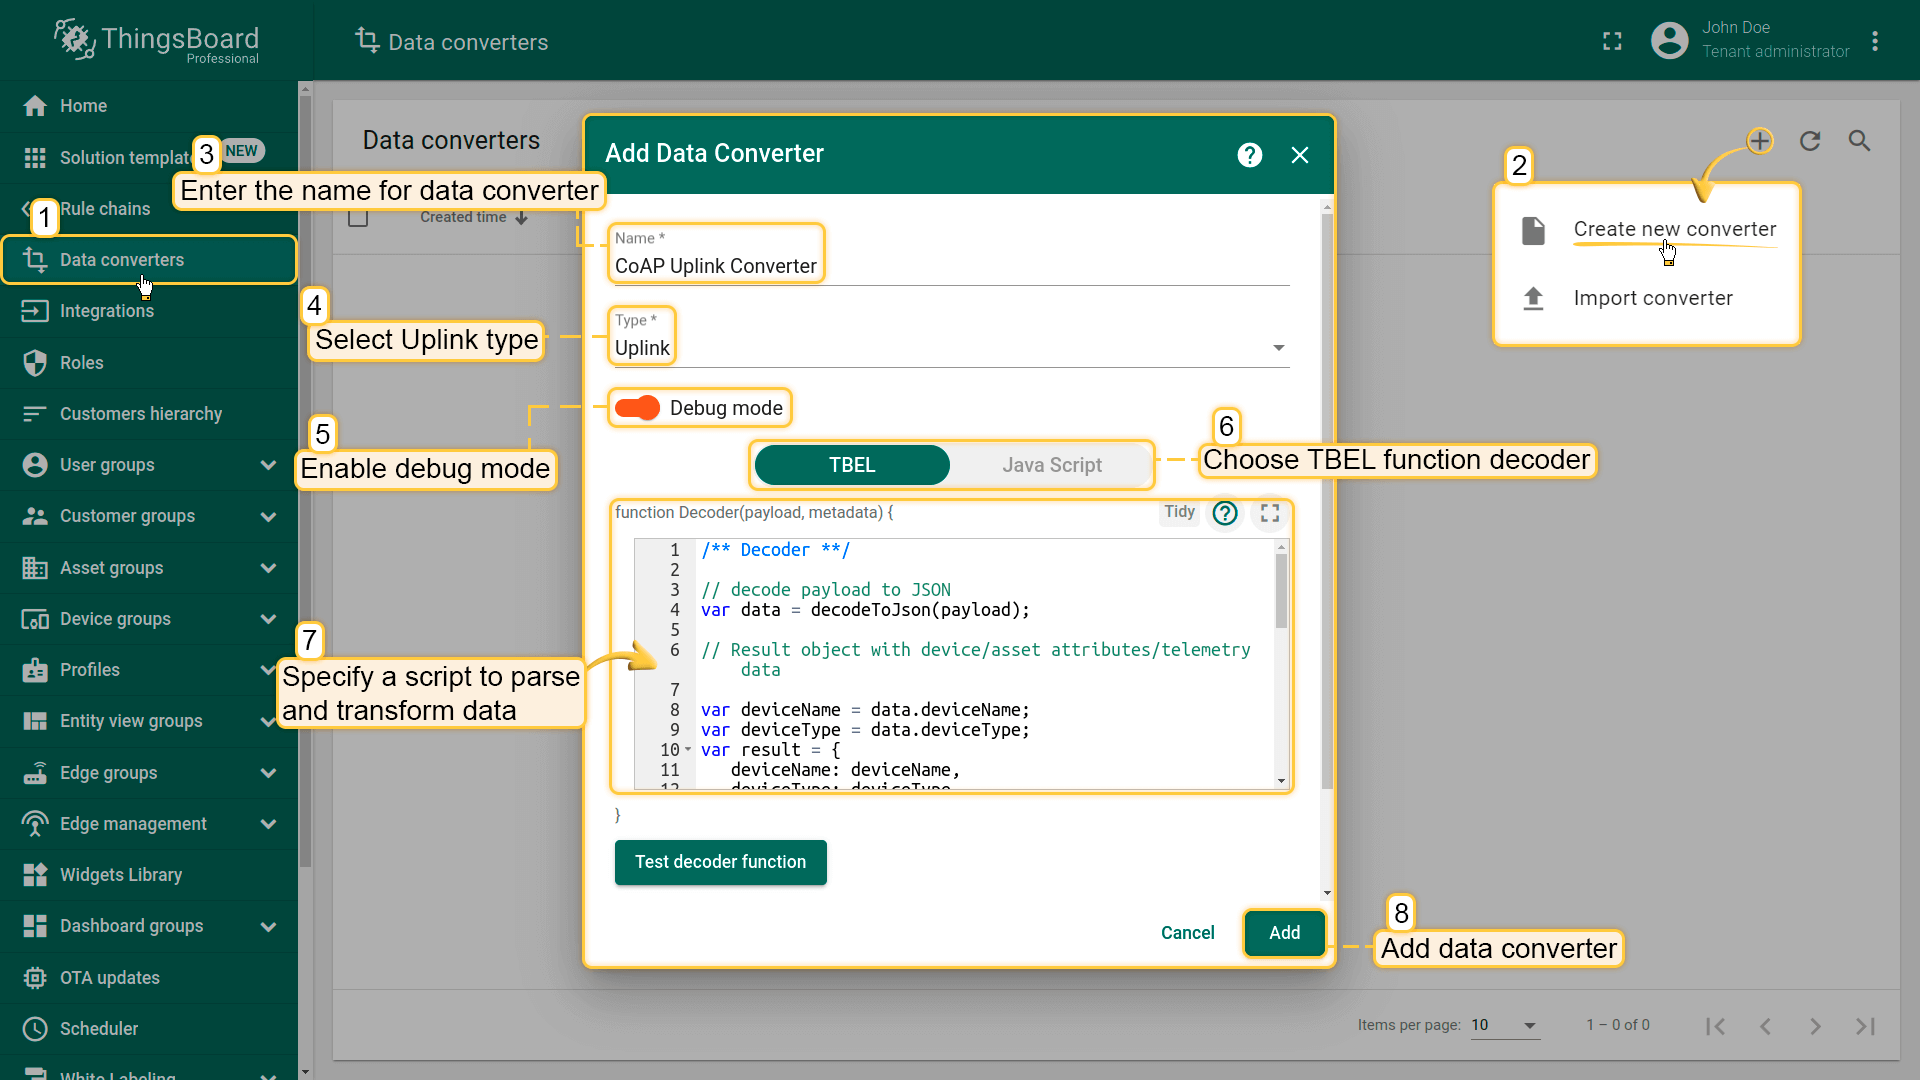
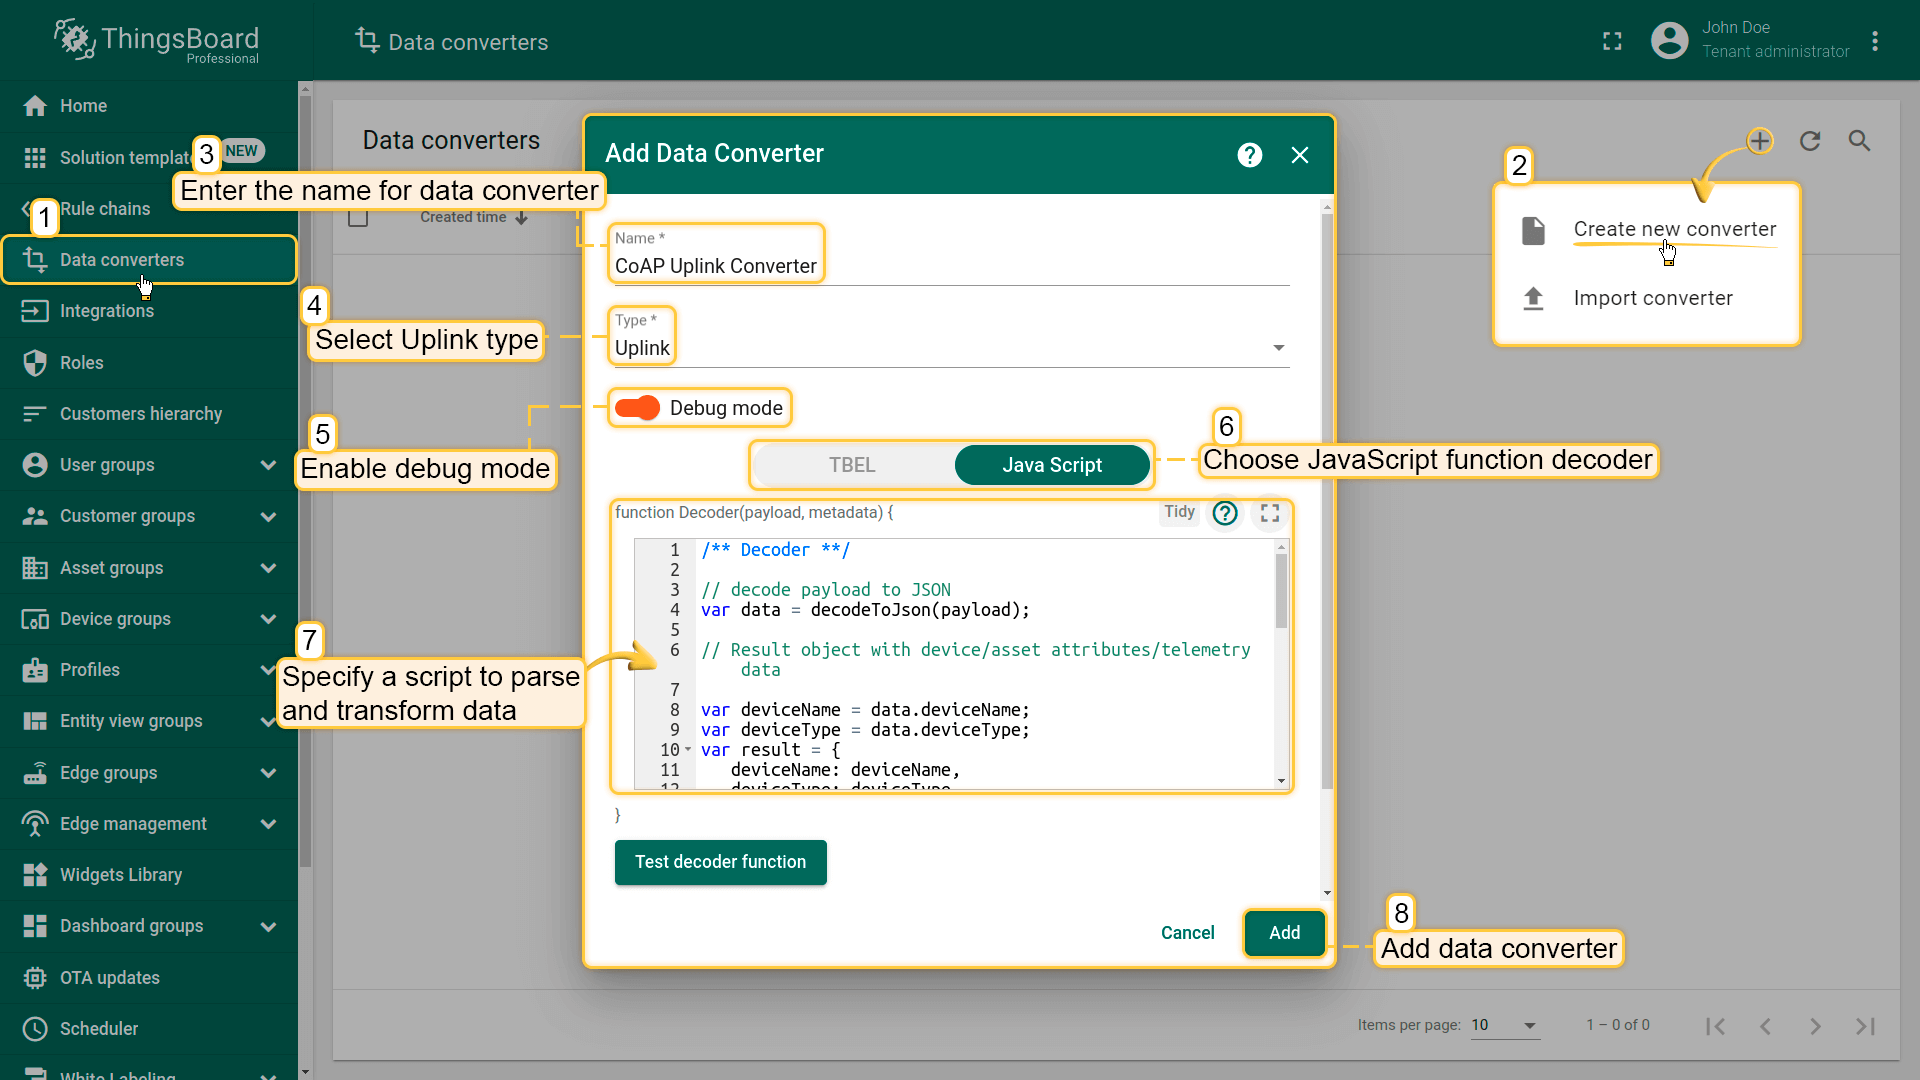
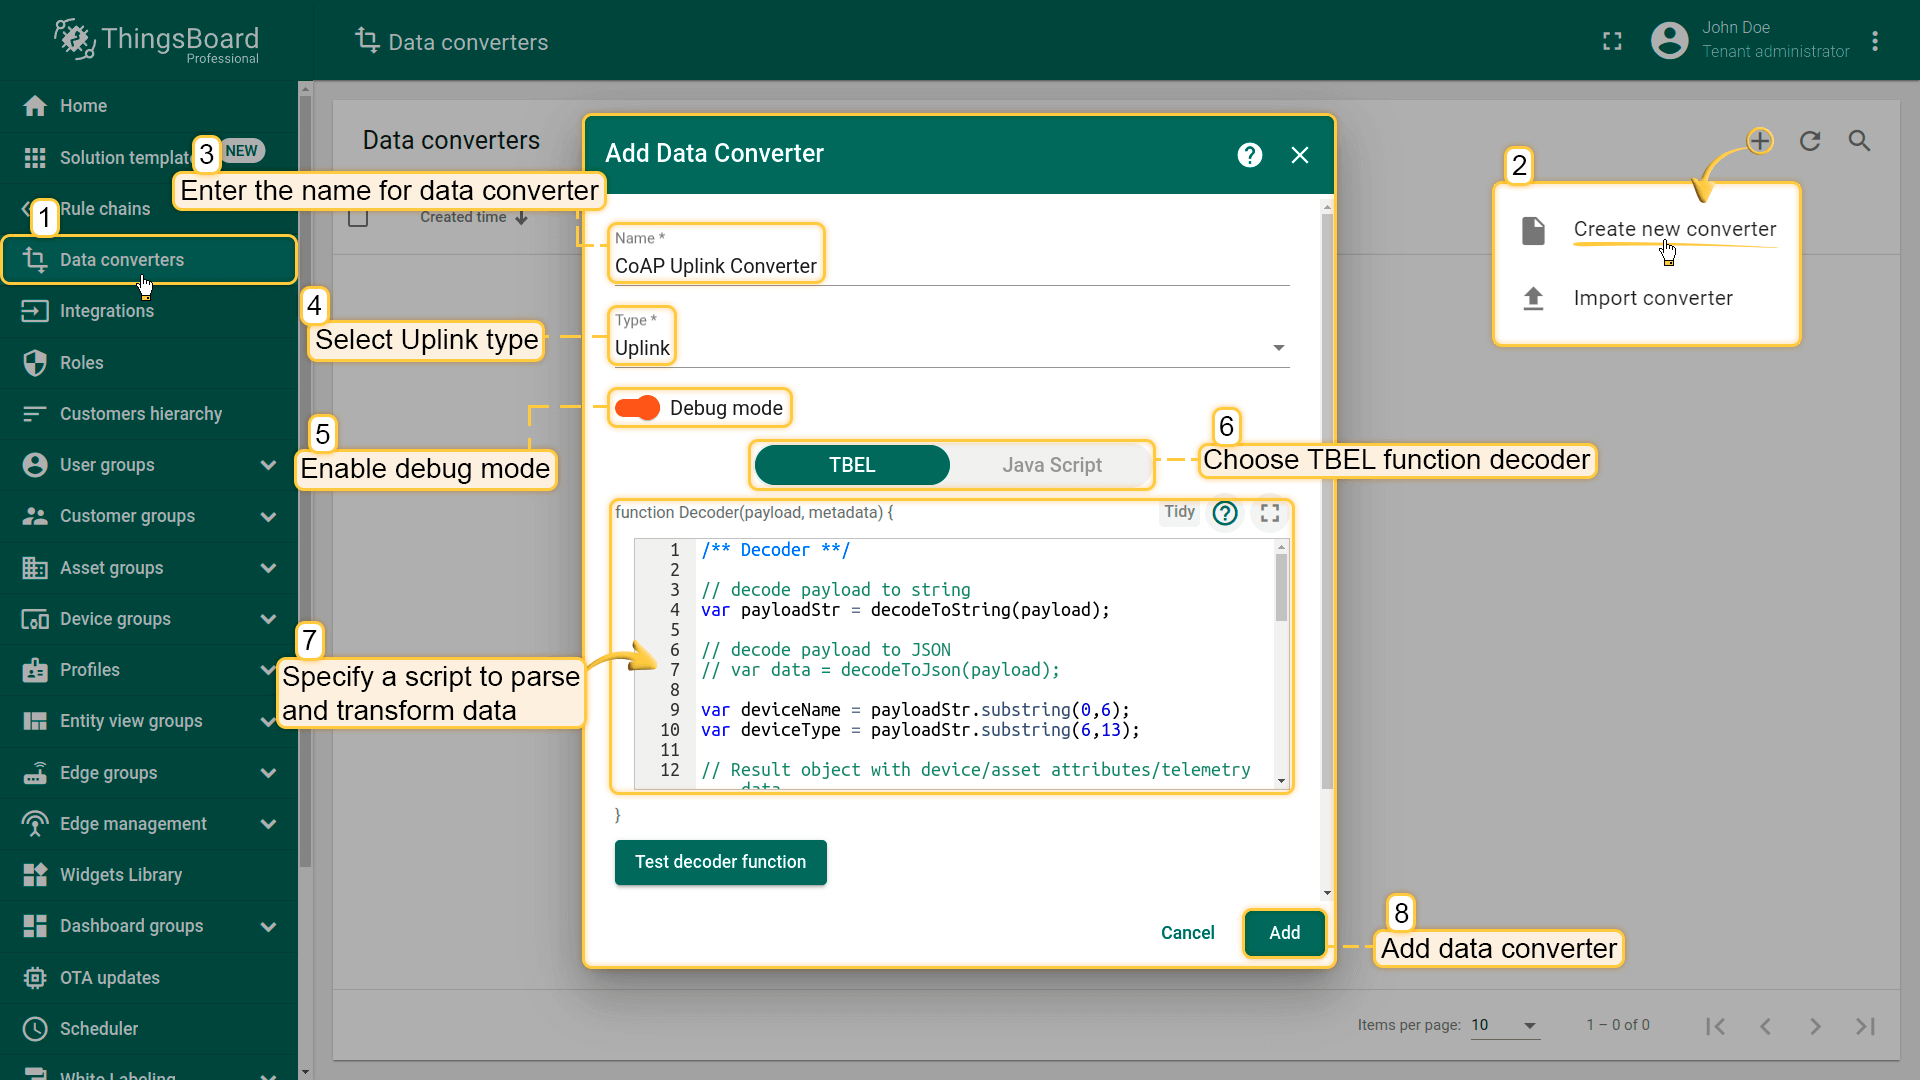
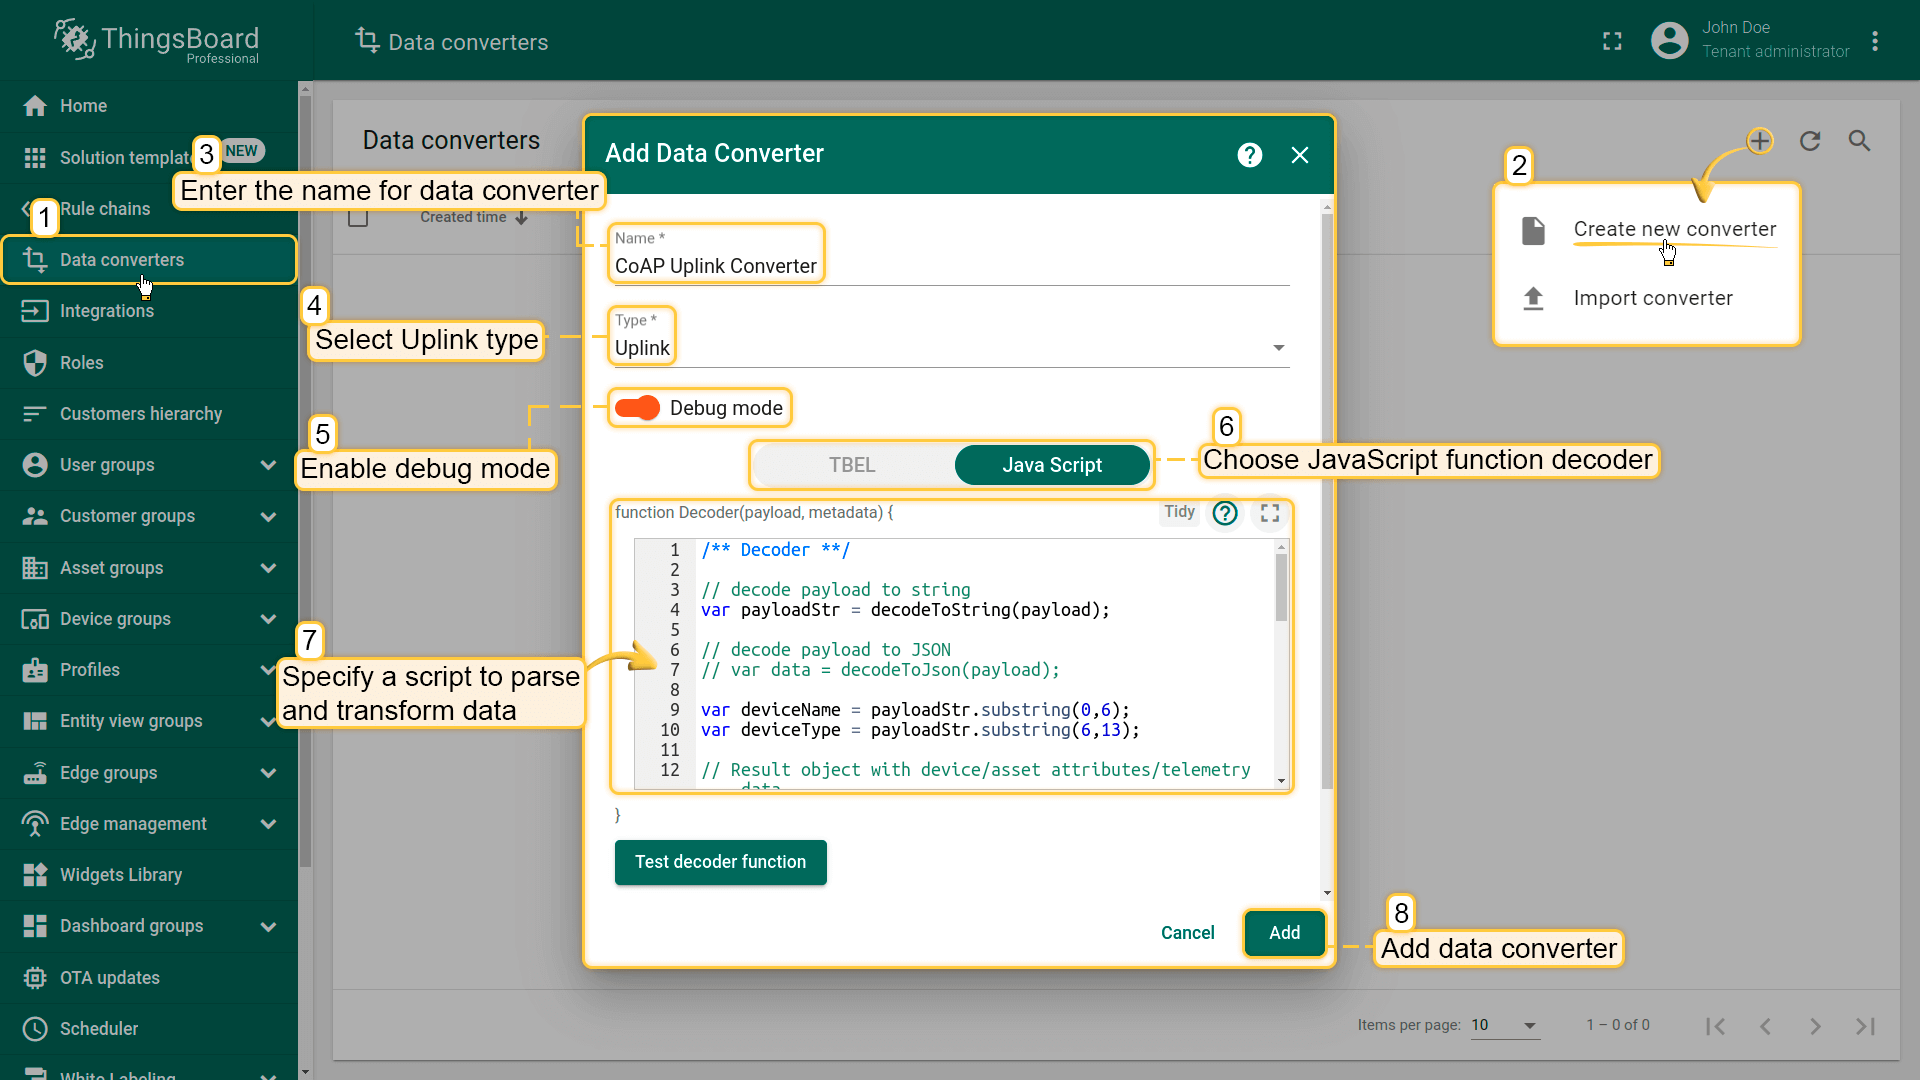
To create an Uplink Converter go to Data Converters section and Click Add new data converter —> Create new converter. Name it “CoAP Uplink Converter” and select type Uplink. Use debug mode for now.
Debug mode
Enabling debug mode allows you to track events, states, and potential errors related to the execution of integrations. This greatly simplifies development and troubleshooting.
Debug mode settings can be combined or disabled entirely.
Choose device payload type to for decoder configuration:
- Text payload
One can use either TBEL (ThingsBoard expression language) or JavaScript to develop user defined functions. We recommend utilizing TBEL as it’s execution in ThingsBoard is much more efficient compared to JS.
Now copy & paste the following script to the Decoder function section:
|
Now copy & paste the following script to the Decoder function section:
|
- JSON payload
One can use either TBEL (ThingsBoard expression language) or JavaScript to develop user defined functions. We recommend utilizing TBEL as it’s execution in ThingsBoard is much more efficient compared to JS.
Now copy & paste the following script to the Decoder function section:
|
Now copy & paste the following script to the Decoder function section:
|
- Binary payload
Now copy & paste the following script to the Decoder function section:
|
Now copy & paste the following script to the Decoder function section:
|
CoAP Integration Setup
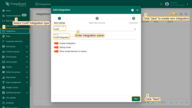
- Go to Integrations section and click Add new integration button. Name it CoAP Integration, select type COAP.
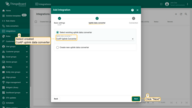
- Add recently created CoAP Uplink Converter.
- Copy CoAP endpoint URL - we will use it later in coap-client for testing CoAP Integration. Click "Add" to create an integration.
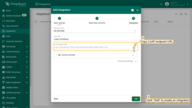
CoAP Integration Configuration
CoAP Integration allows us to choose a security mode:
- NO SECURE(default mode)
- DTLS
- MIXED

For the last 2 types, before creating integration, DTLS support should be enabled in the .yml configuration file or should be updated by overriding the next environment variables in the .conf file:
1
2
3
4
5
6
7
8
9
10
11
12
13
14
# Enable/disable DTLS 1.2 support
export COAP_DTLS_ENABLED=true
# Default CoAP DTLS bind port
export COAP_DTLS_BIND_PORT=5484
# Path to the key store that holds the SSL certificate
export COAP_DTLS_KEY_STORE=coapserver.jks
# Password used to access the key store
export COAP_DTLS_KEY_STORE_PASSWORD=server_ks_password
# Password used to access the key
export COAP_DTLS_KEY_PASSWORD=server_key_password
# Key alias
export COAP_DTLS_KEY_ALIAS=serveralias
# Skip certificate validity check for client certificates
export TB_COAP_X509_DTLS_SKIP_VALIDITY_CHECK_FOR_CLIENT_CERT=false
Please, note, that added above environment variables use default DTLS configuration settings. In order to get the CoAP server launched correctly in the DTLS mode, you need to update at least key store settings. Please refer to the CoAP over DTLS guide in order to learn more about the CoAP DTLS configuration.
In addition, CoAP integration will provide us automatically generated CoAP endpoint URL for data transmitting based on the Base URL path and next path prefixes:
- /i - Integration resource in the CoAP server
- /$INTEGRATION_ROUTING_KEY - autogenerated integration routing key
Send Uplink message
Once CoAP Integration has been created, the CoAP server register appropriate resources, and then it waits for data from the devices.
Choose device payload type to send uplink message
|
Use this command to send the message to the CoAP server that is hosted on localhost. Replace $YOUR_COAP_ENDPOINT_URL with corresponding values.
|
|
Use this command to send the message to the CoAP server that is hosted on localhost. Replace $YOUR_COAP_ENDPOINT_URL with corresponding values.
|
|
Use this command to send the message to the CoAP server that is hosted on localhost. Replace $YOUR_COAP_ENDPOINT_URL with corresponding values.
|
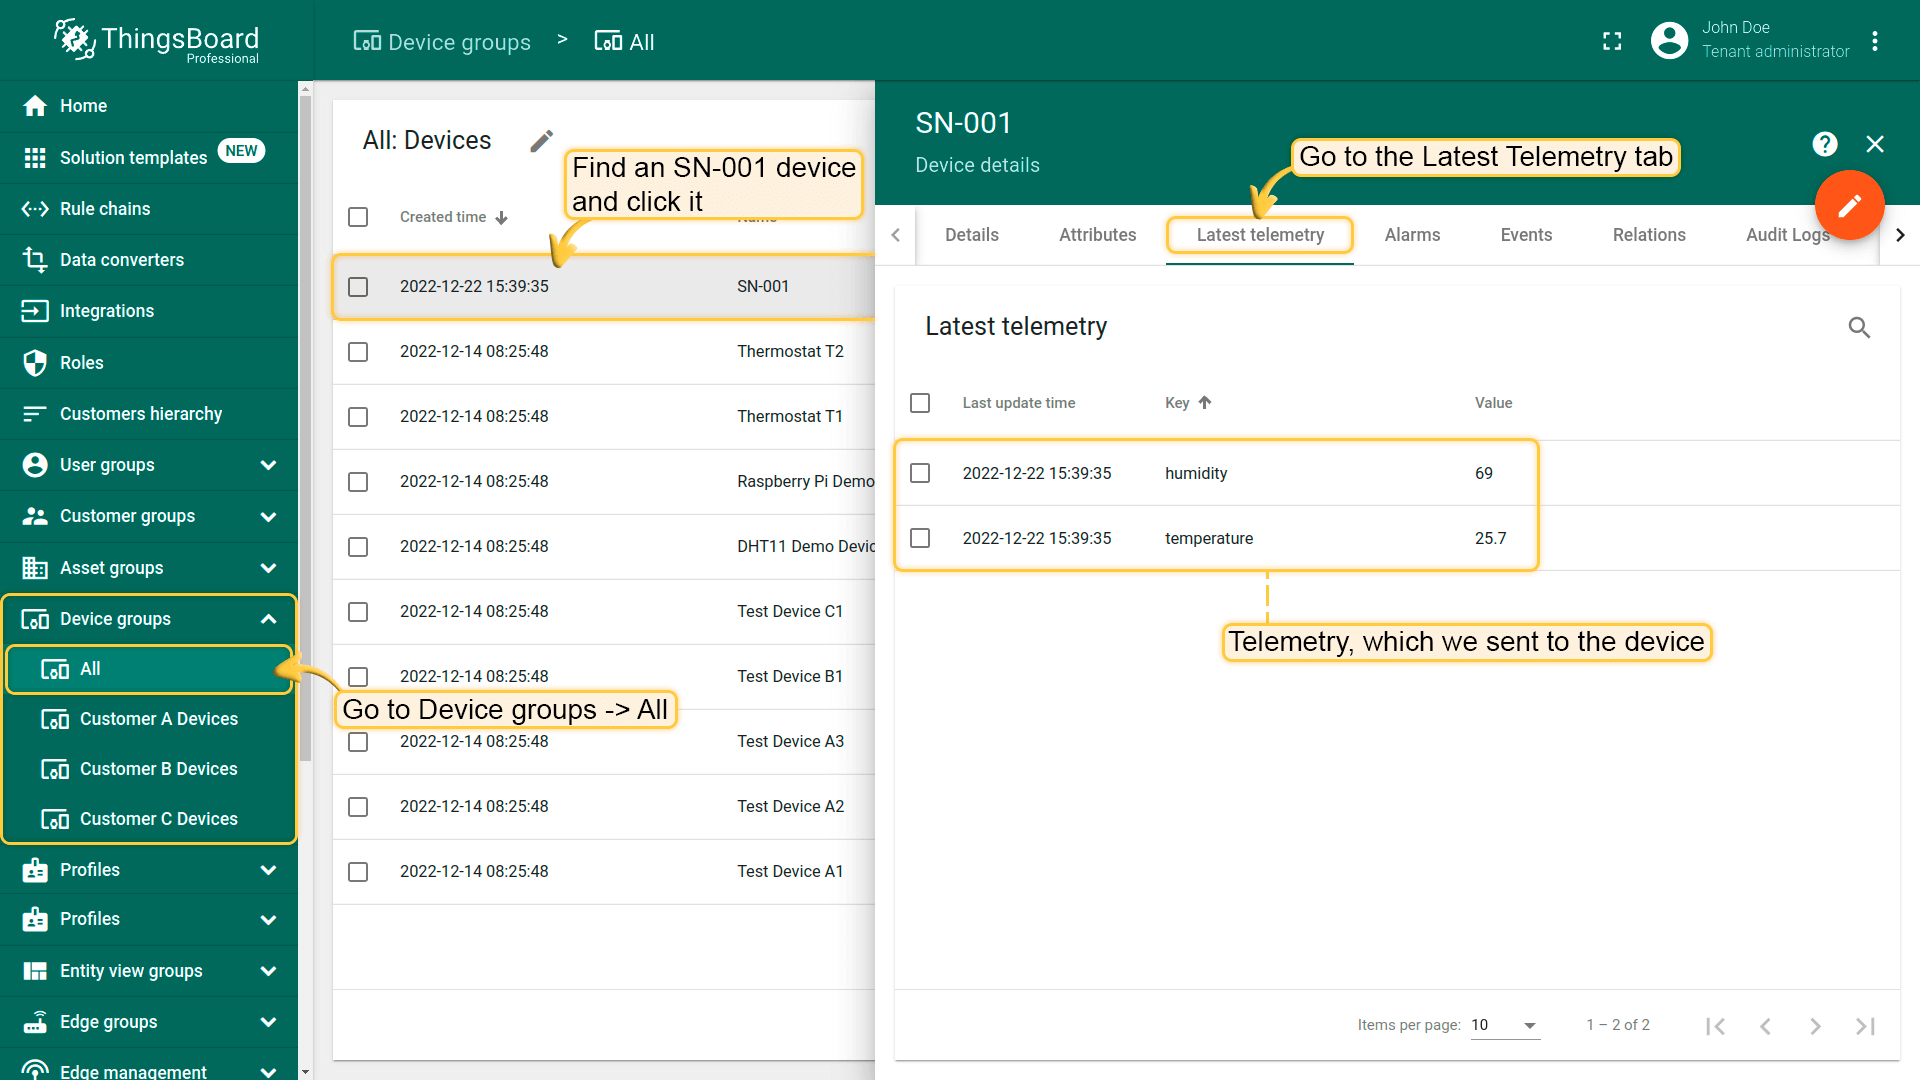
Once the command will send you can go to Device groups -> All you should find an SN-001 device provisioned by the Integration. Click on the device, go to the Latest Telemetry tab to see the “temperature” key and its value (25.7) there and also the “humidity” key and its value (69) there as well.
Next steps
-
Getting started guides - These guides provide quick overview of main ThingsBoard features. Designed to be completed in 15-30 minutes.
-
Data visualization - These guides contain instructions on how to configure complex ThingsBoard dashboards.
-
Data processing & actions - Learn how to use ThingsBoard Rule Engine.
-
IoT Data analytics - Learn how to use rule engine to perform basic analytics tasks.
-
Advanced features - Learn about advanced ThingsBoard features.
-
Contribution and Development - Learn about contribution and development in ThingsBoard.

