The AI Assistant Widget is an interactive tool that allows users to engage in chat-based sessions for quick data retrieval and analysis. It can be added to a dashboard in ThingsBoard and provides an easy way to ask questions and receive instant responses.
Key Features
- Chat-Based Interaction: Users can type questions, edit them, and request new data. Responses appear instantly on the right side of the chat window.
- History Tracking: The widget stores previous questions and answers, allowing users to revisit past queries and view updated responses with the latest data.
- Flexible Usage with or without Aliases:
- By default, the assistant provides answers based on all data accessible to the user.
- Users can configure the widget to focus on specific entities (devices, assets, or groups) using aliases in ThingsBoard.
- If an alias is linked, responses will be tailored to the selected entity.
- If no alias is used, the assistant will still function and provide responses based on general available data.
- Dynamic Entity Switching:
- Users can select a different entity, and the assistant will automatically adjust responses to reflect the new selection without requiring repeated queries.
- Dashboard-Specific History:
- Chat history is tied to each widget instance and dashboard.
- Different dashboards with separate widgets will maintain independent histories.
- Users and customers only see their respective chat histories.
Usage Recommendations
- Place the widget in a convenient but non-intrusive location on the dashboard.
- Use aliases to refine responses for specific entities or use the default mode for broader insights.
- Take advantage of the saved history to streamline research and avoid repetitive queries.
Below, we will provide a detailed guide on how to use the assistant with aliases.
Advanced analytics Chat Assistant with Alias
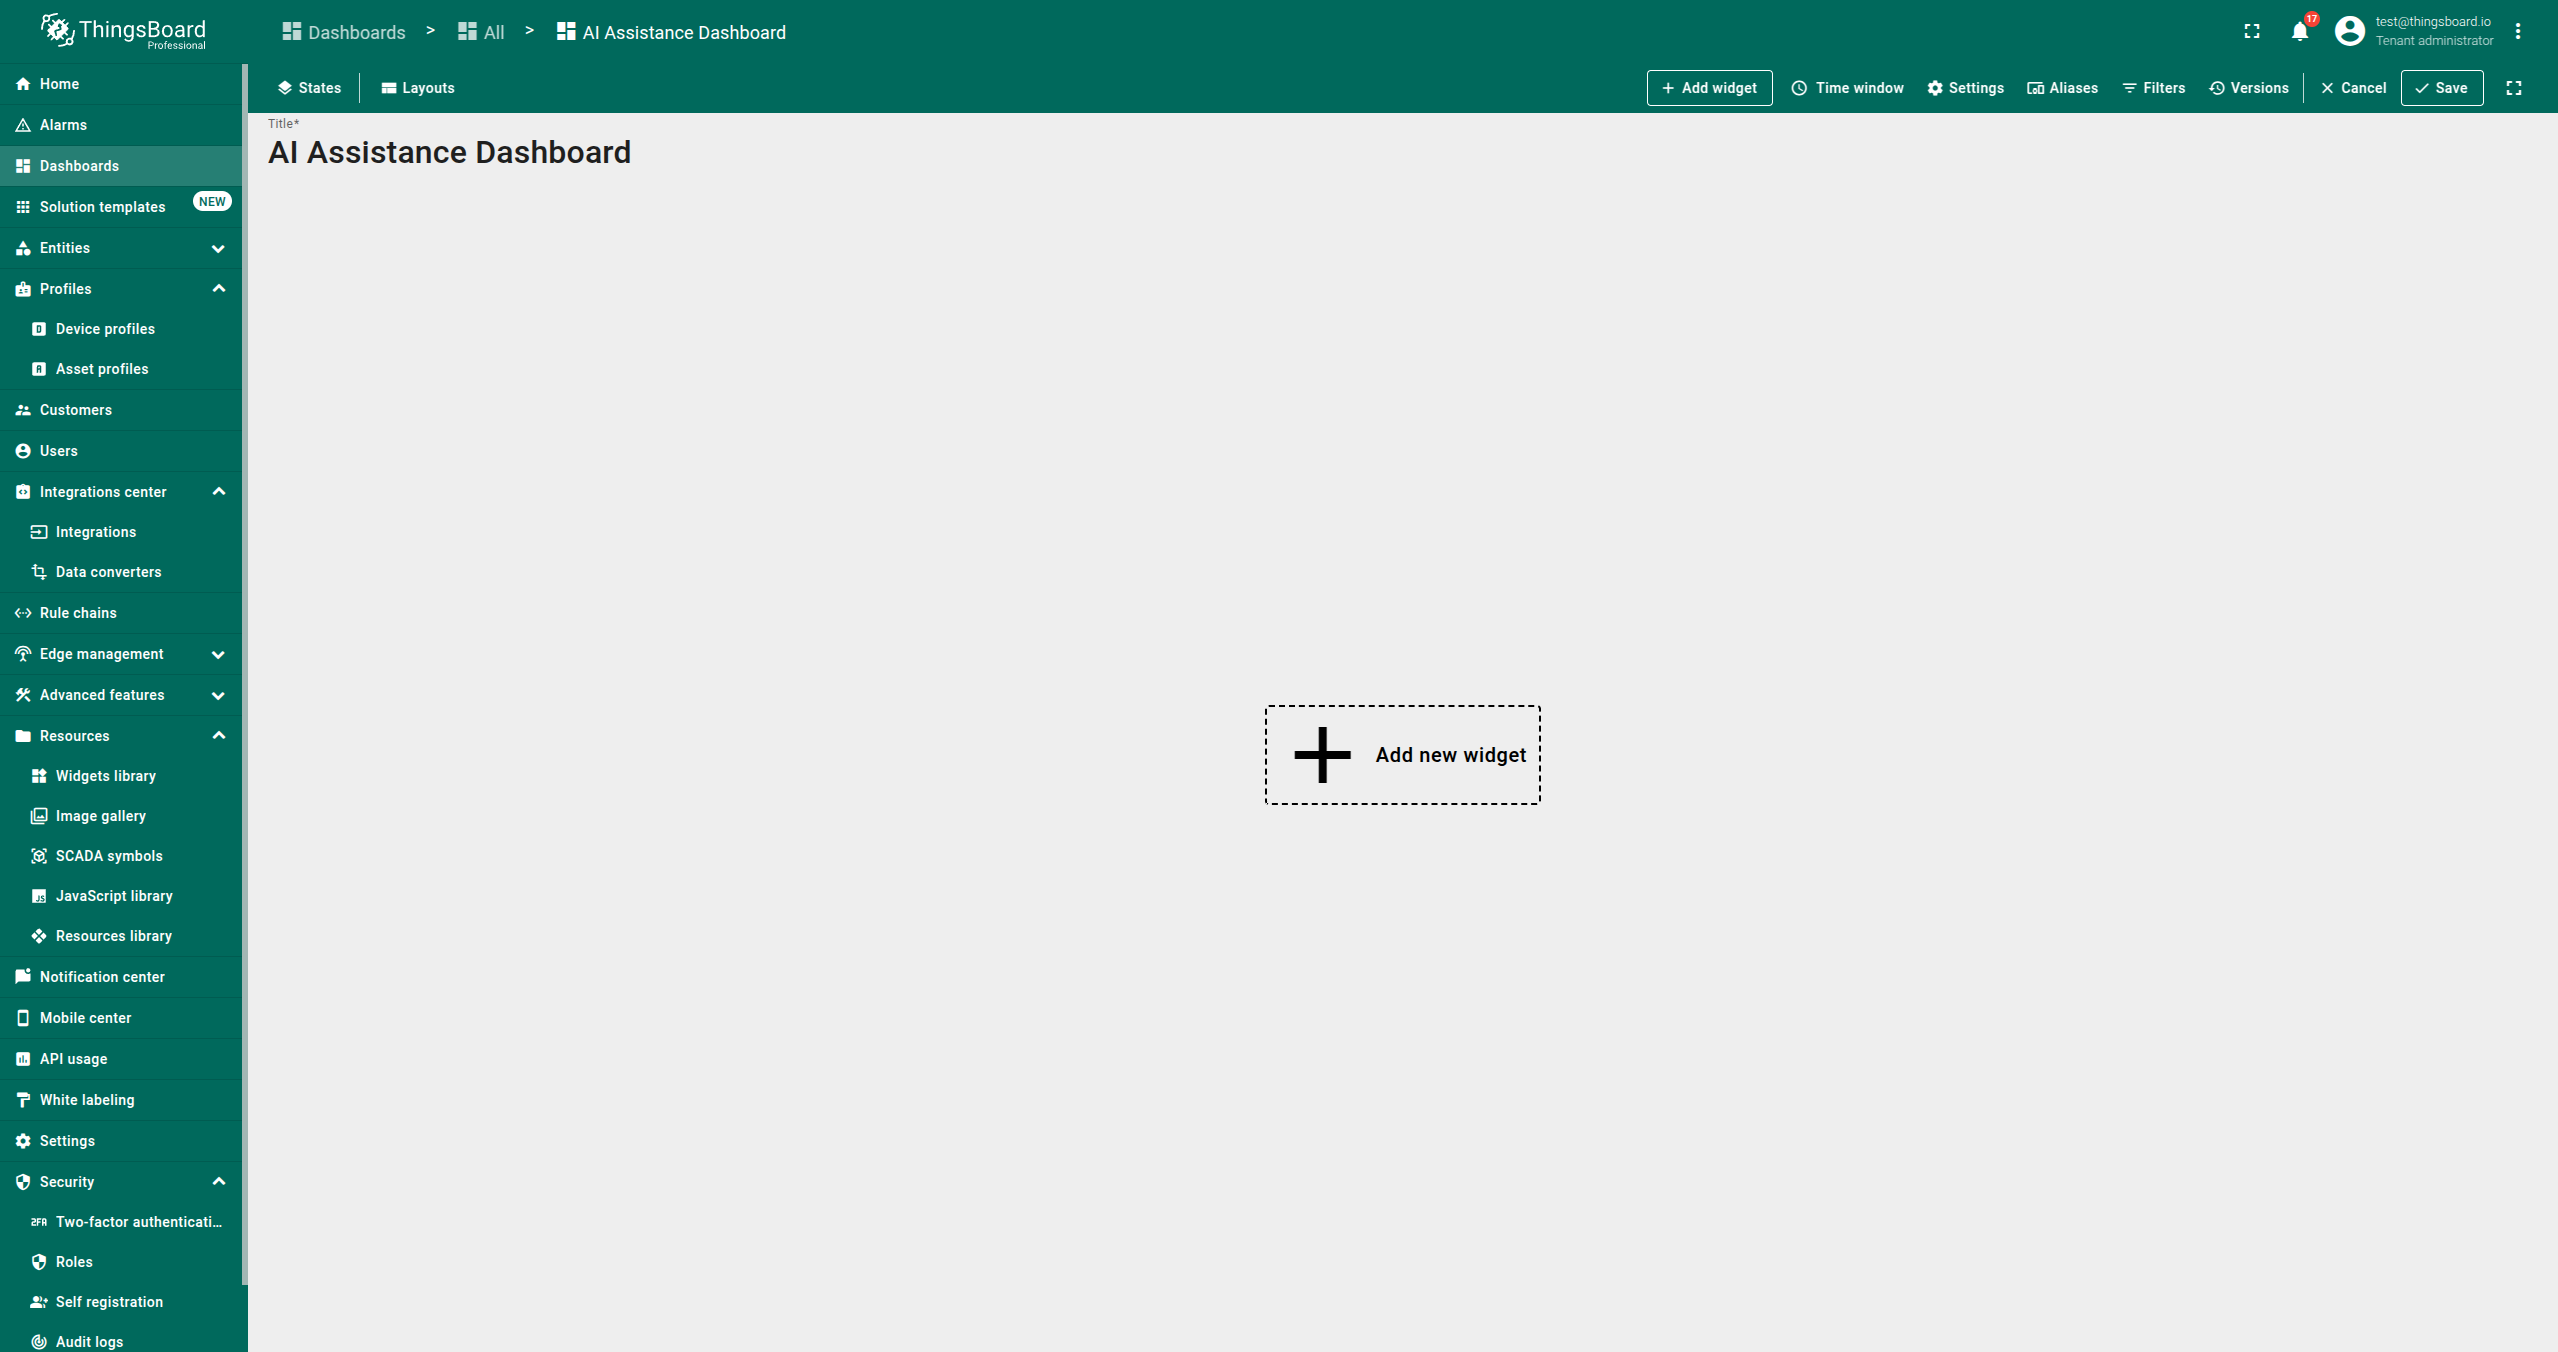
Step 1. Creating a Dashboard
- Go to Dashboards -> Add Dashboard -> Create New Dashboard.
- Enter a title for your dashboard and click Add.
- For more details, refer to the ThingsBoard dashboard guide
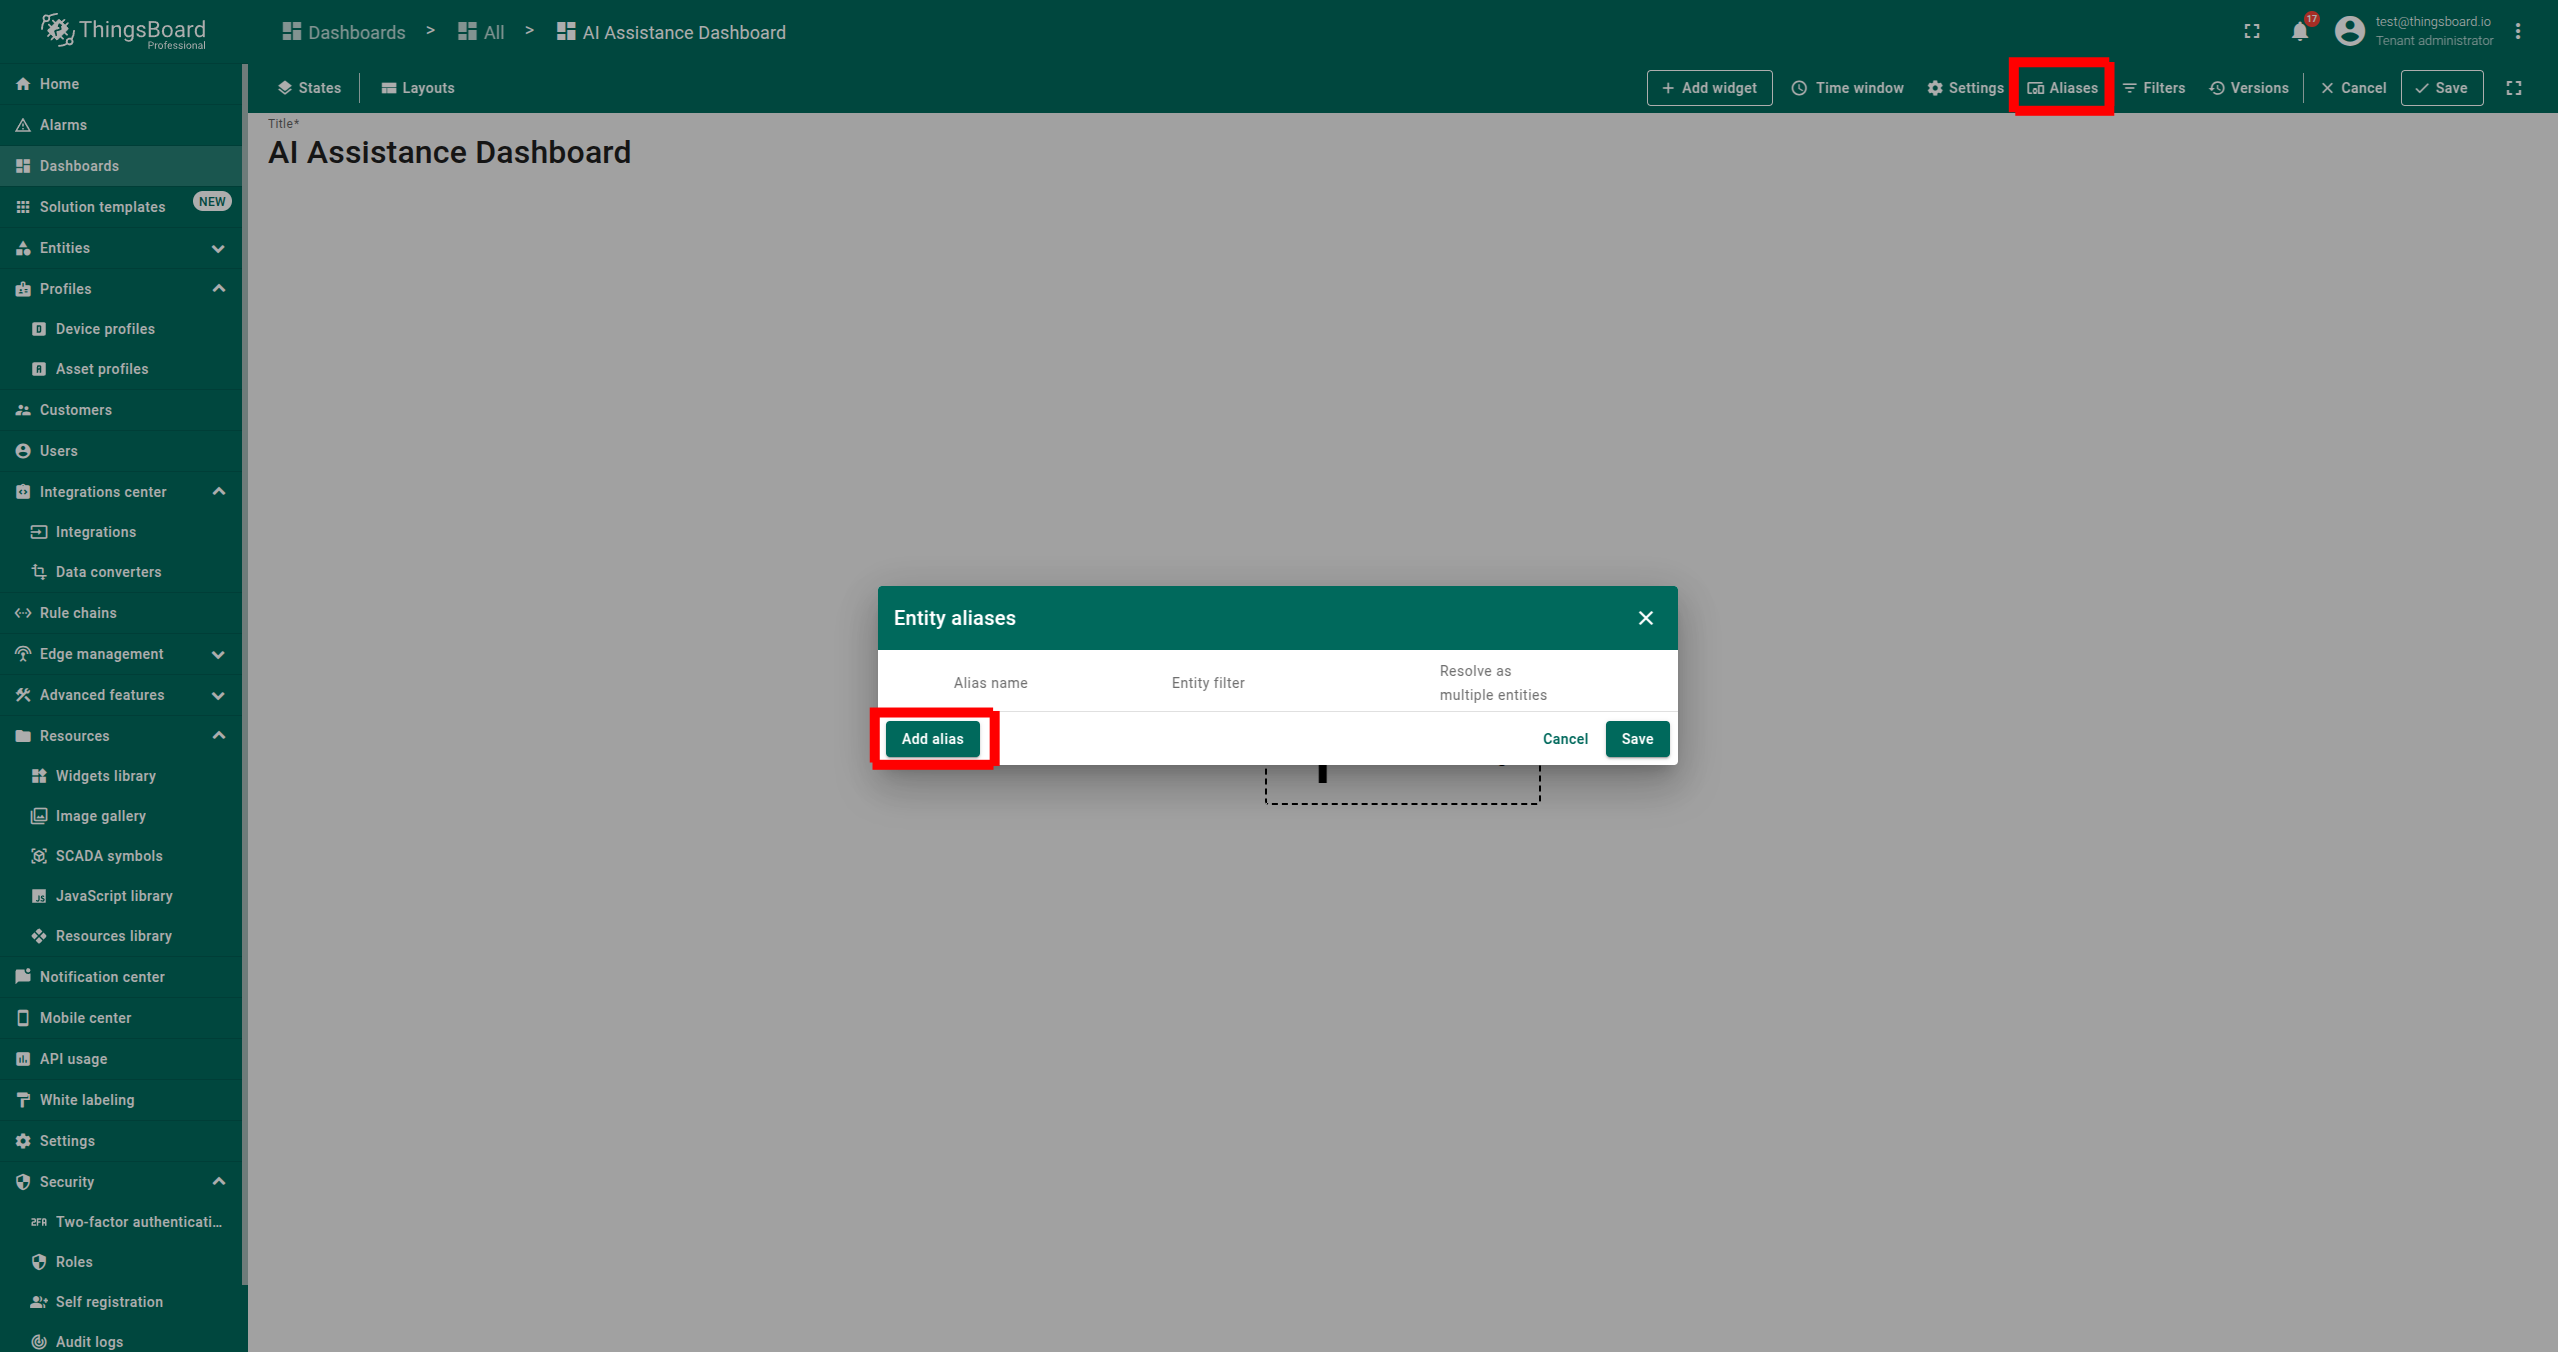
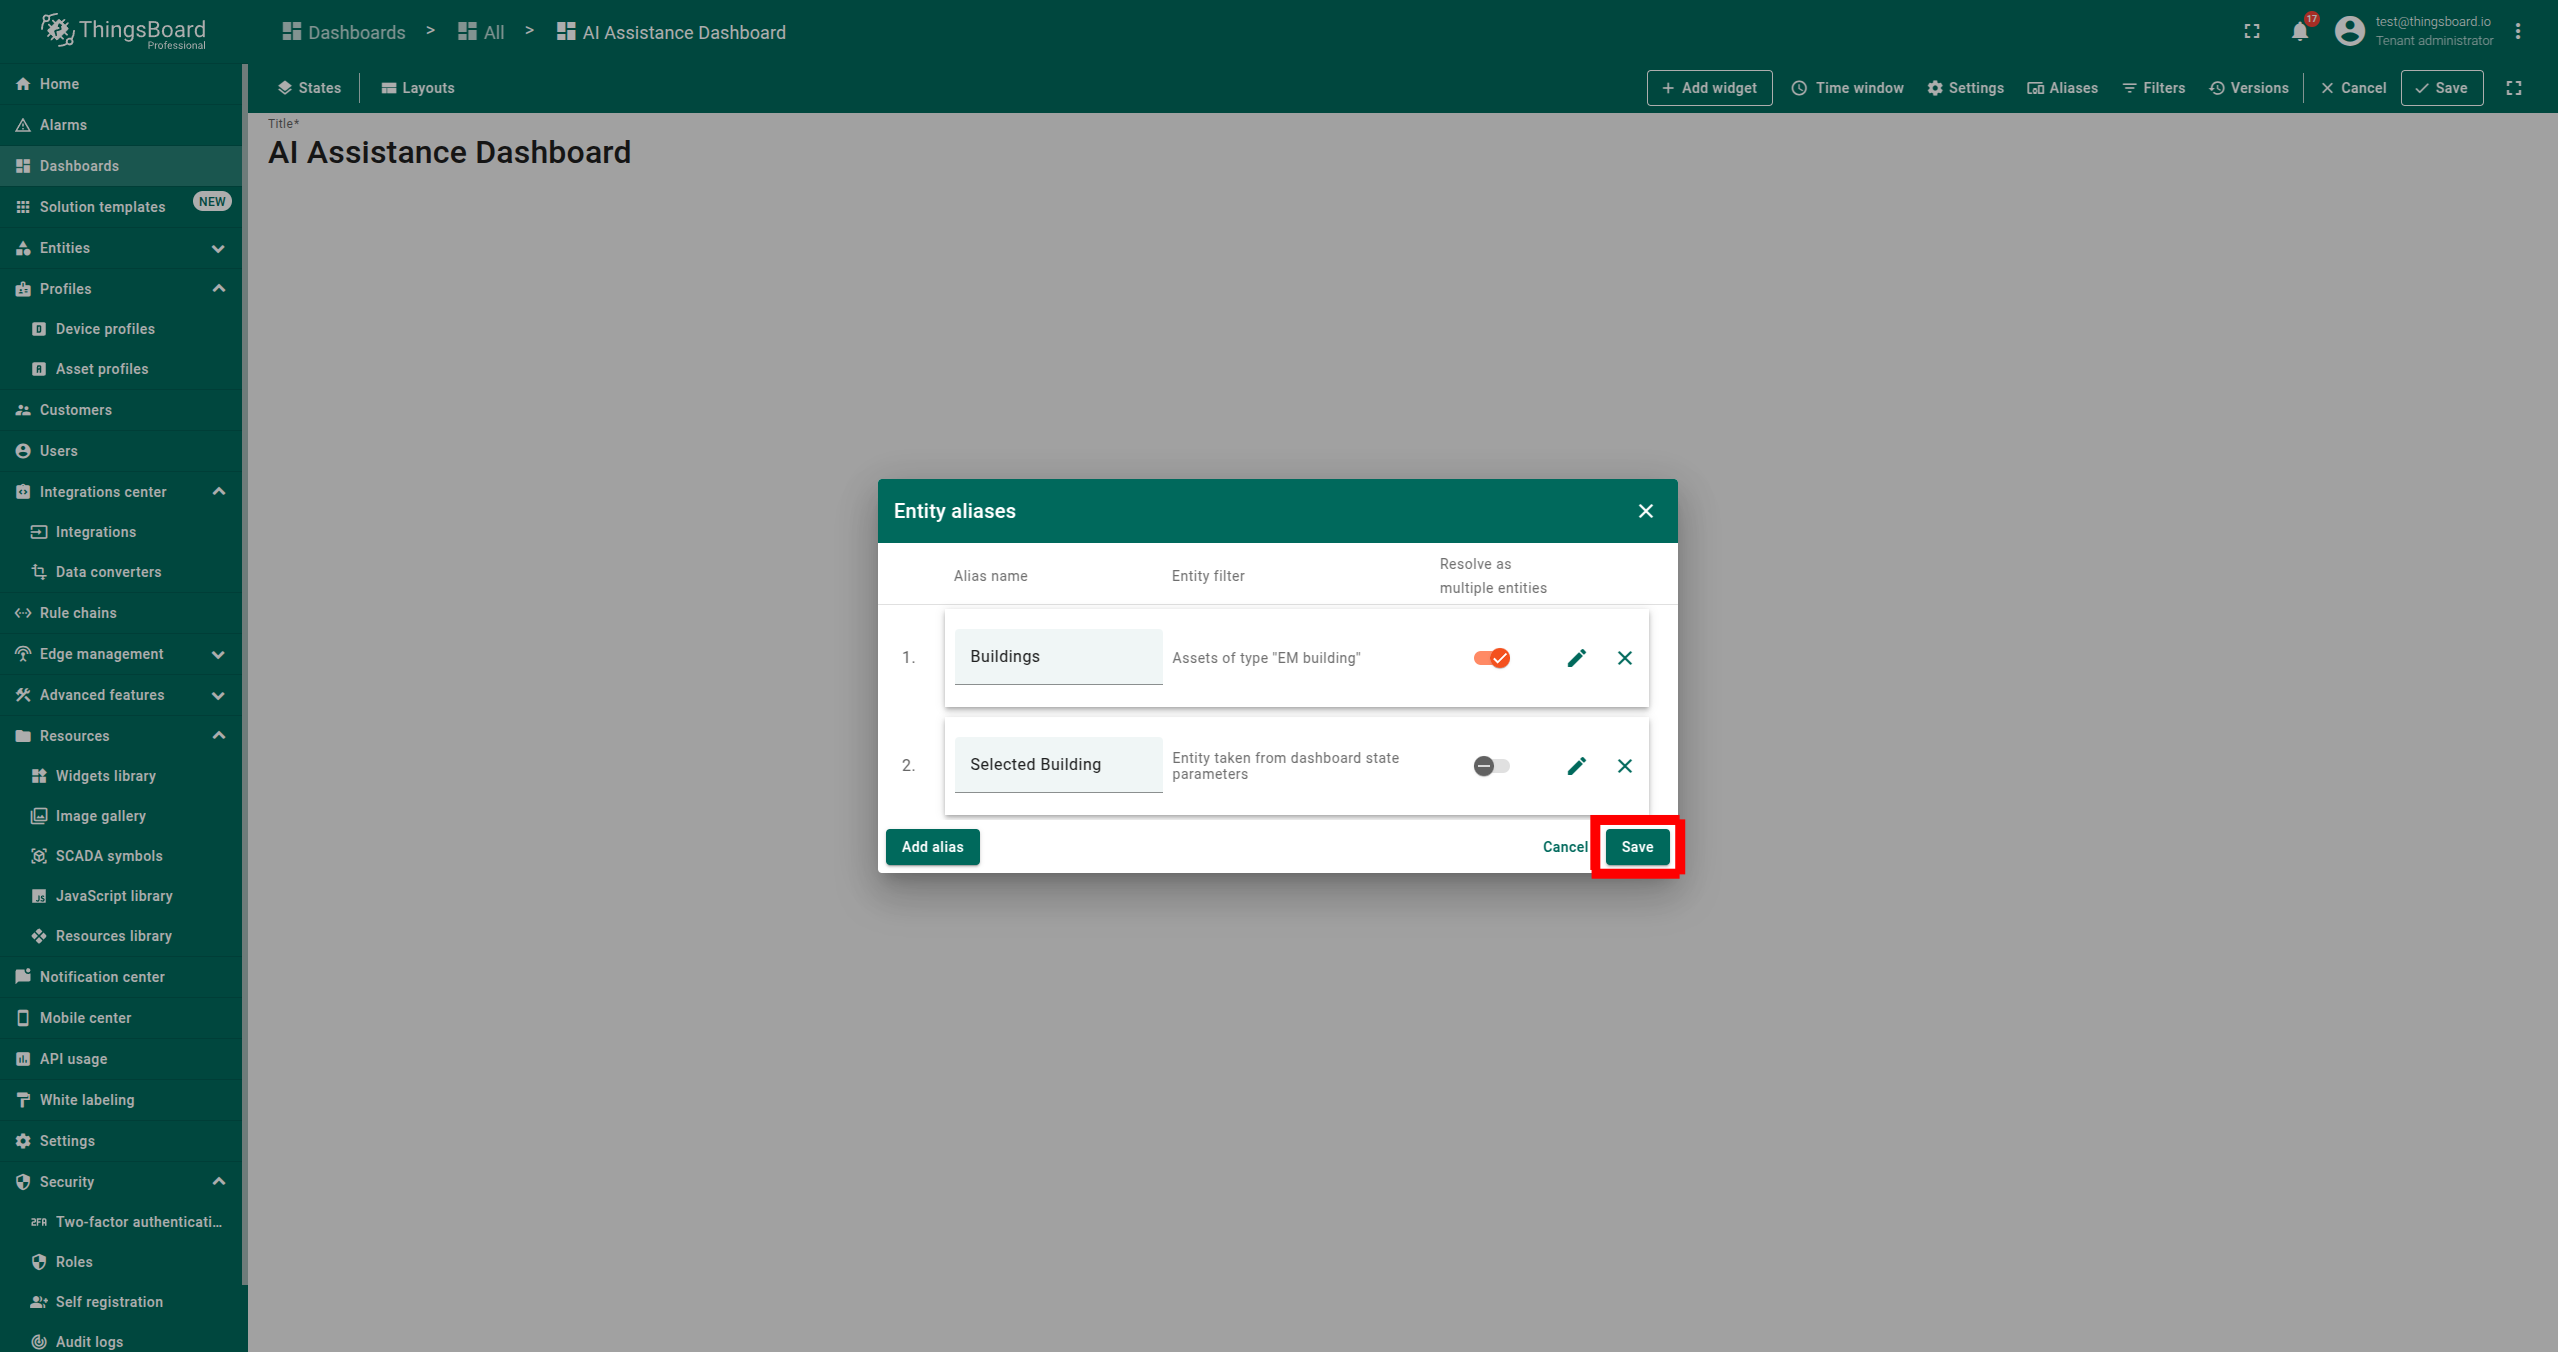
Step 2. Setting Up Aliases
- Go to Aliases -> Add Alias.
- Enter an Alias Name, choose Filter Type as Asset type, select the desired asset type, and click Add.
- Add a second alias: enter Alias Name, choose Filter Type as Entity from dashboard state, enter State entity parameter name as default and click Add.
- Ensure that you have two aliases and click Save.
- For more details, refer to the Aliases guide


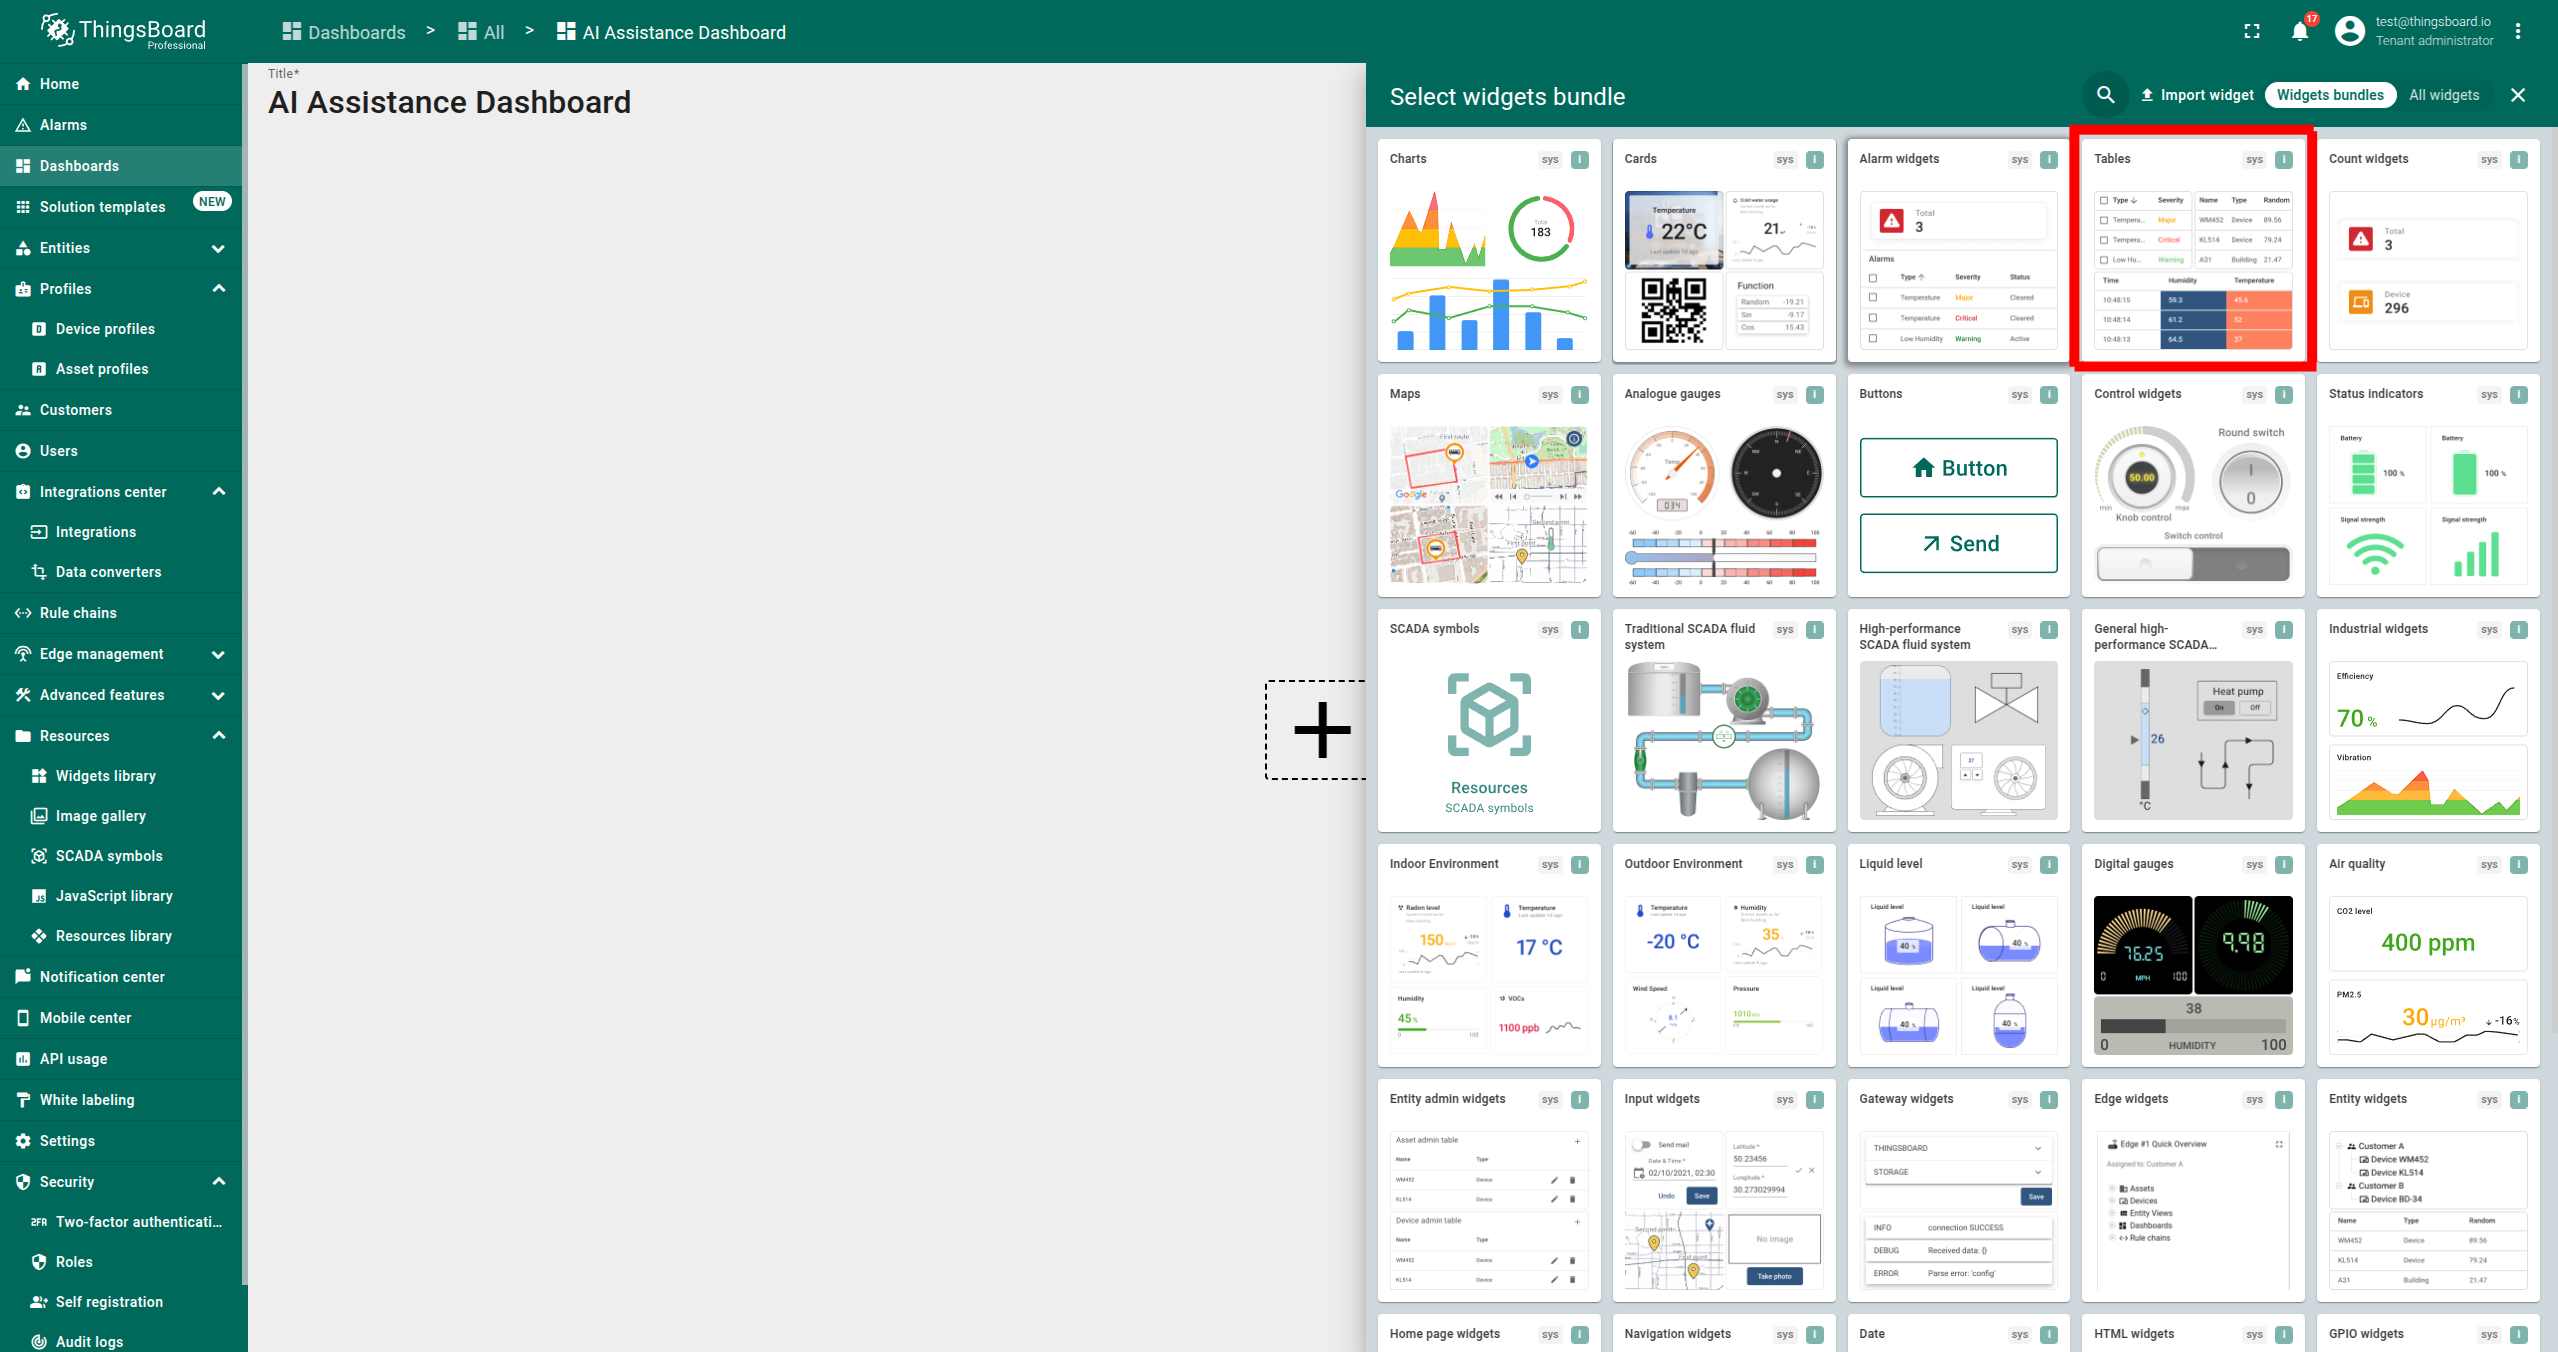
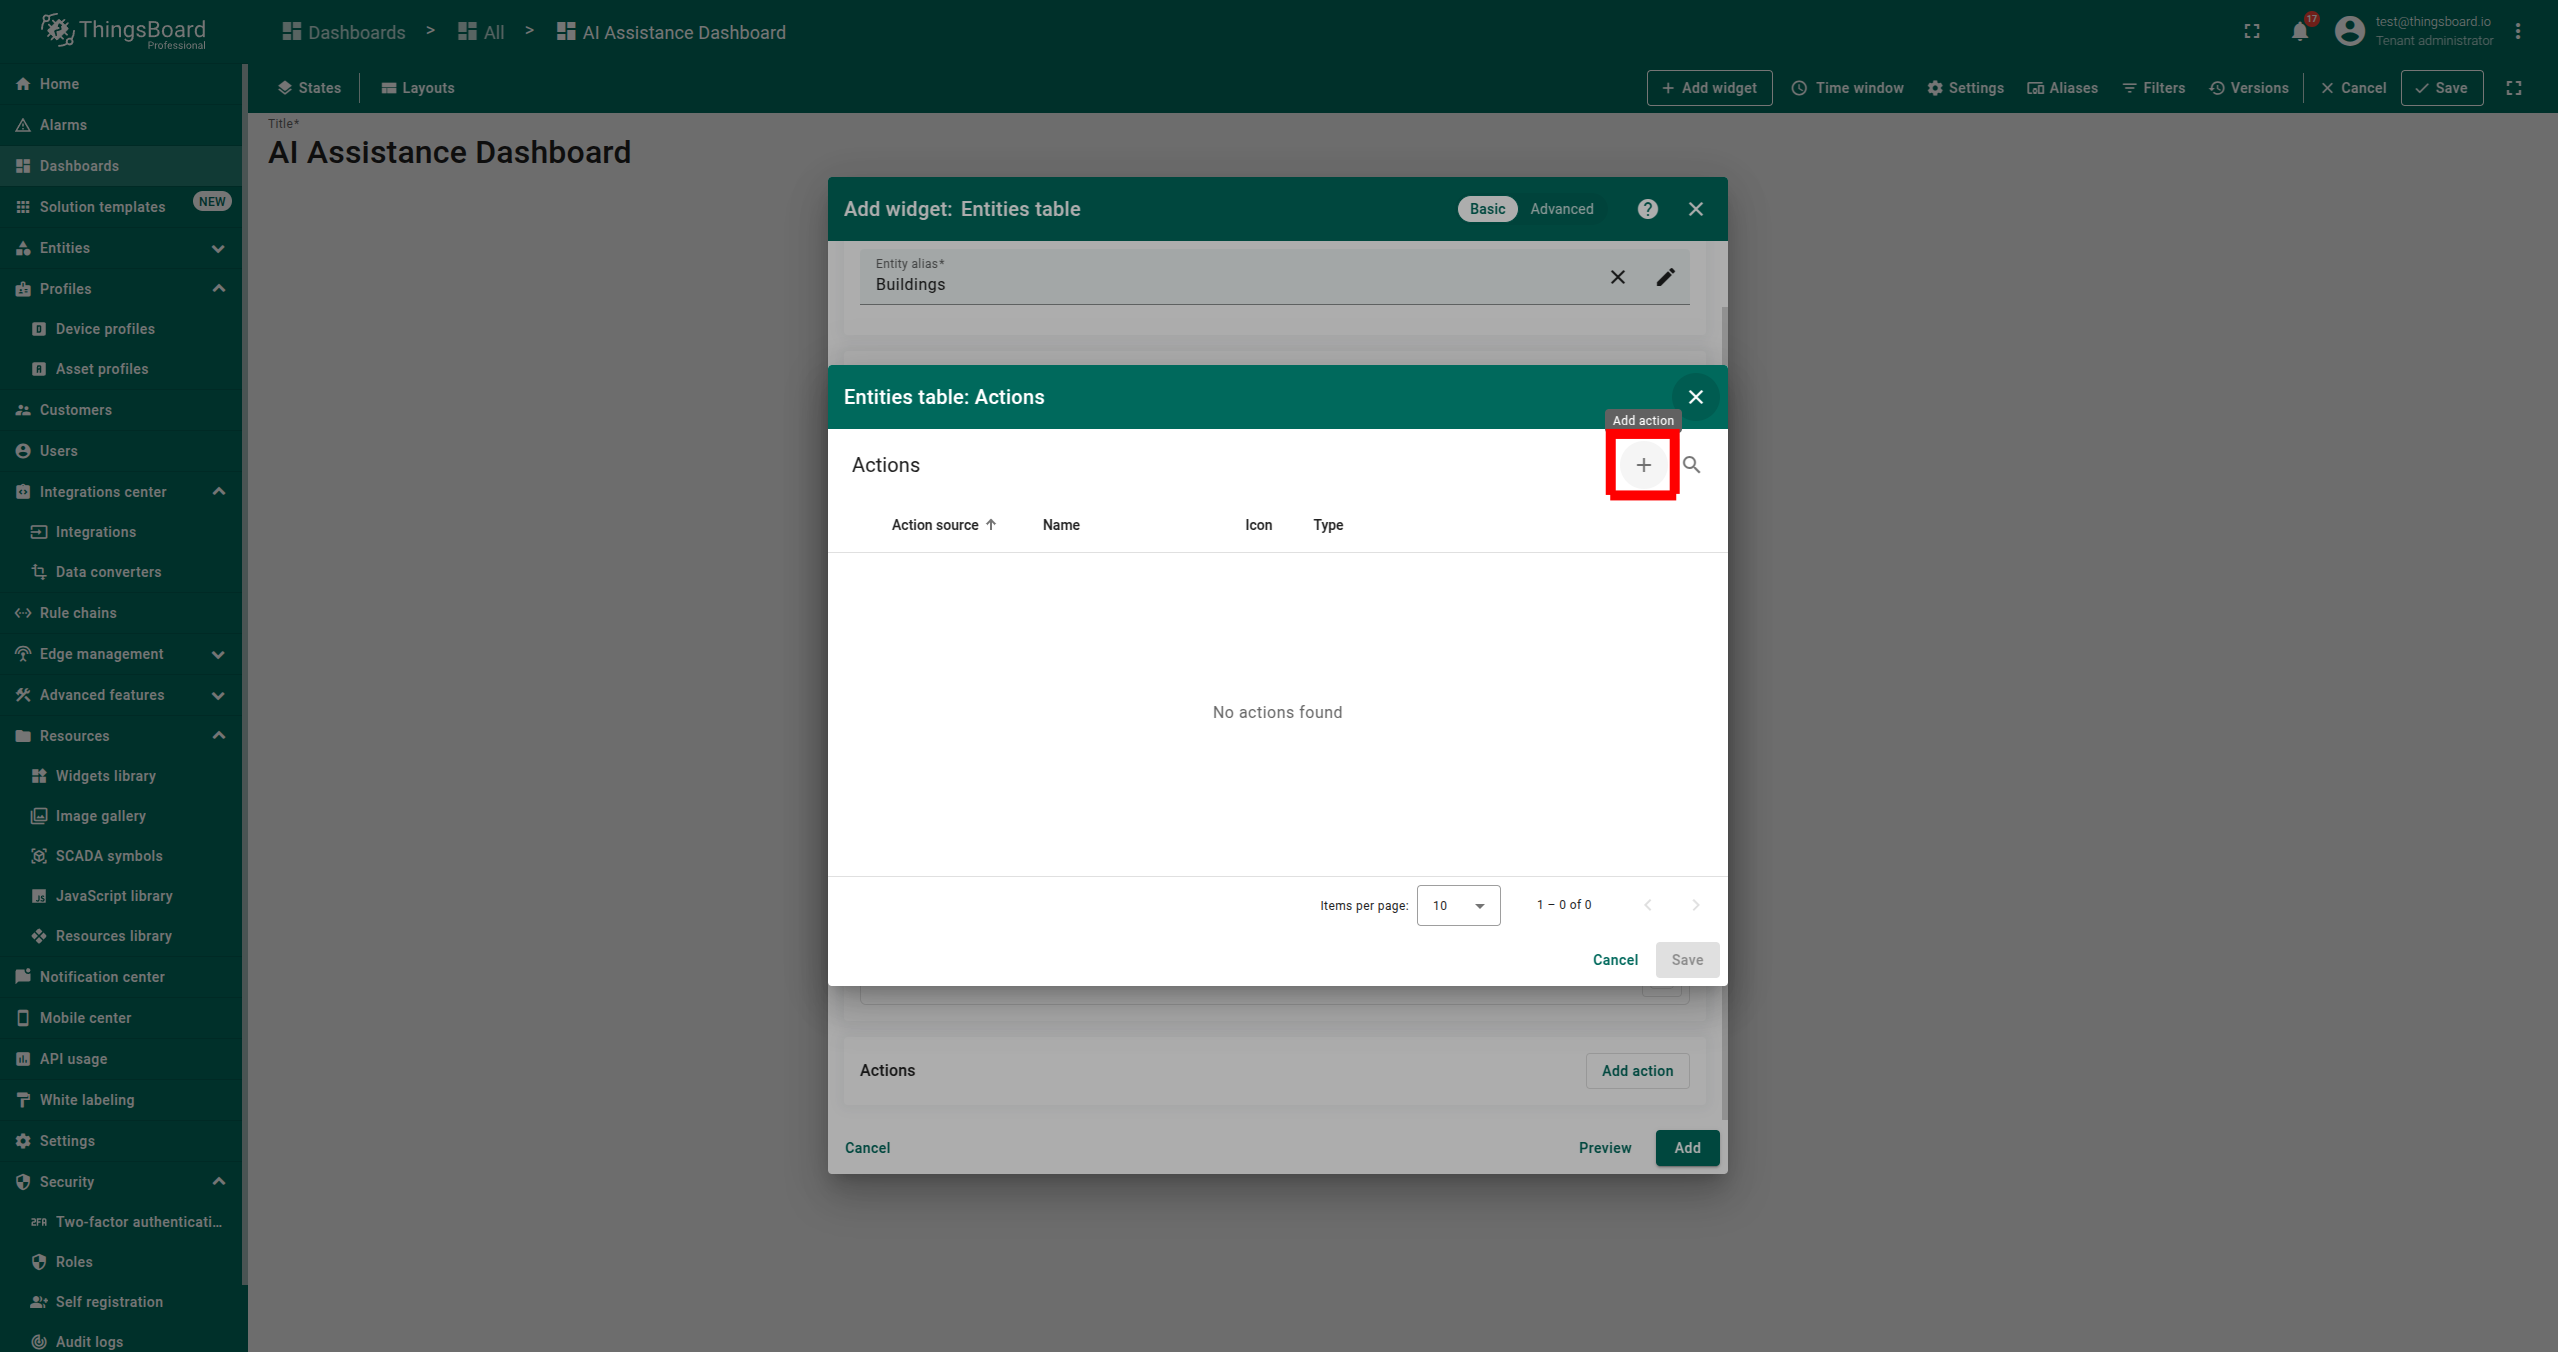
Step 3. Adding an Entities Table Widget
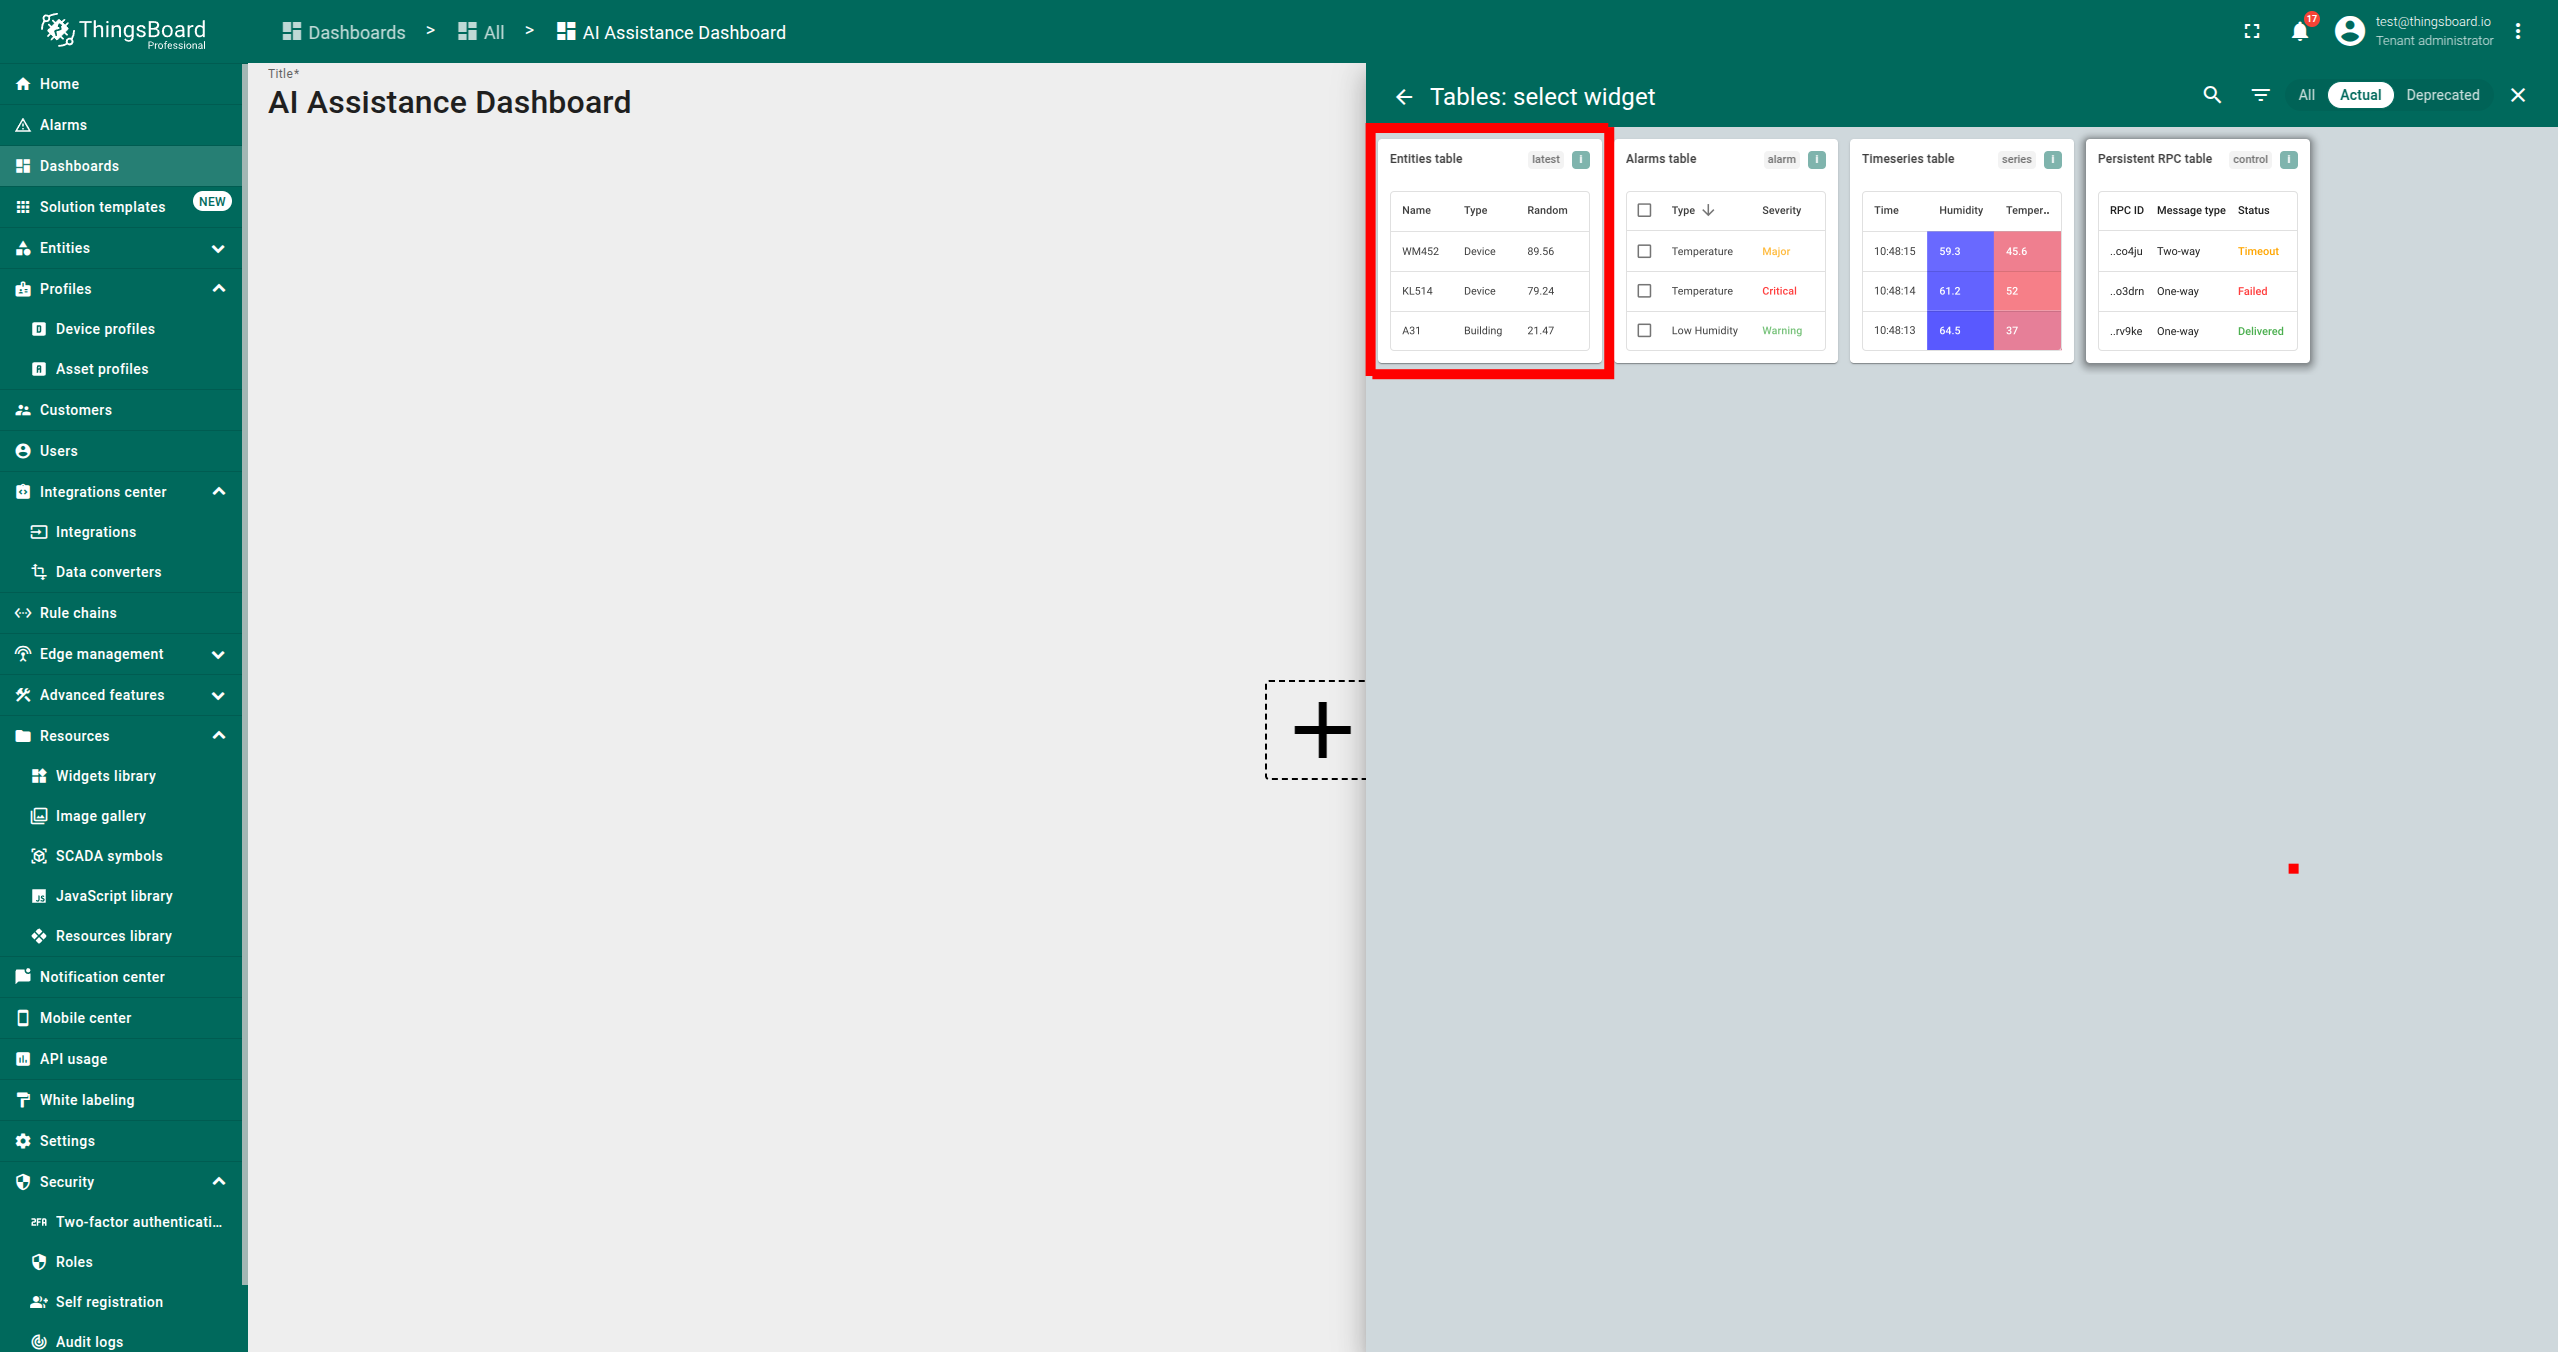
- Click Add Widget, select “Tables” → “Entities table”.
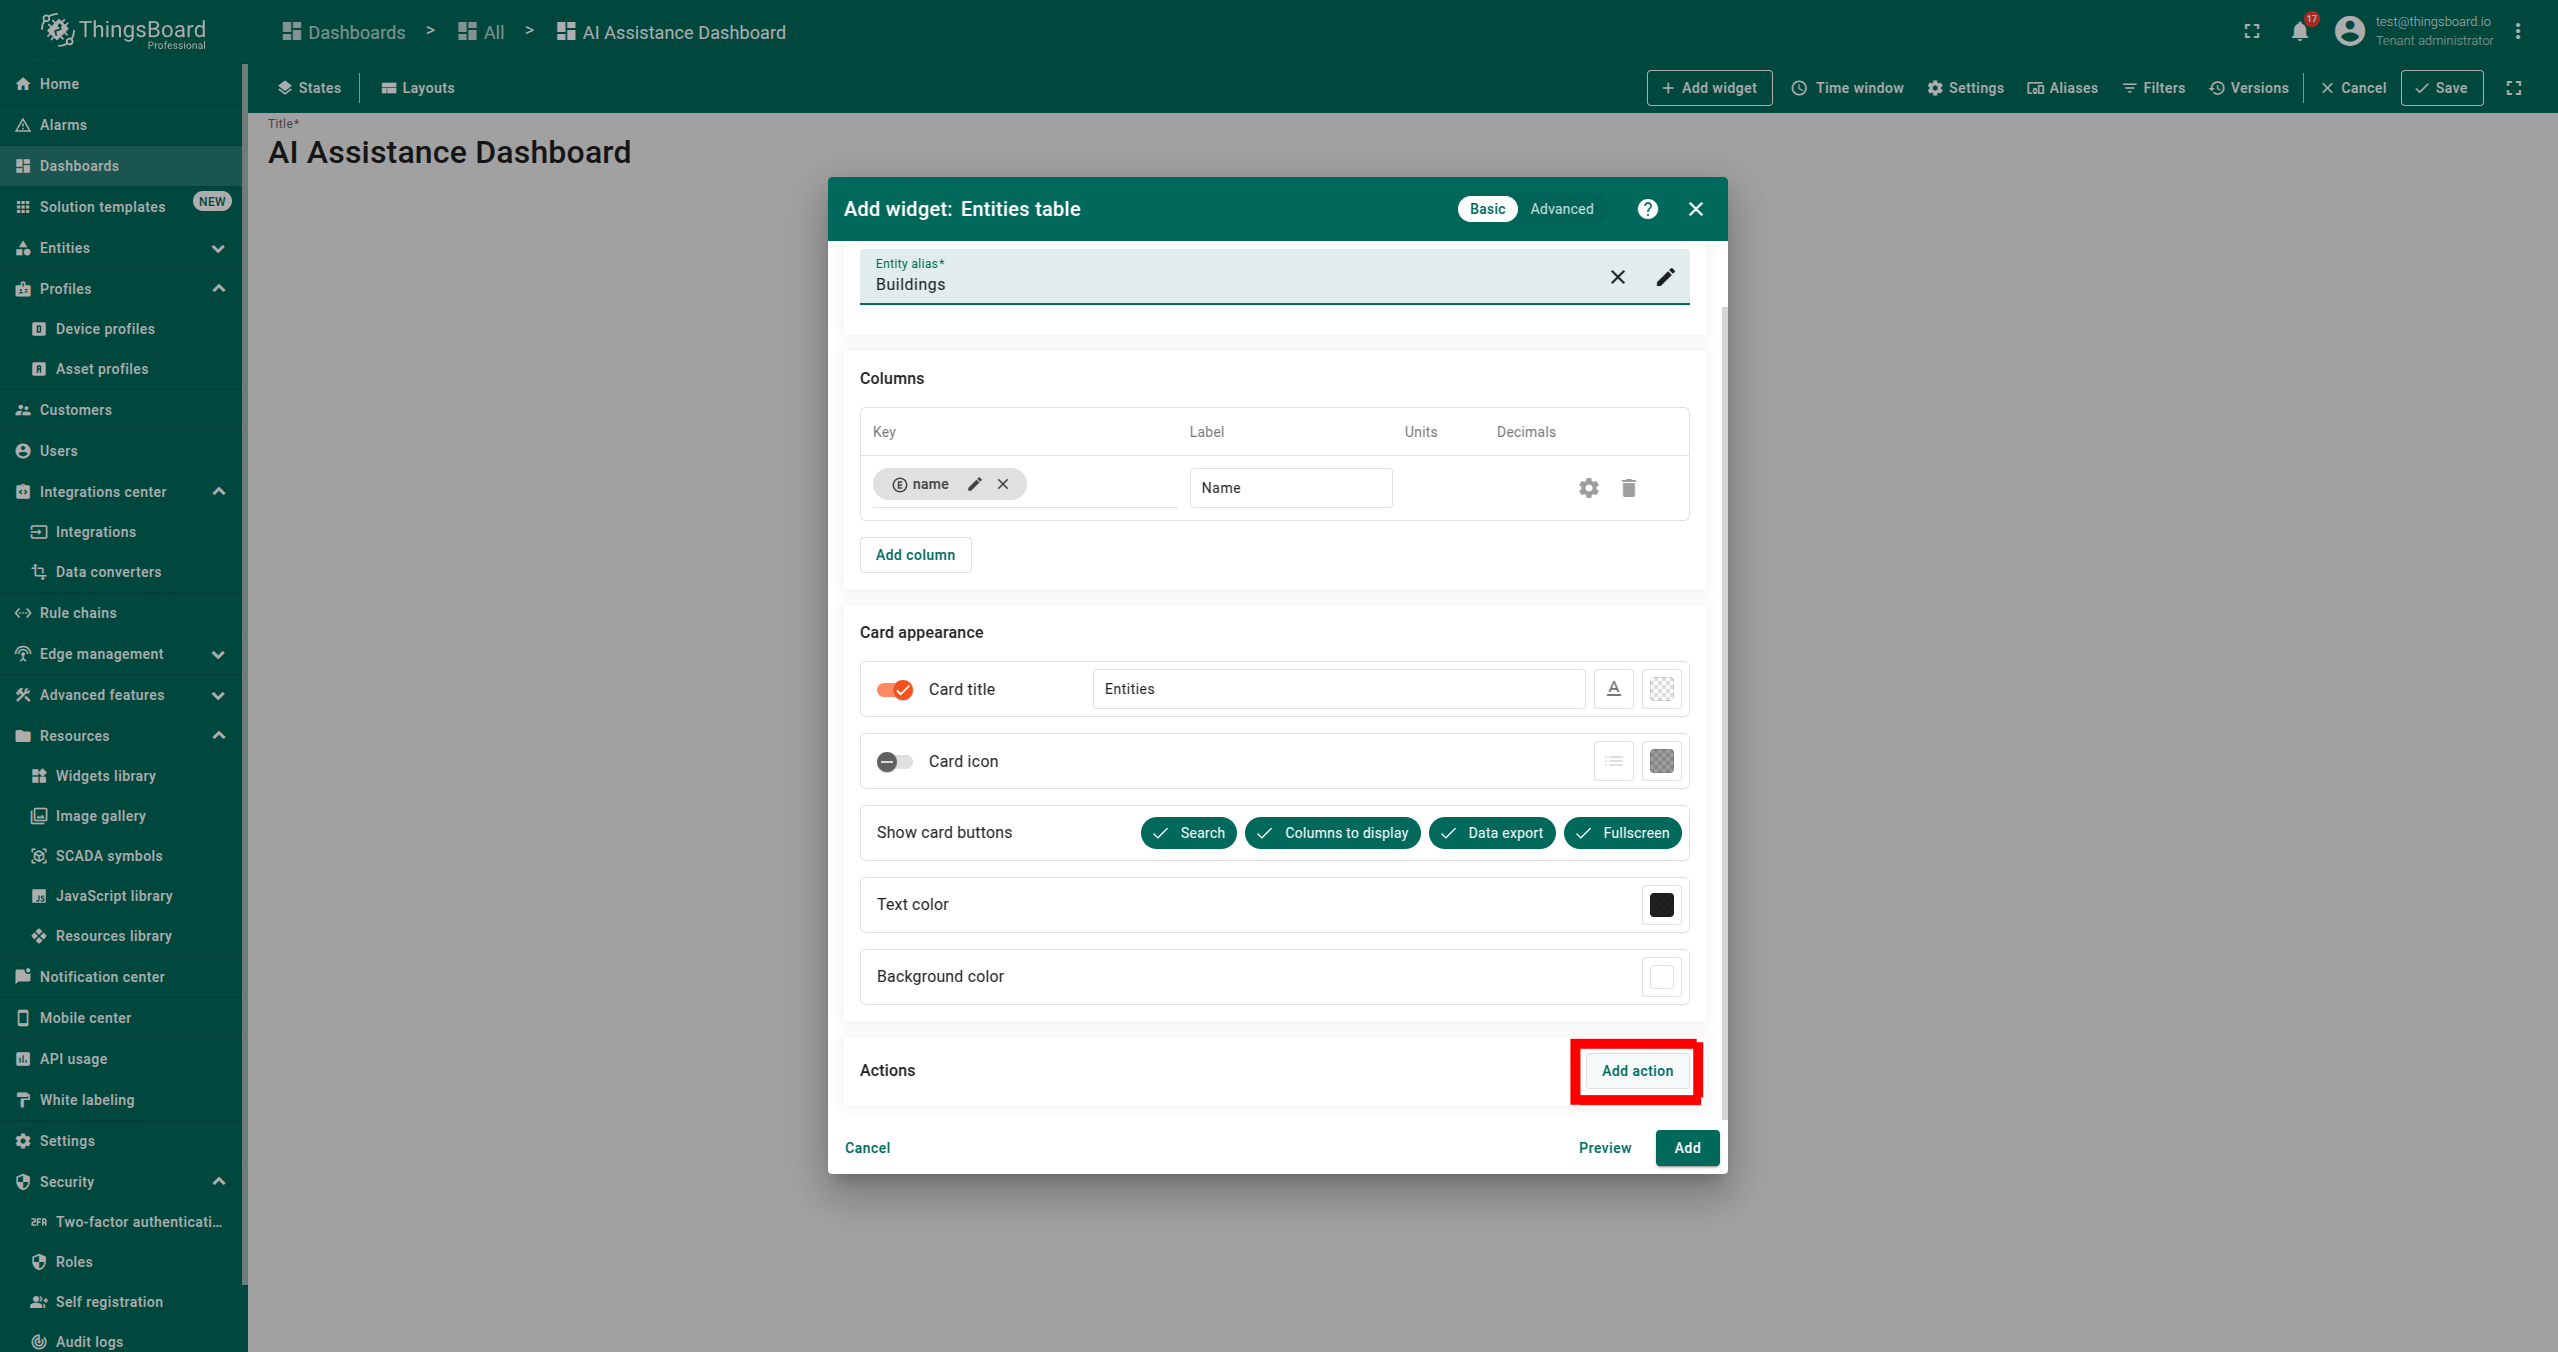
- Choose the first alias as the entity alias and click Add action.
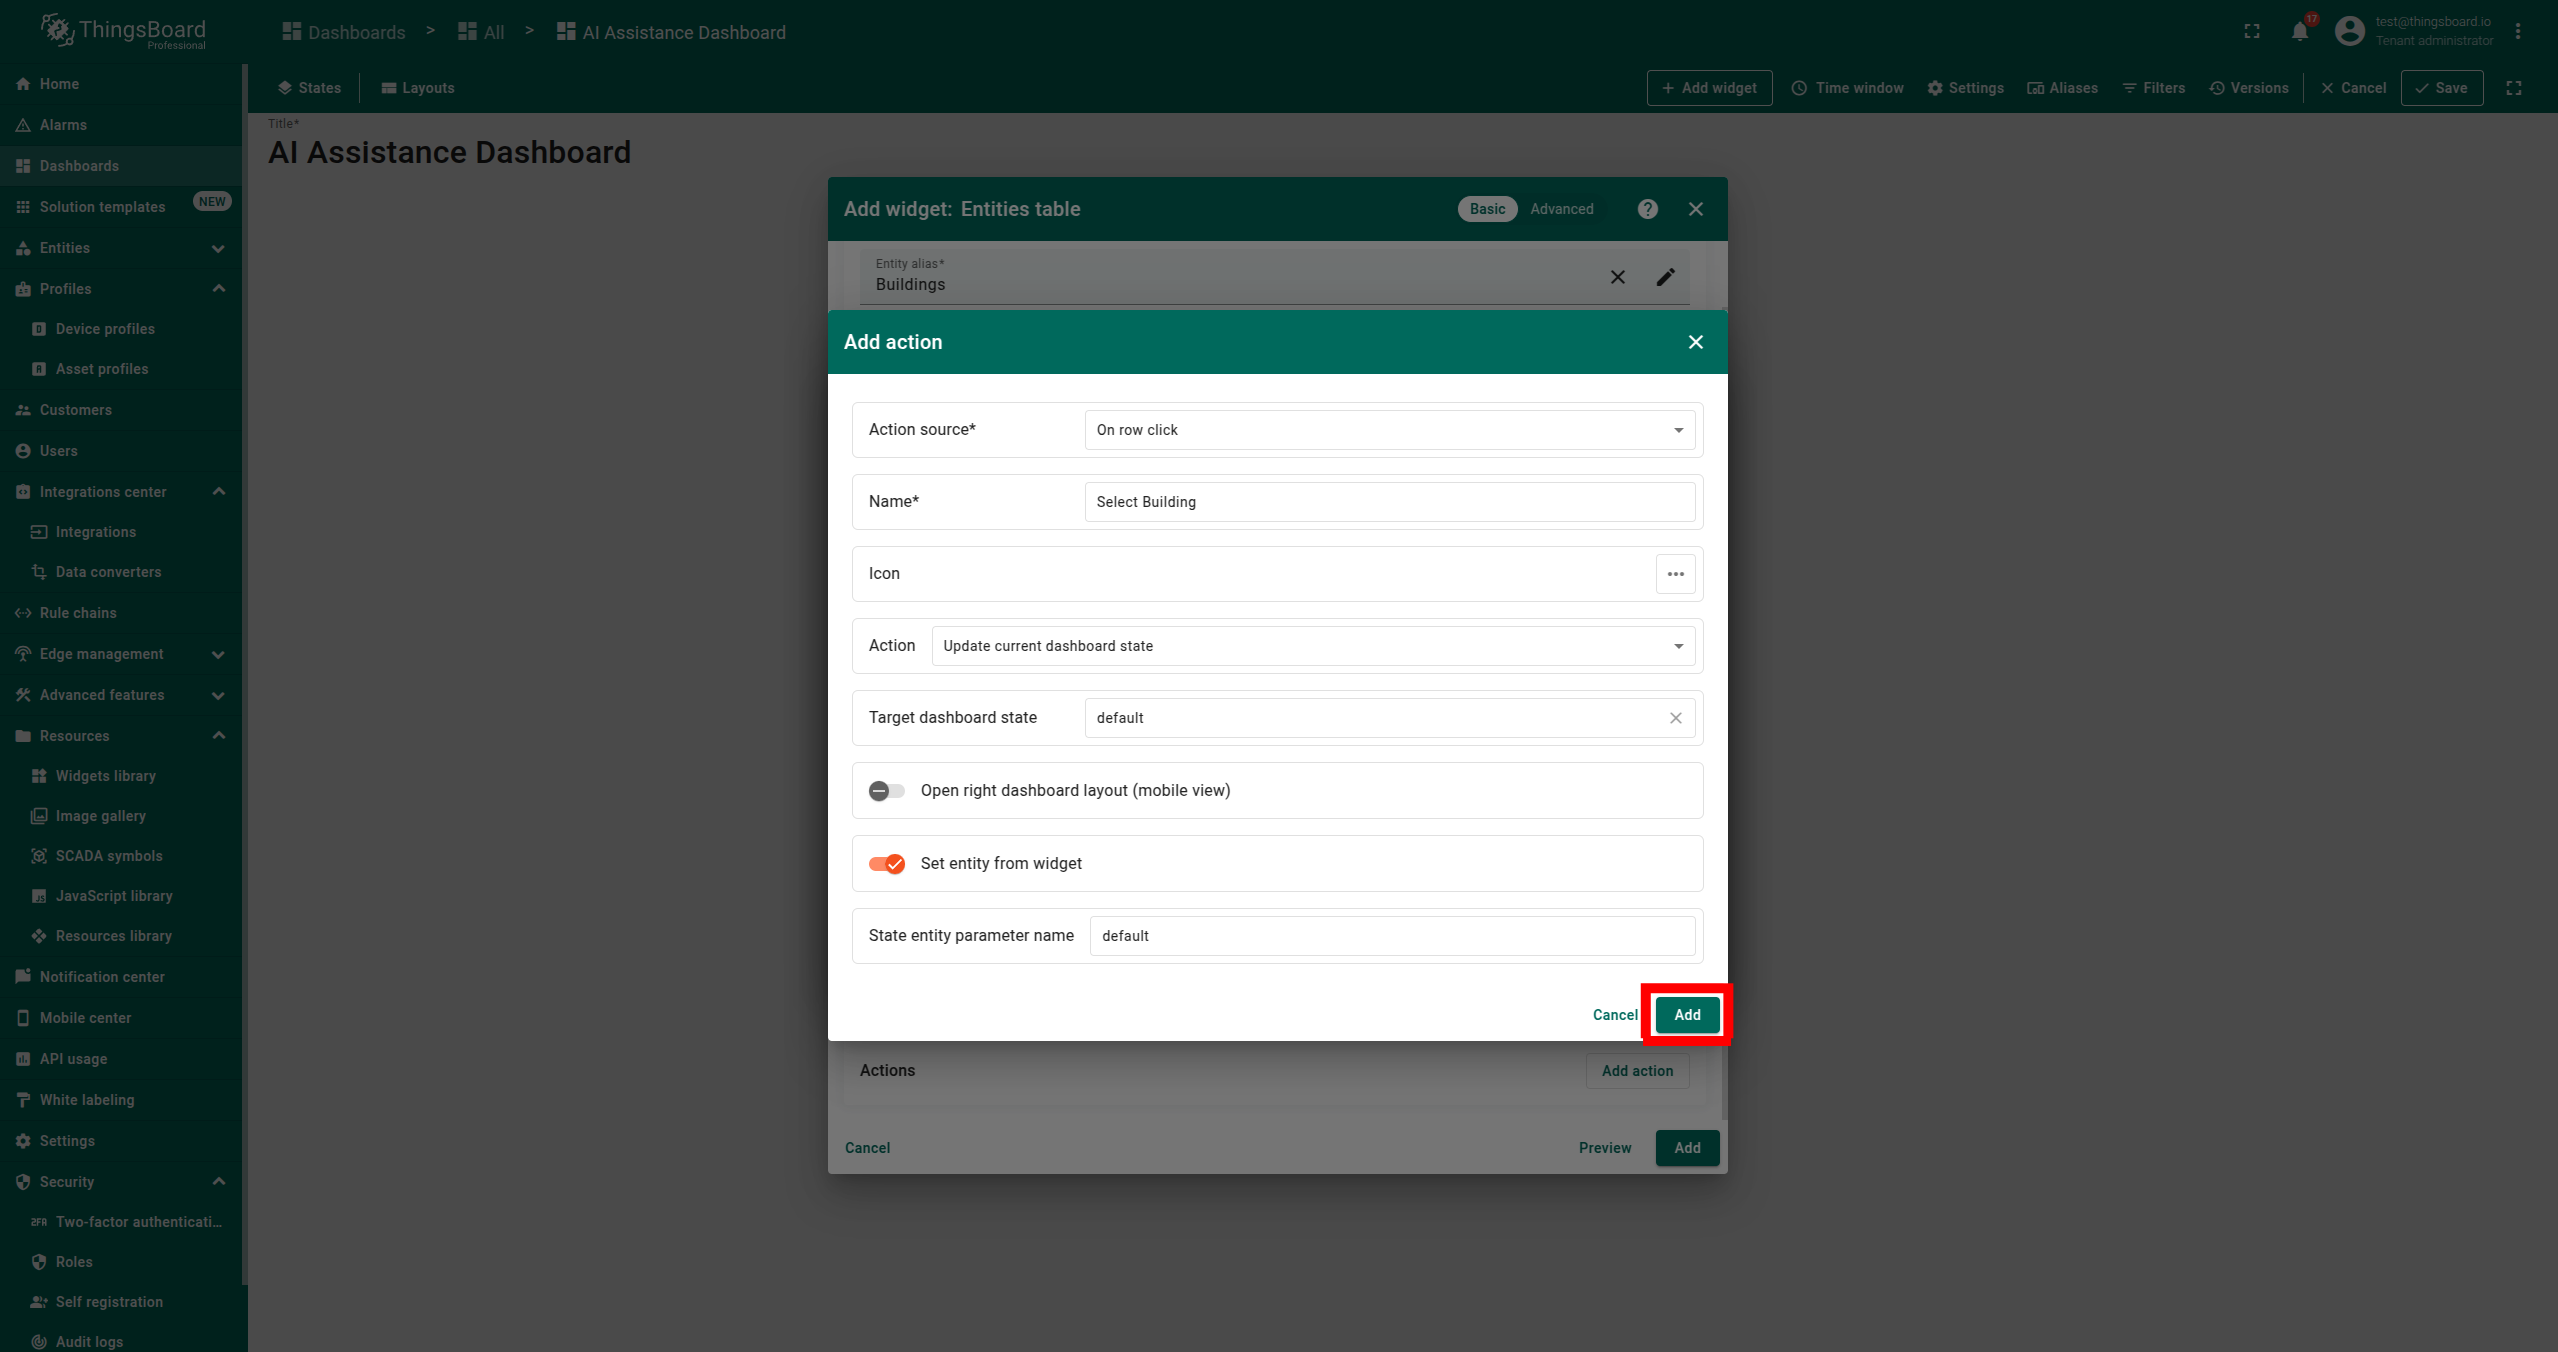
- Configure the action:
- Set Action source as On row click.
- Set any Name.
- Set State entity parameter name as default.
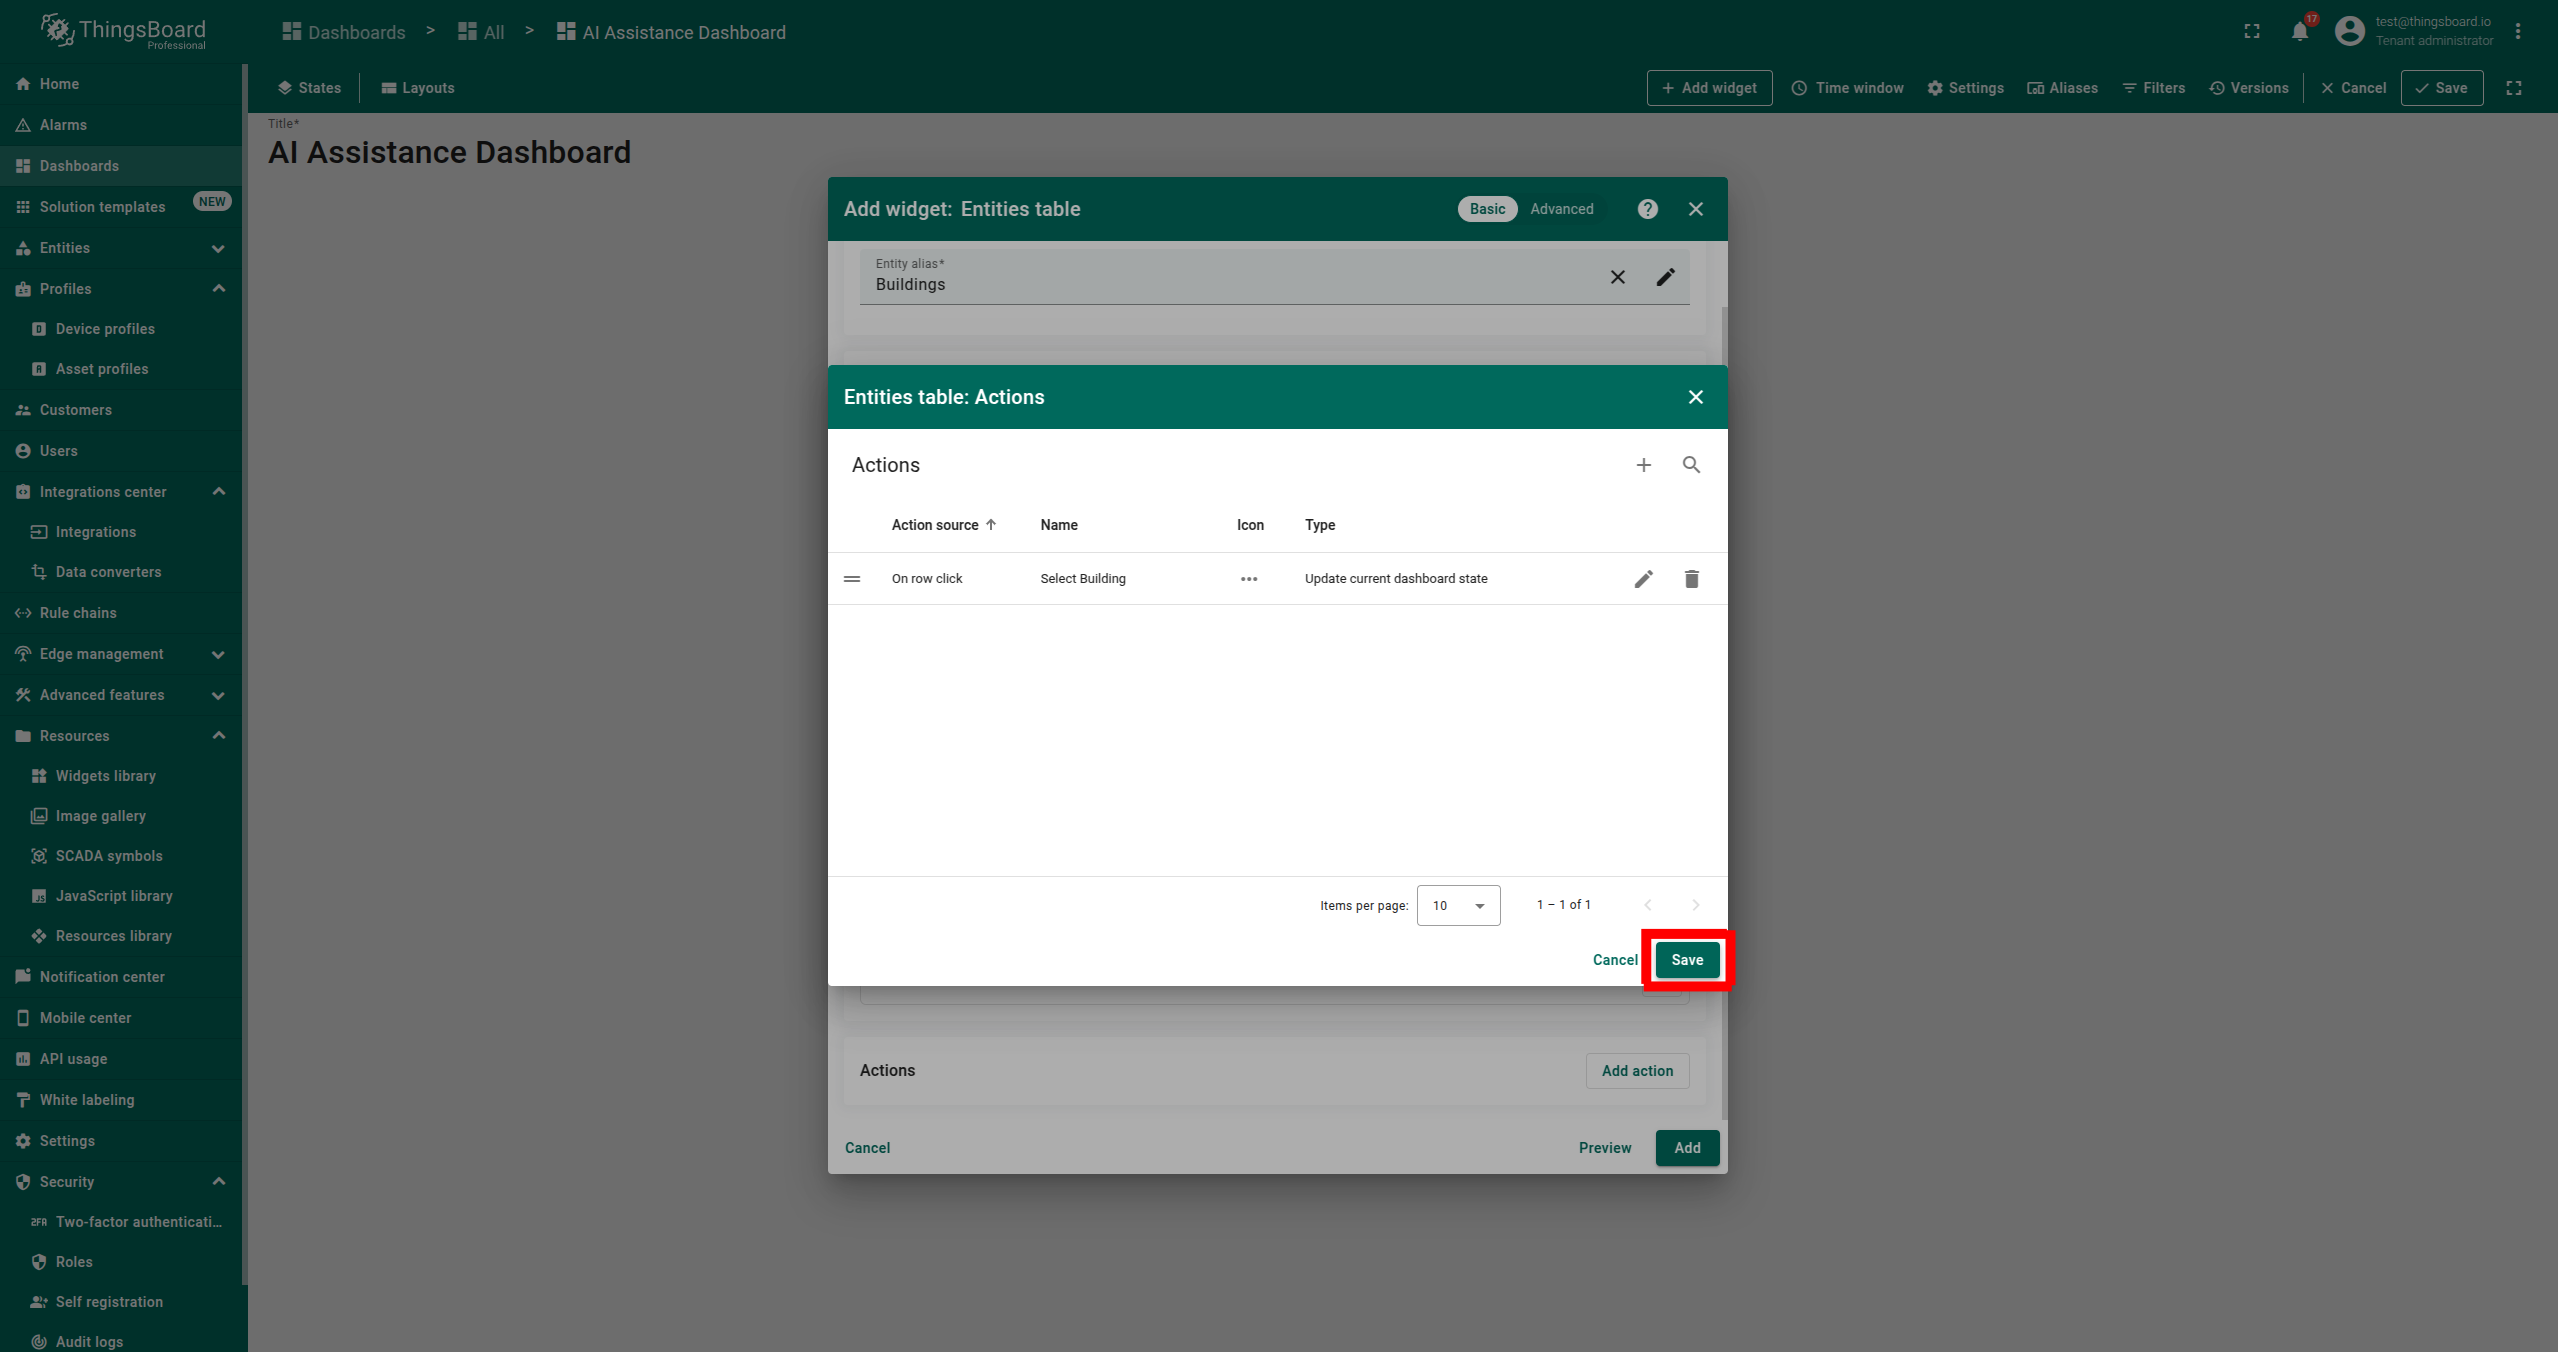
- Click Save and ensure one action is added.
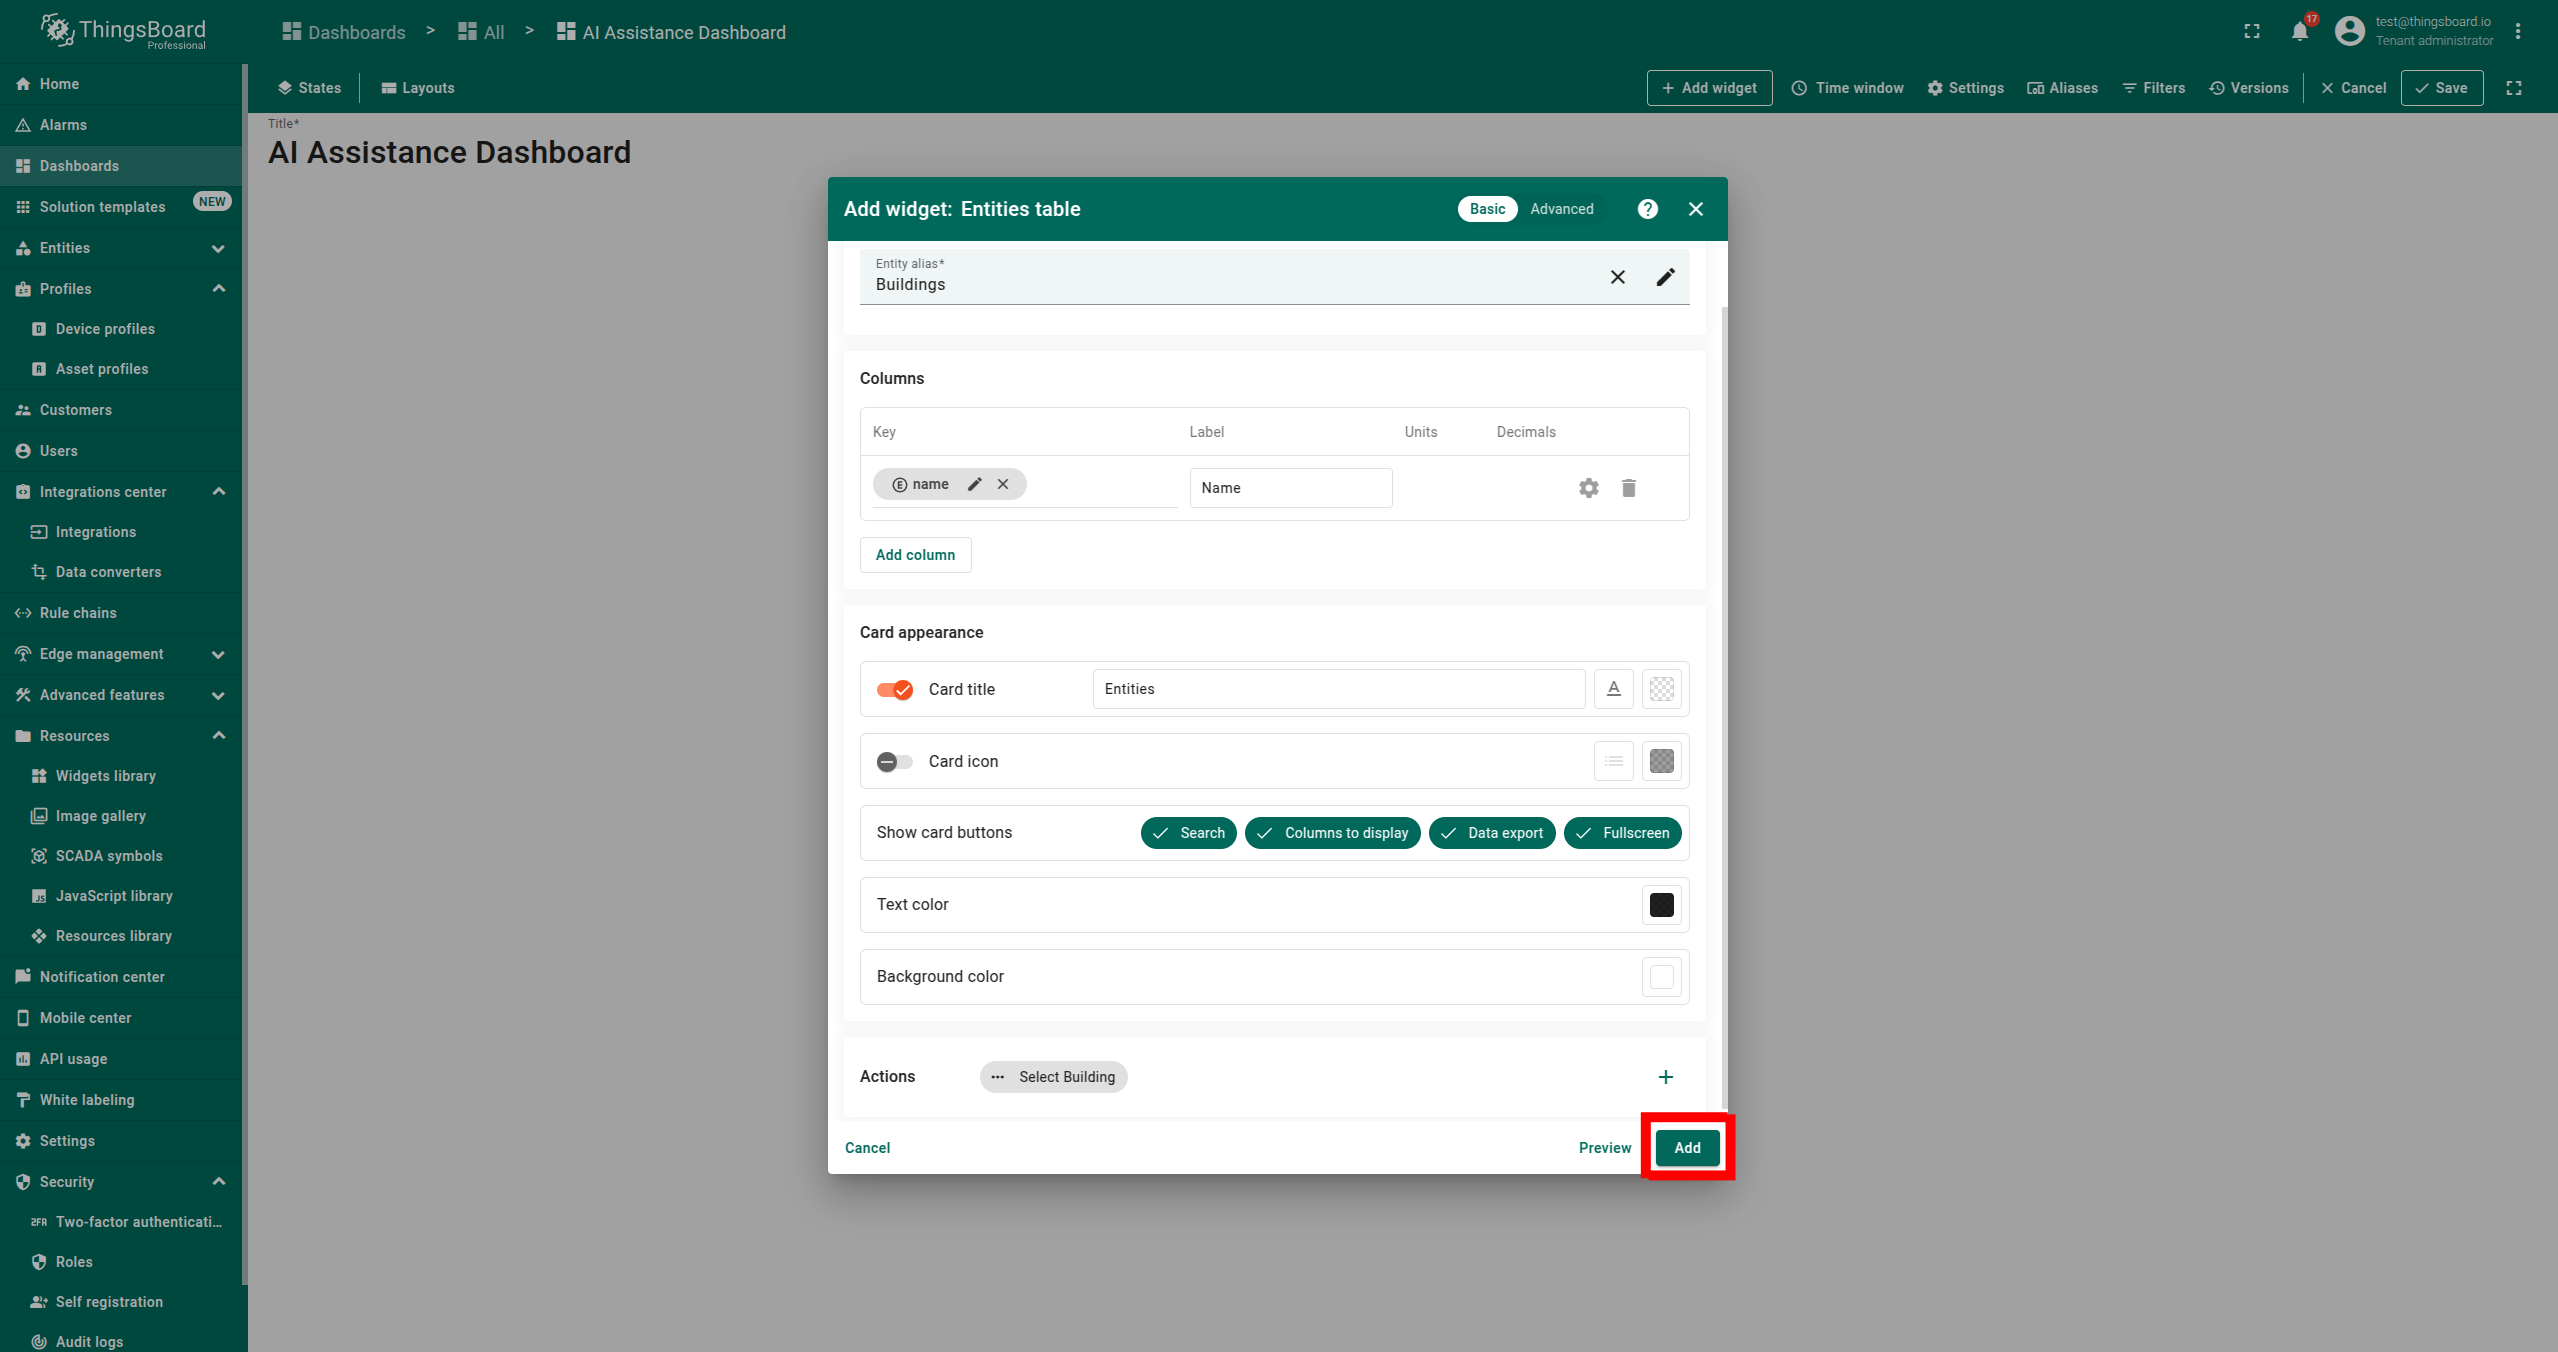
- Click Add to finalize.
- Ensure you see a table with your assets.
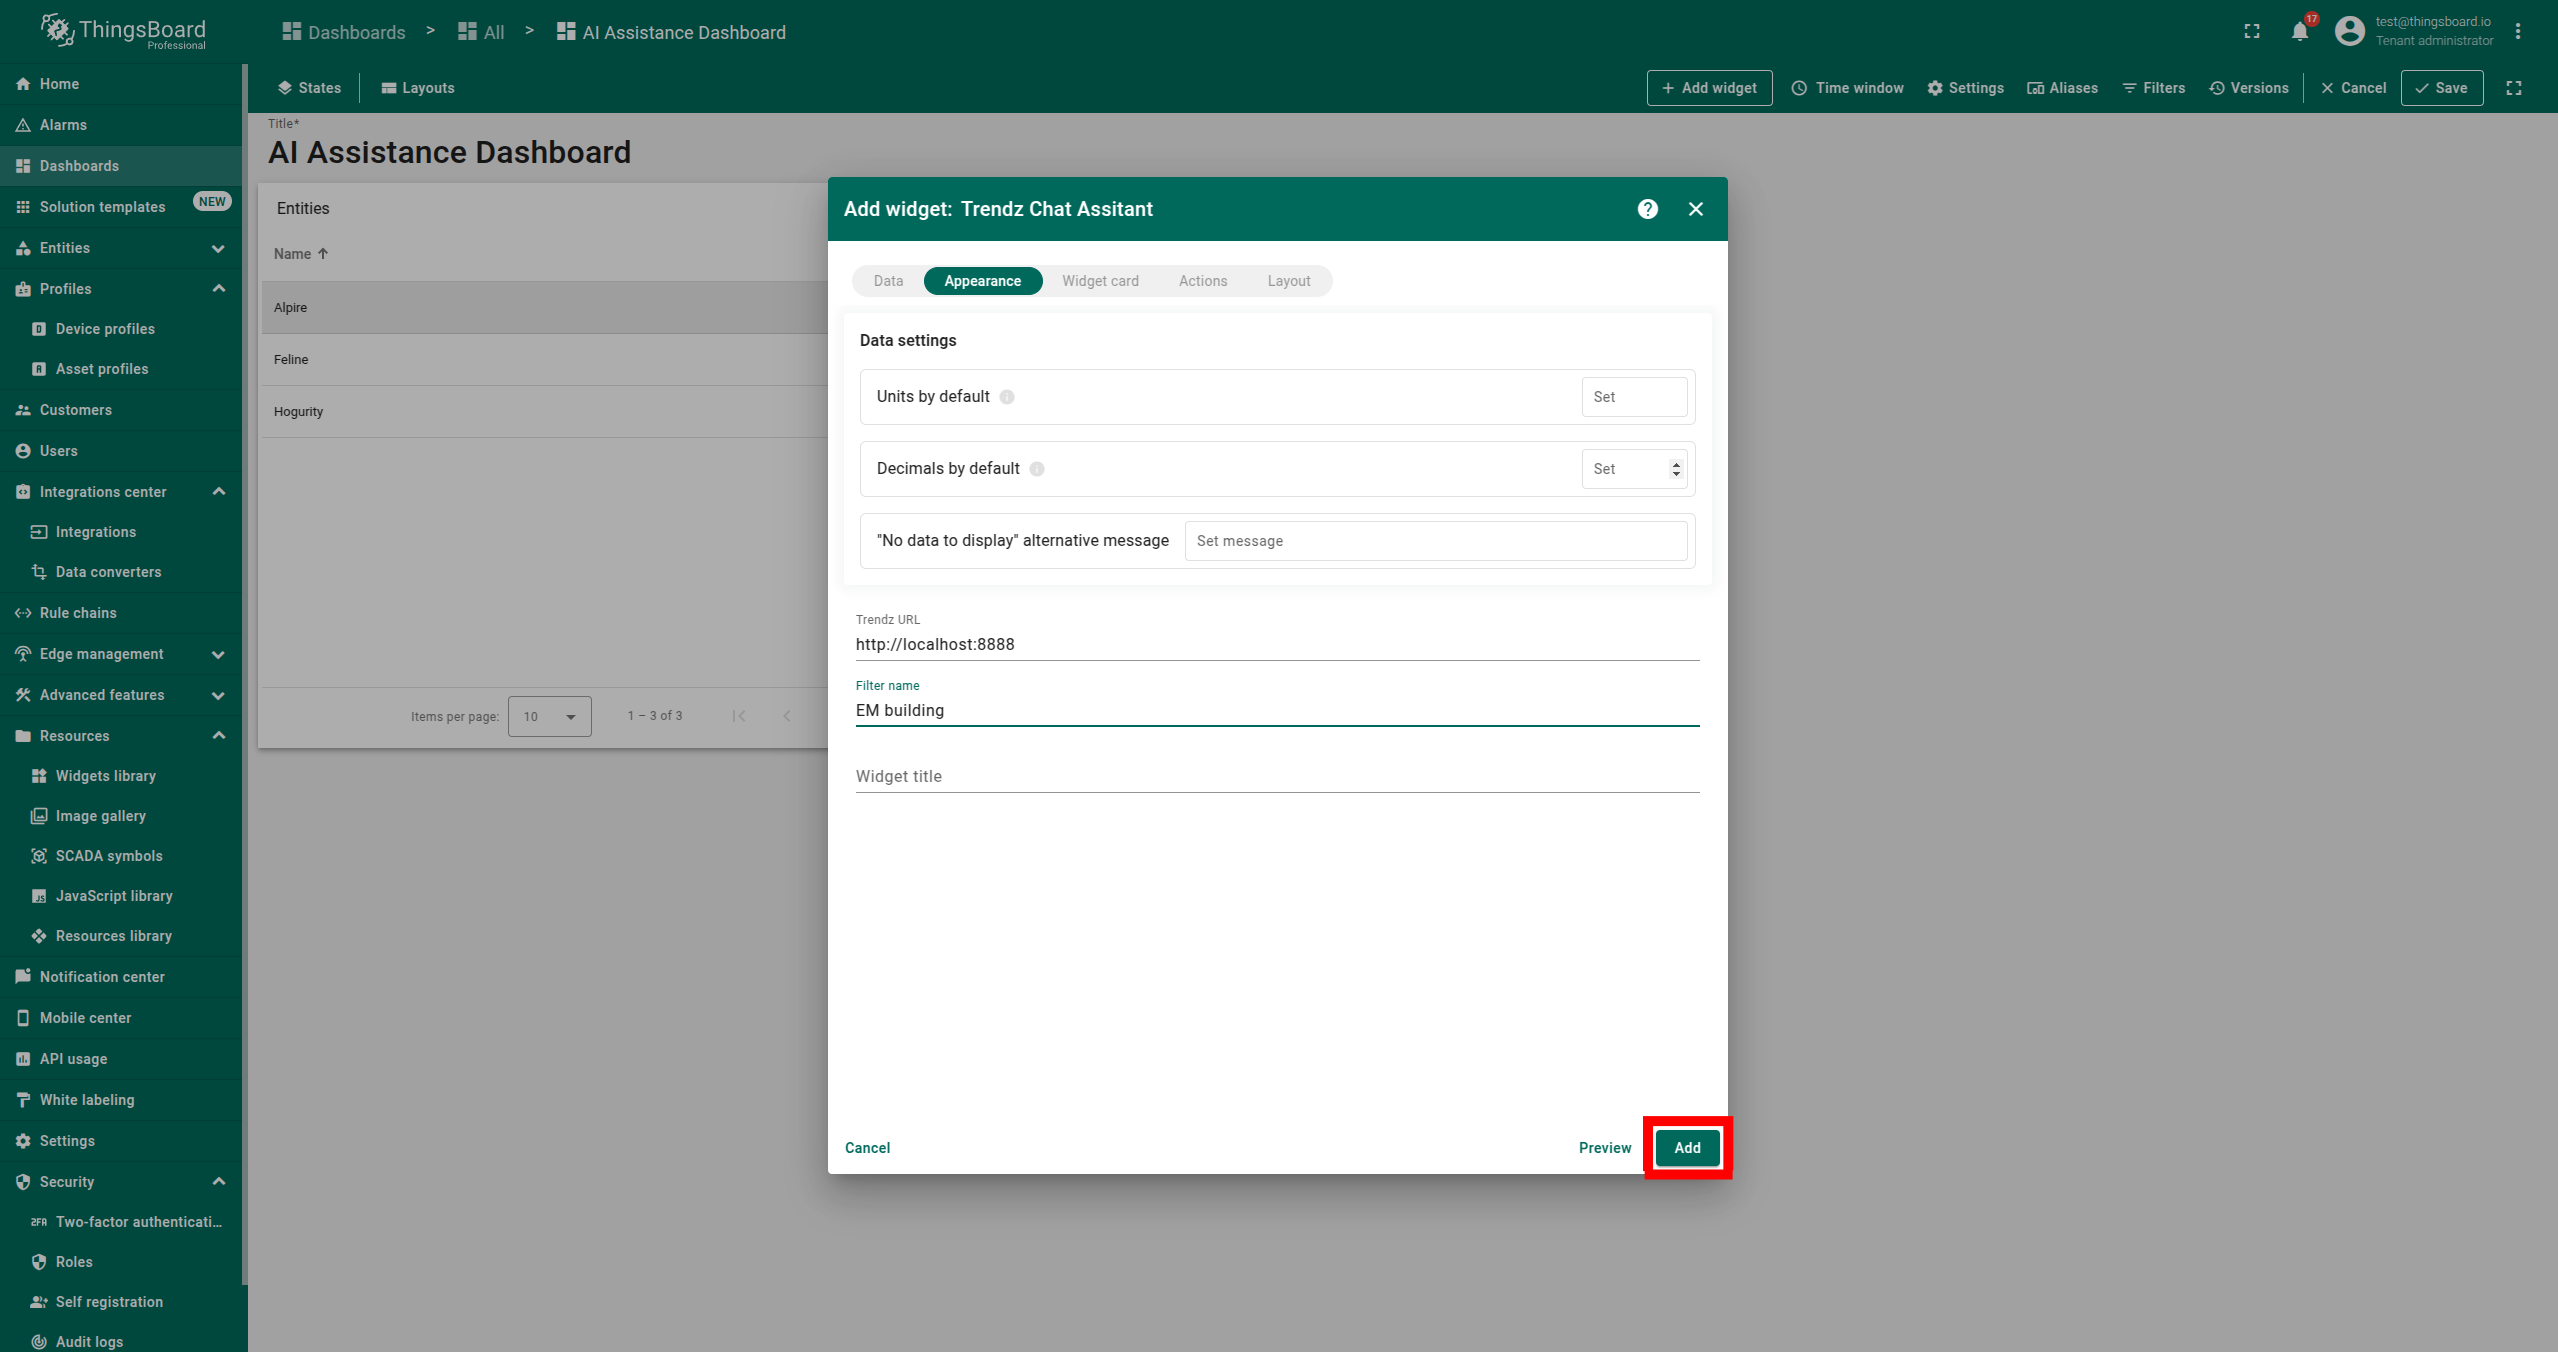
Step 4. Adding advanced Analytics Chat Assistant Widget
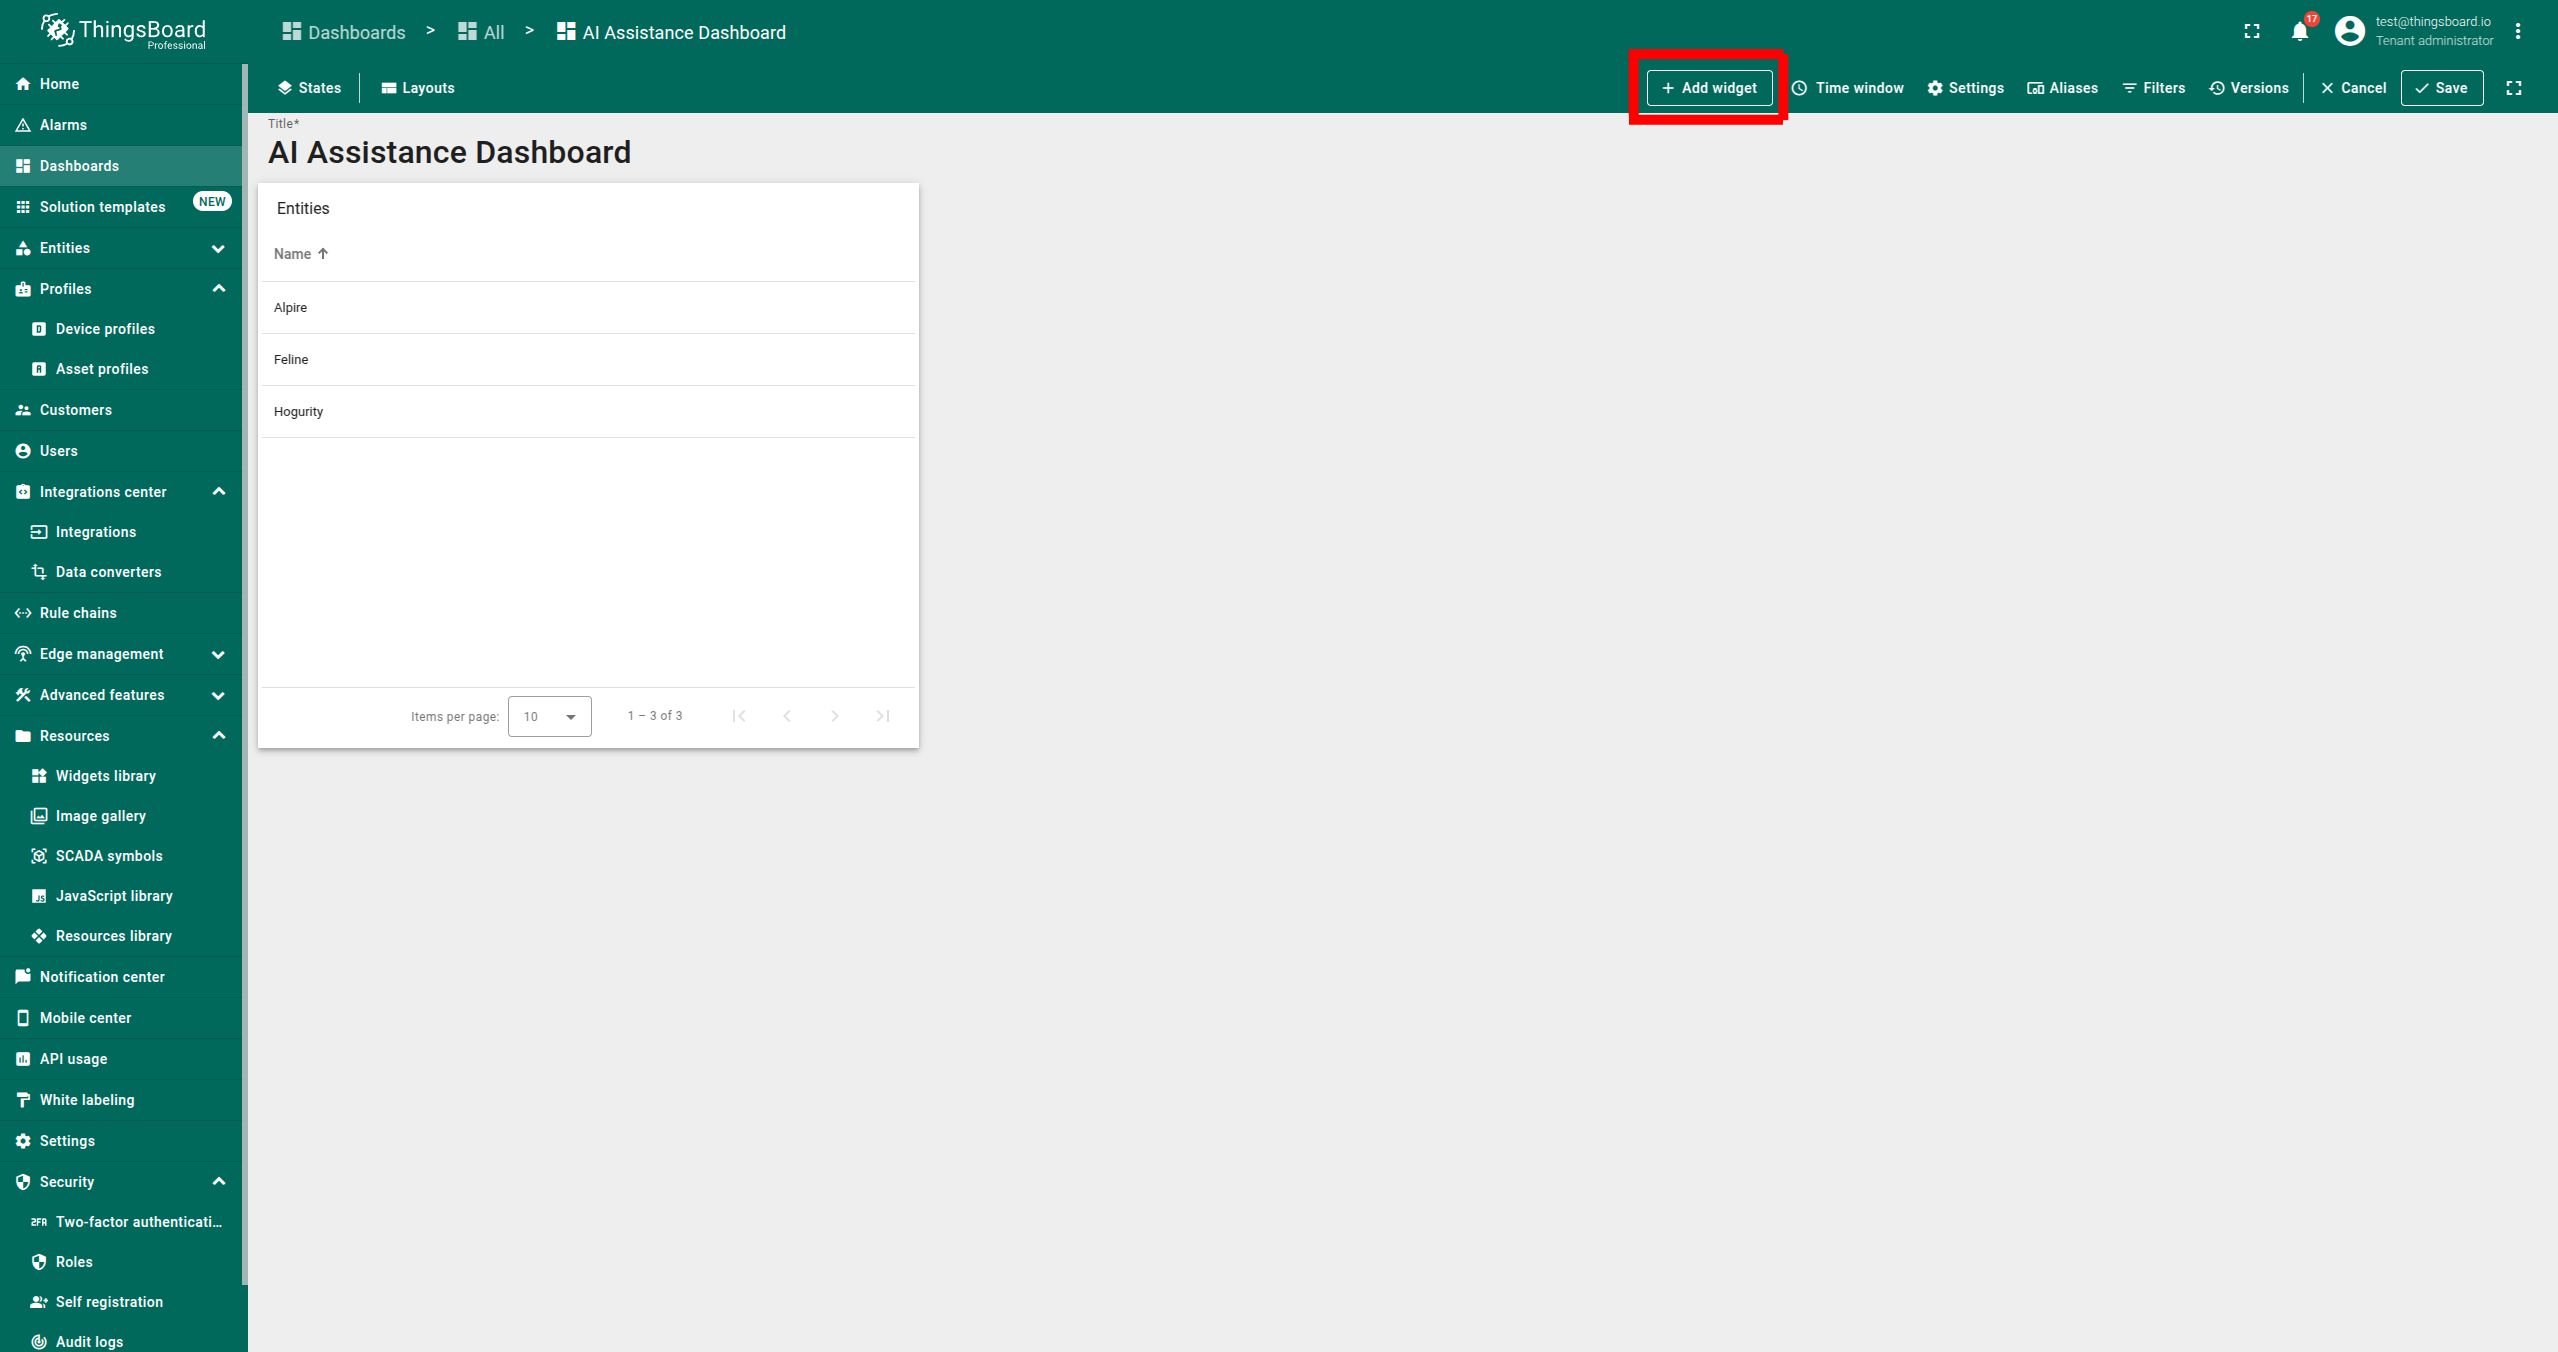
- Click + Add widget.
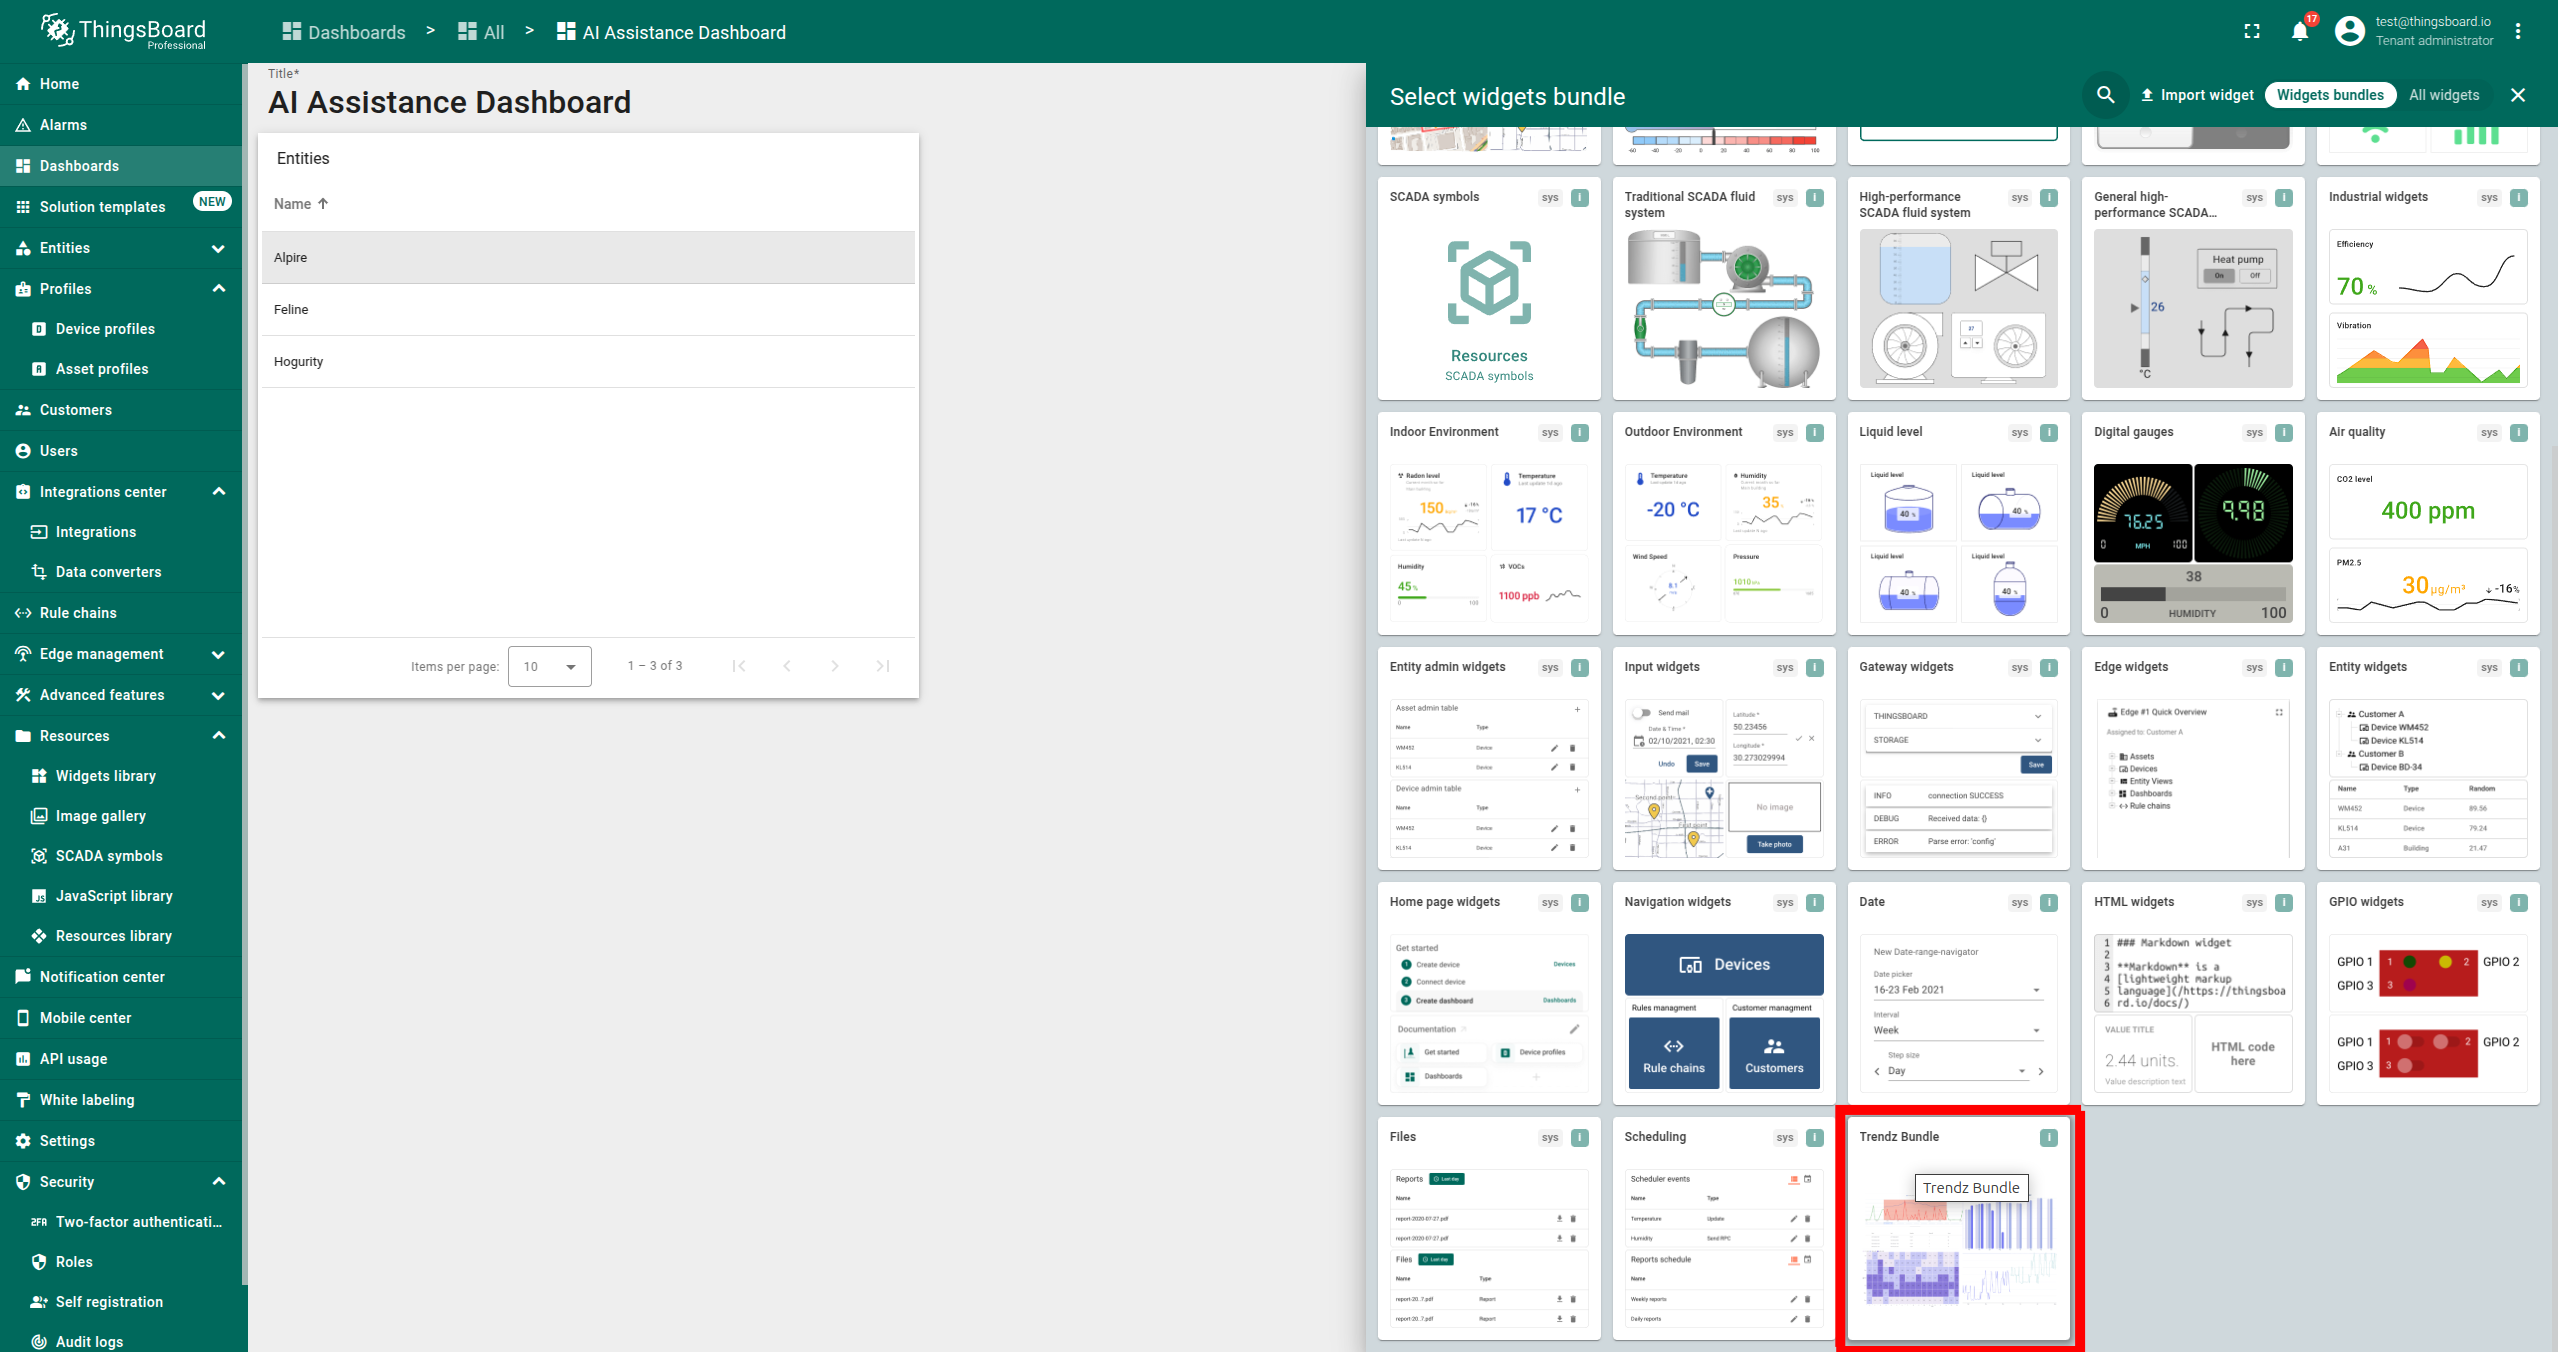
- Select Advanced analytics Bundle.
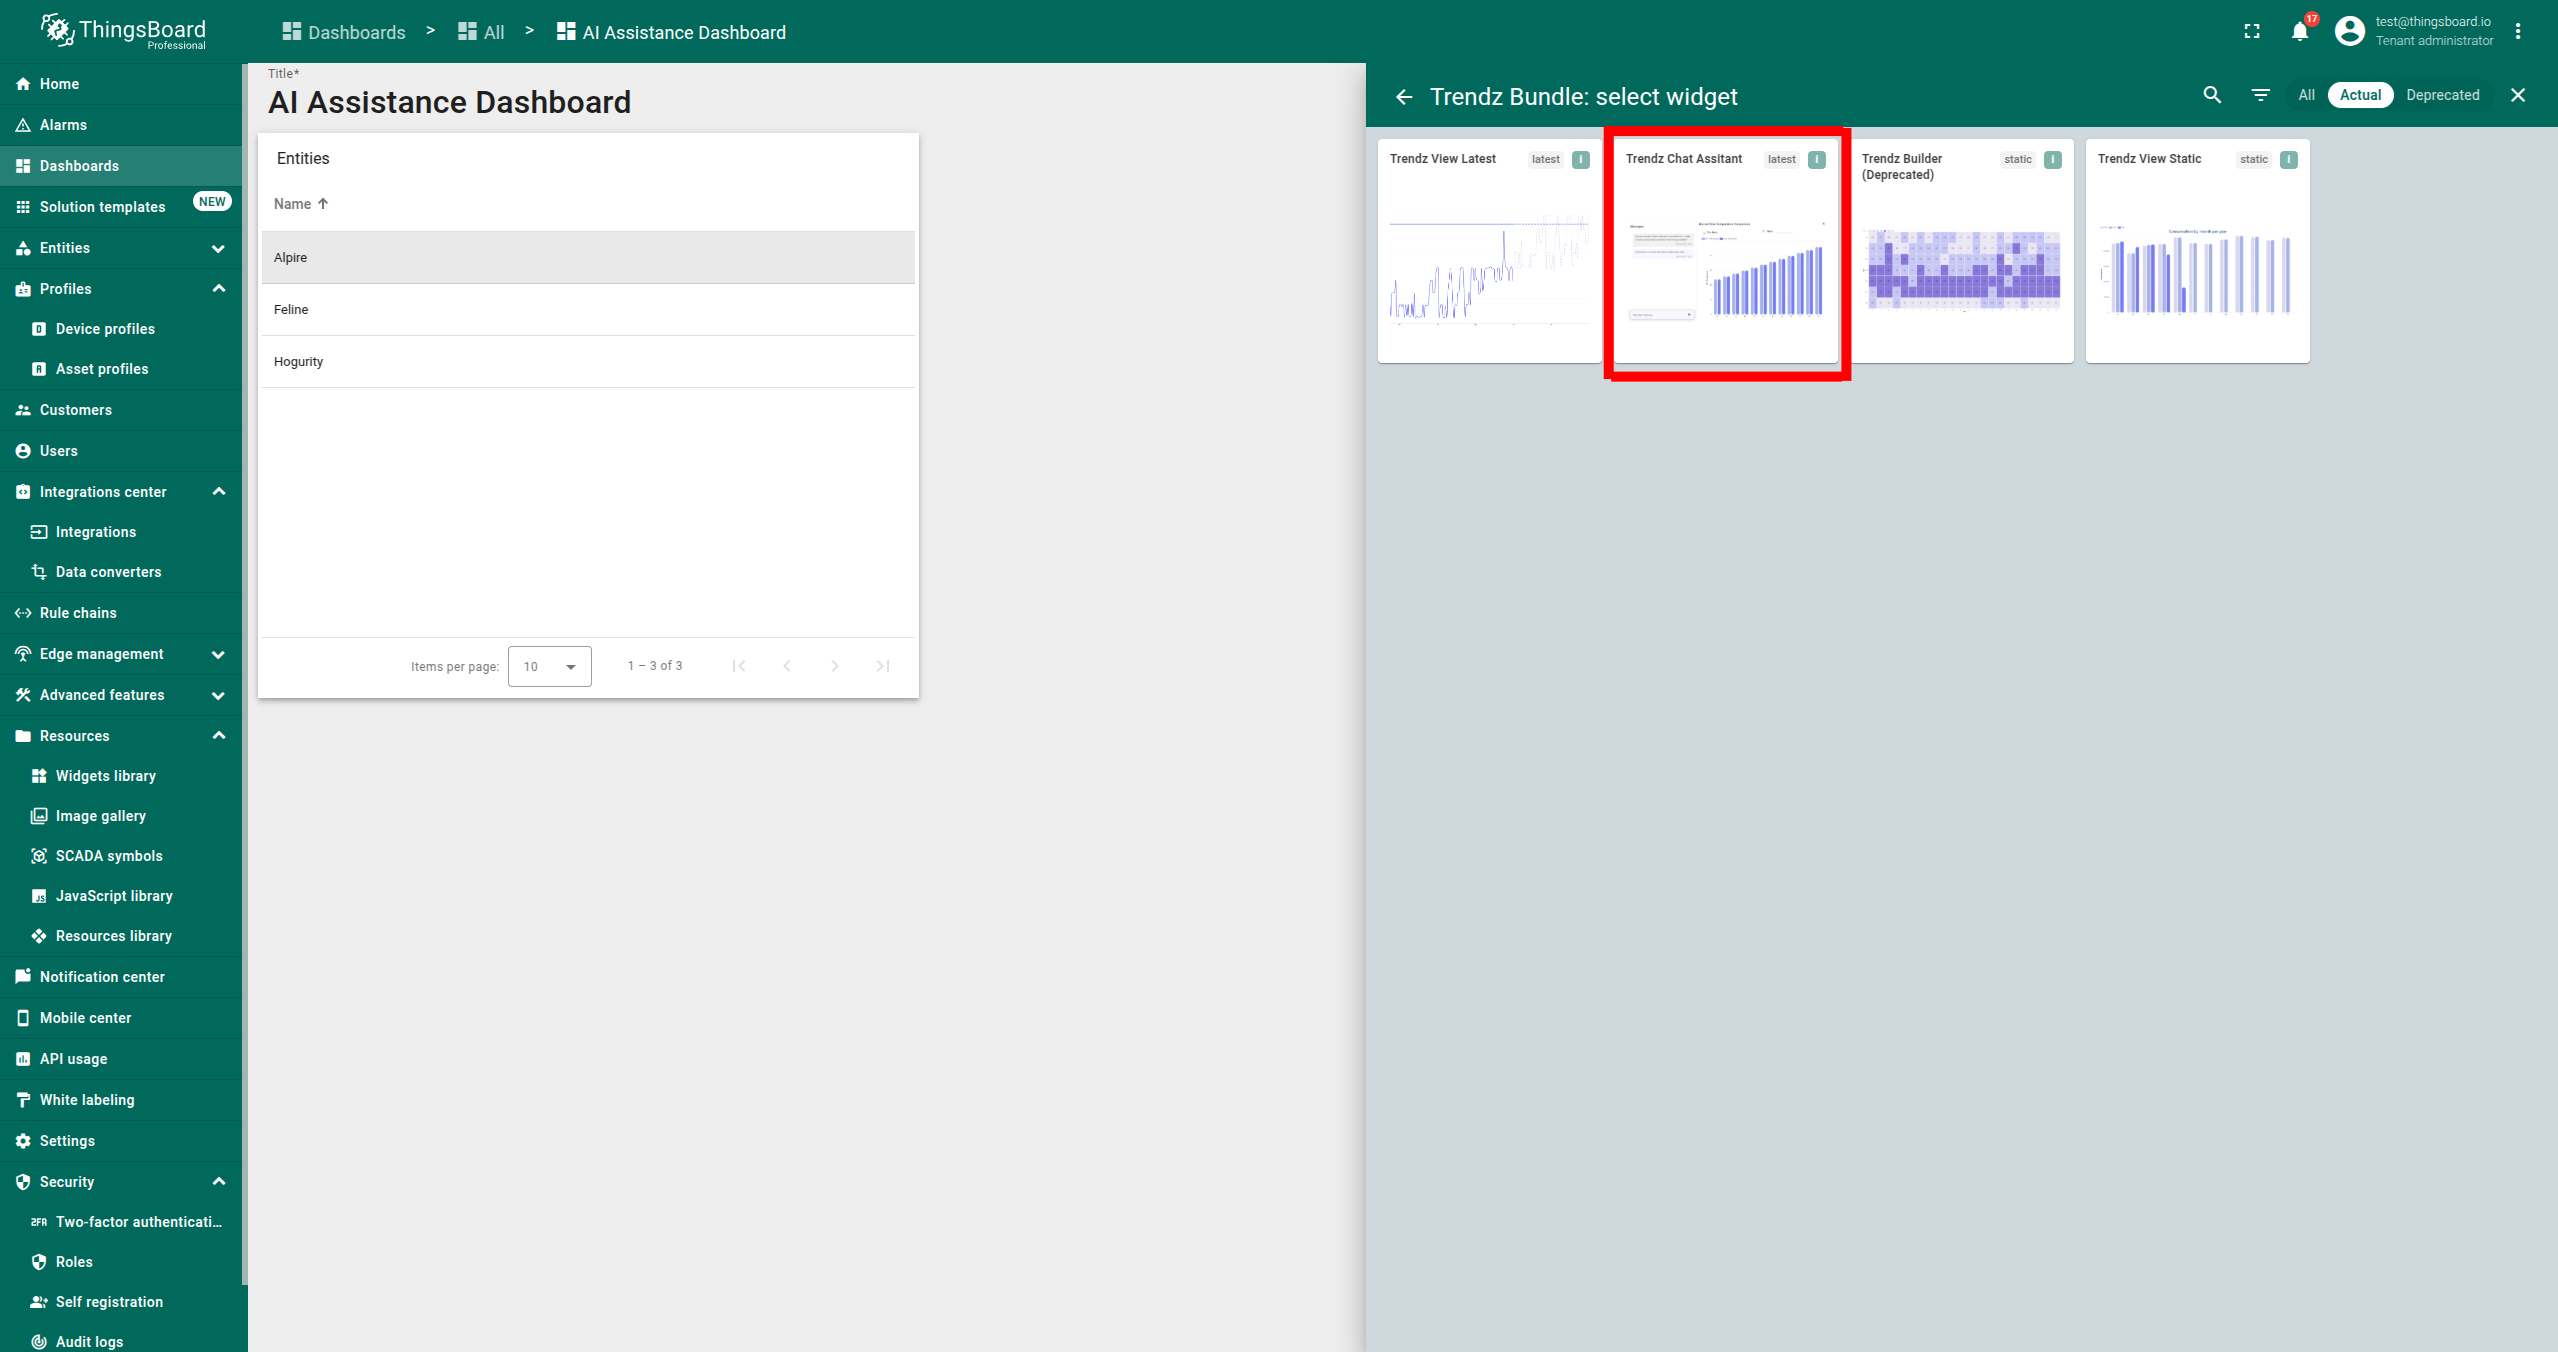
- Select Advanced analytics Chat Assistant.
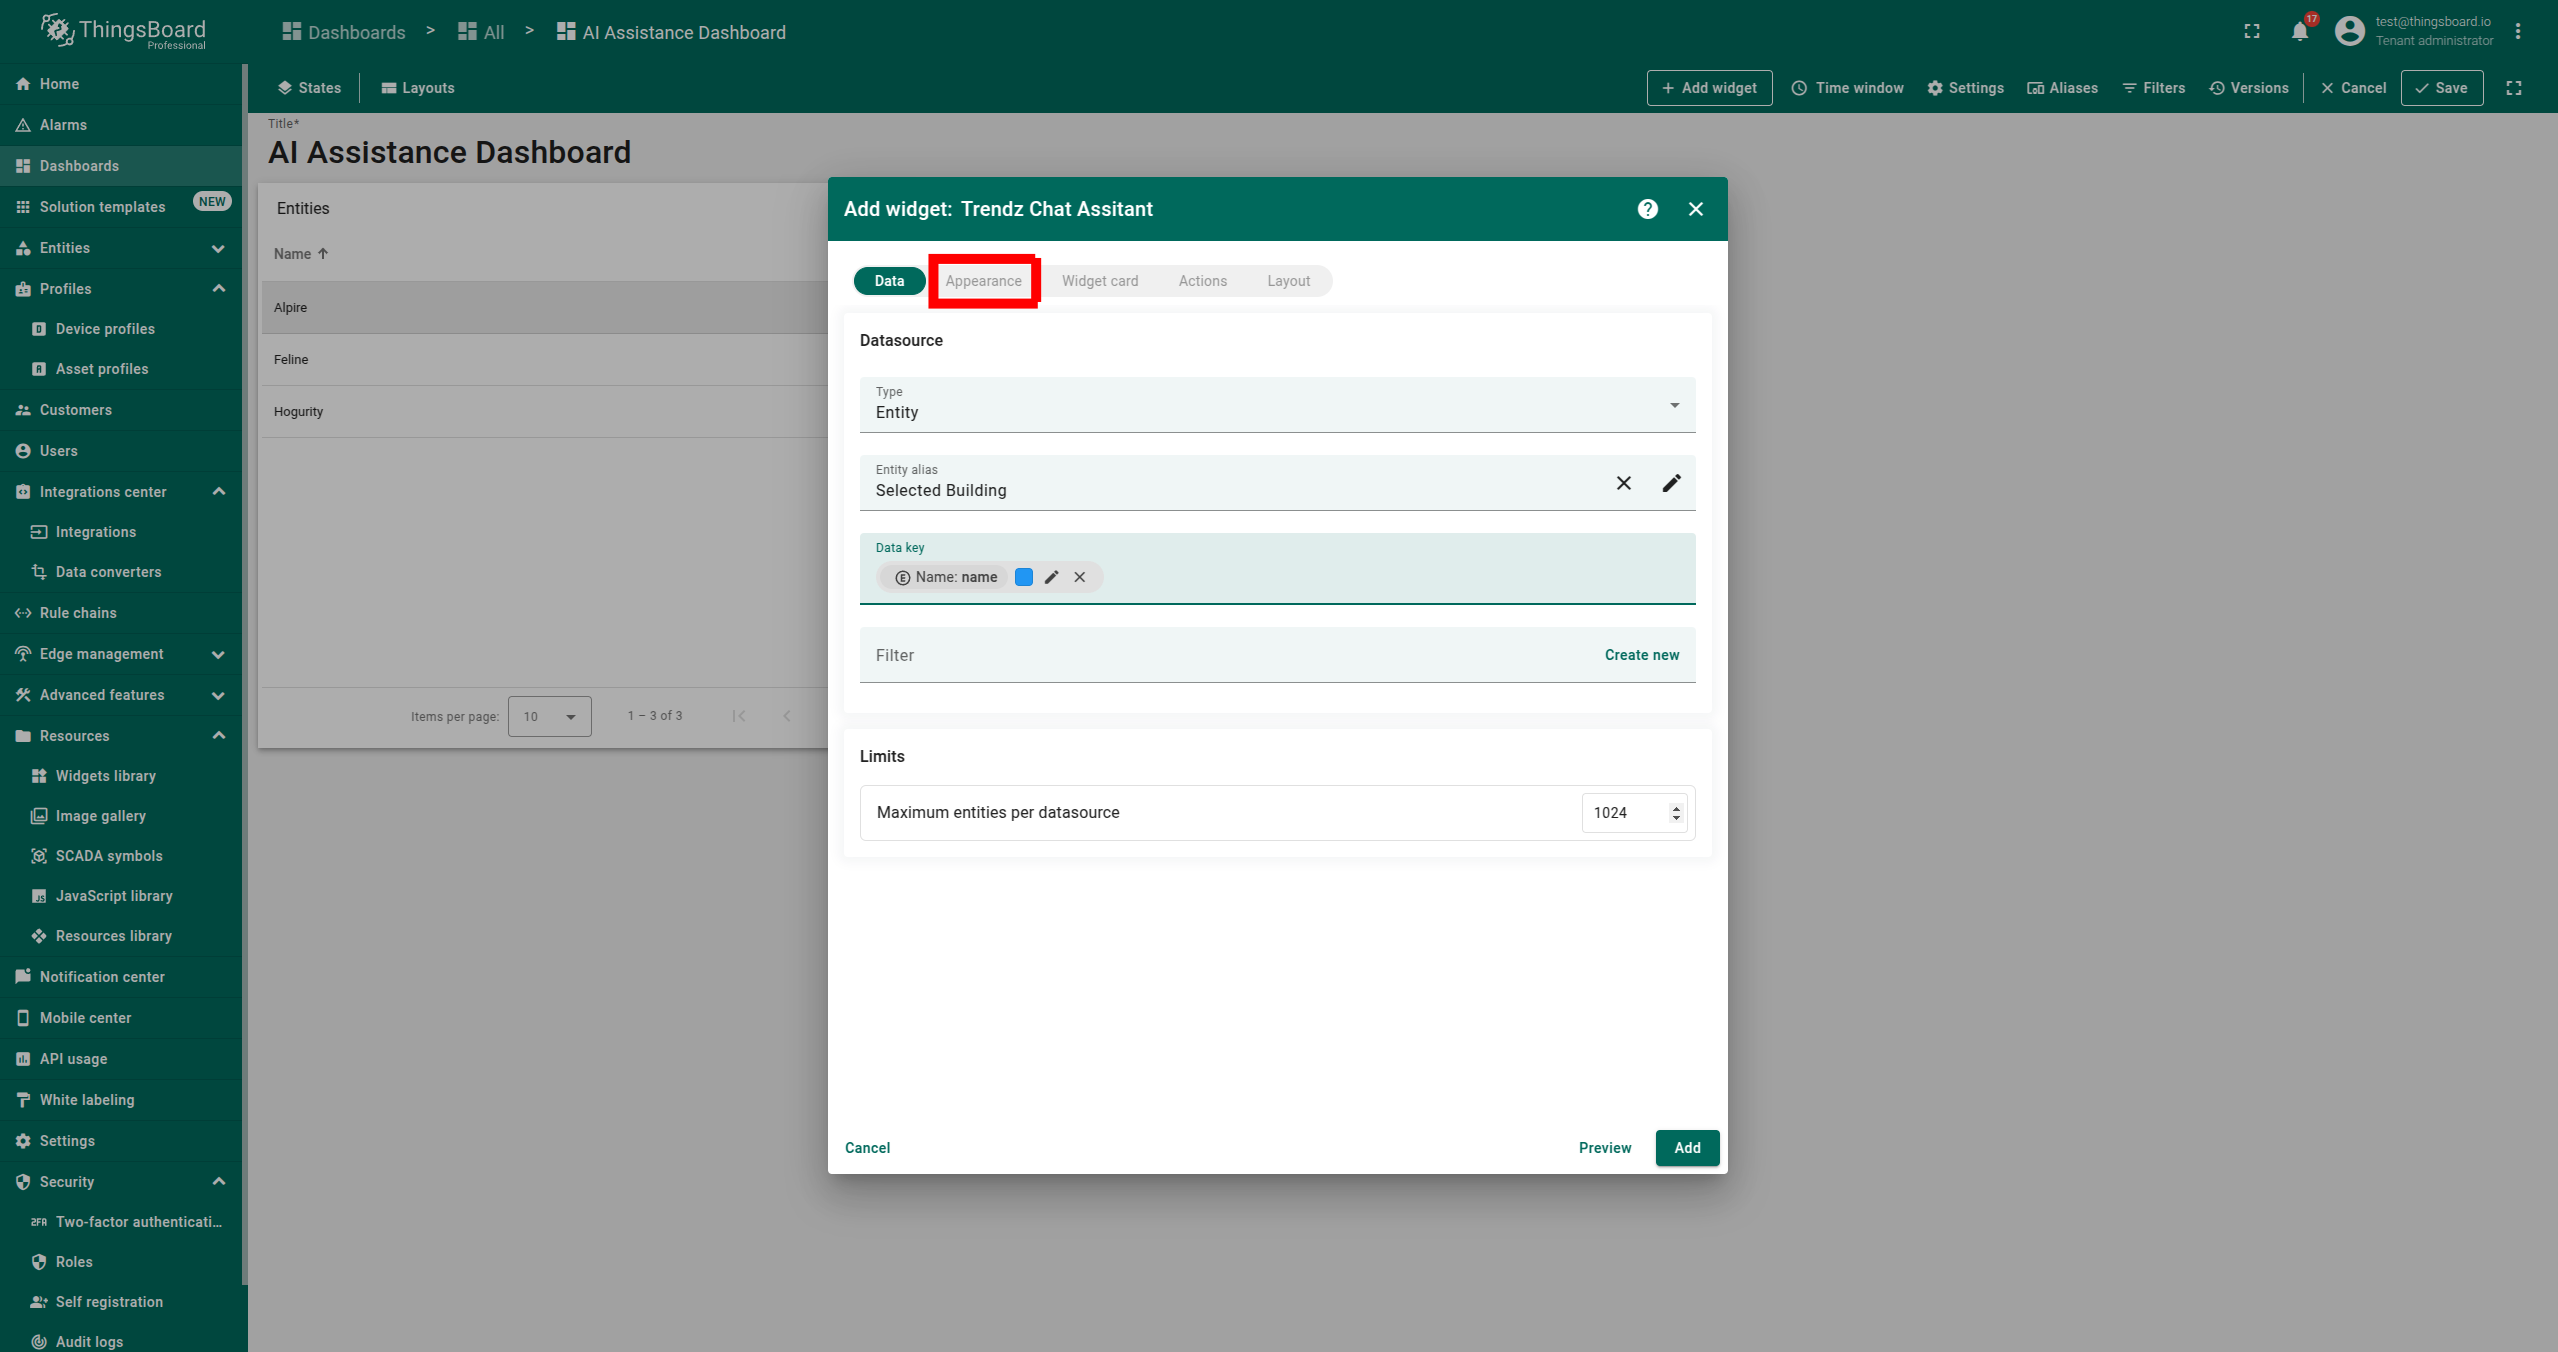
- Choose the second alias as the Entity alias.
- Add Name as the Data key.
- Go to the Appearance section and enter Filter name fields, then click Add.
- Ensure the Advanced analytics Chat Assistant Widget is added. Click Save.
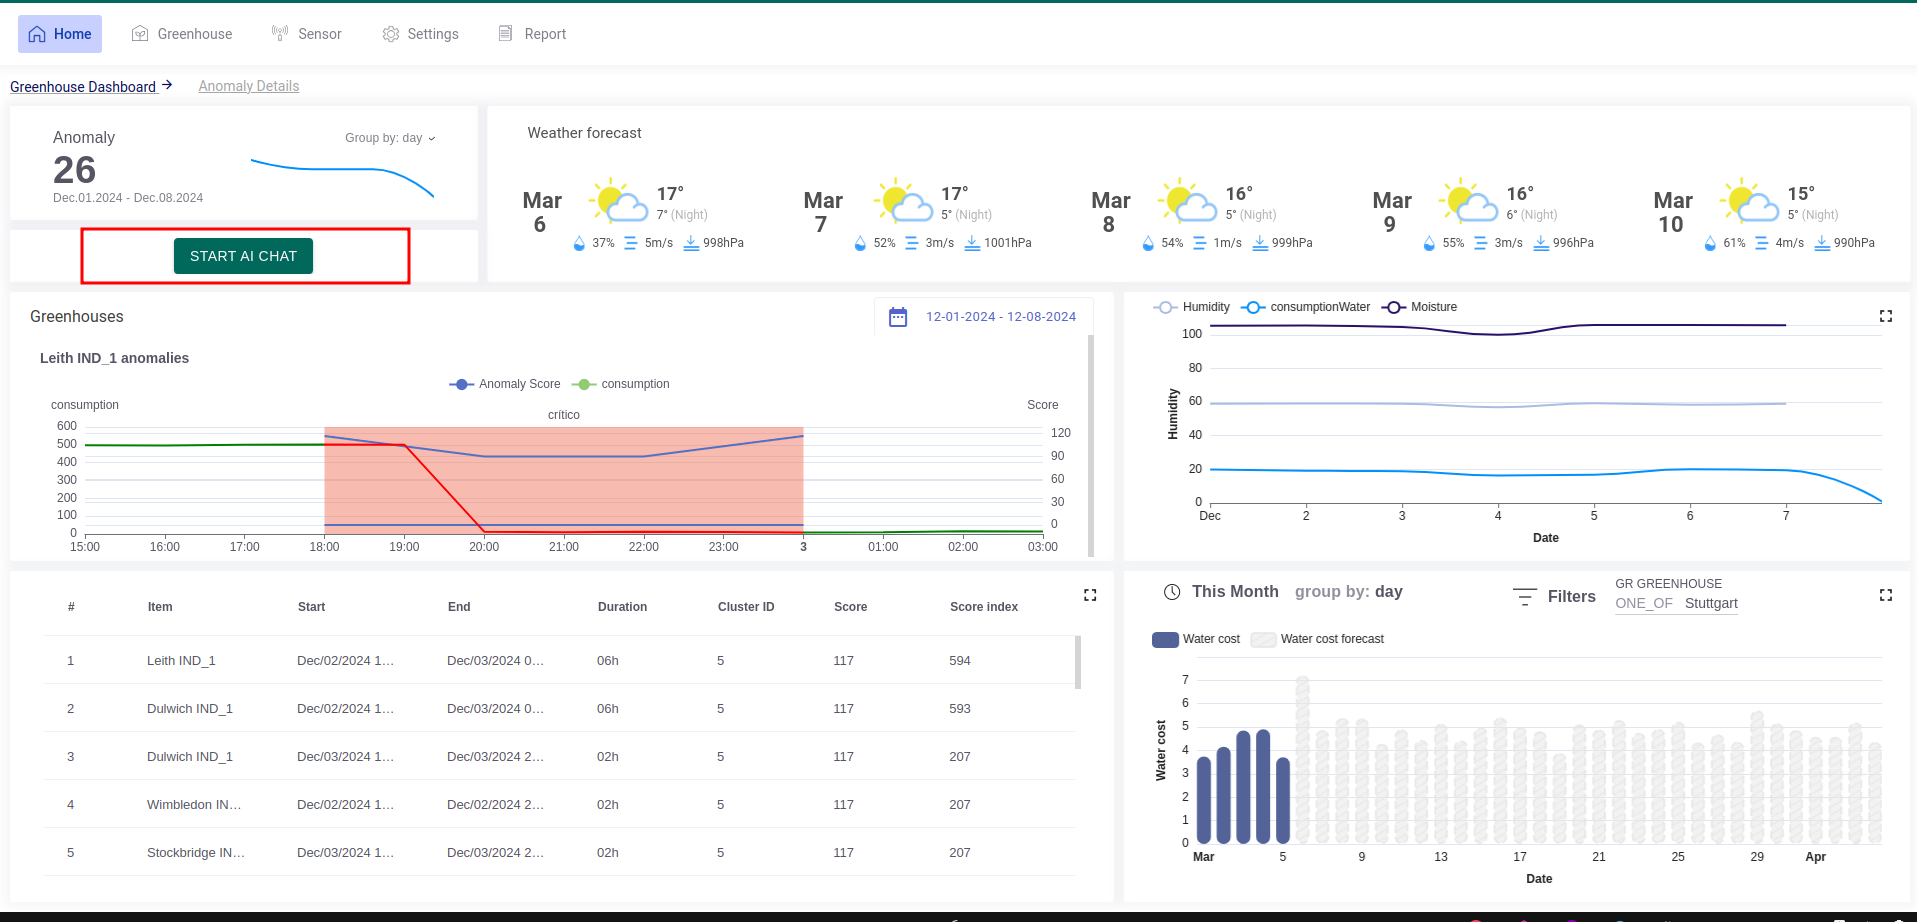
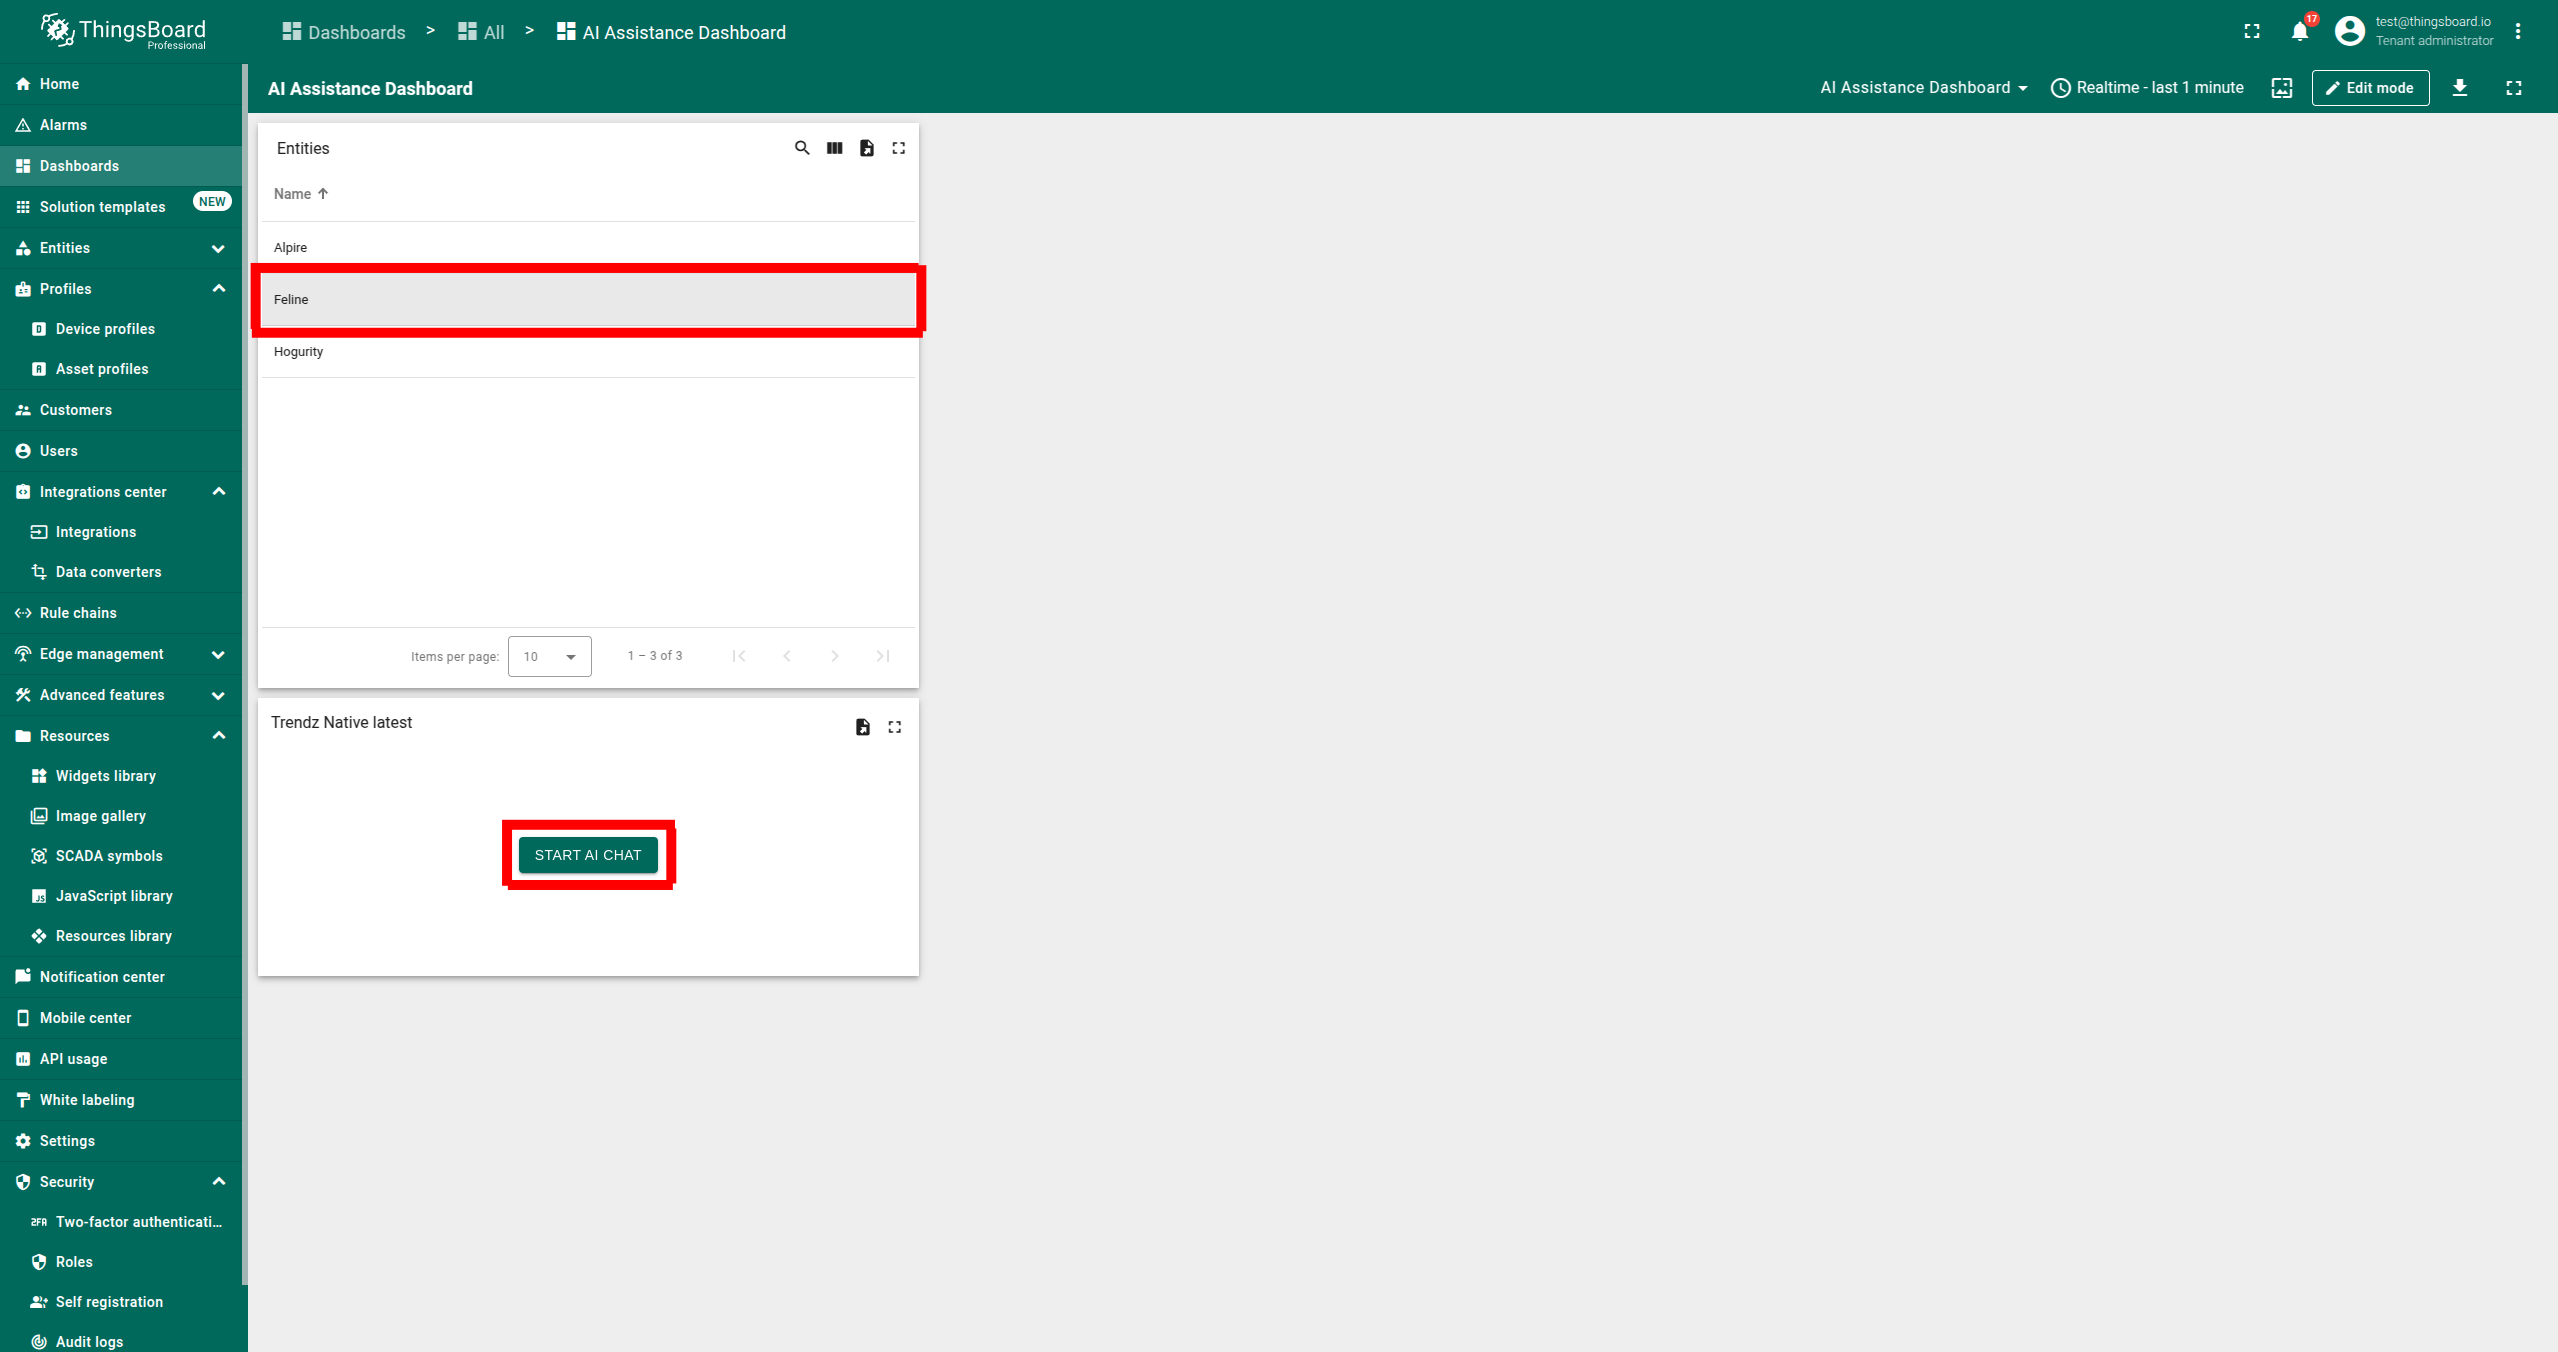
Step 5. Interacting with AI Chat
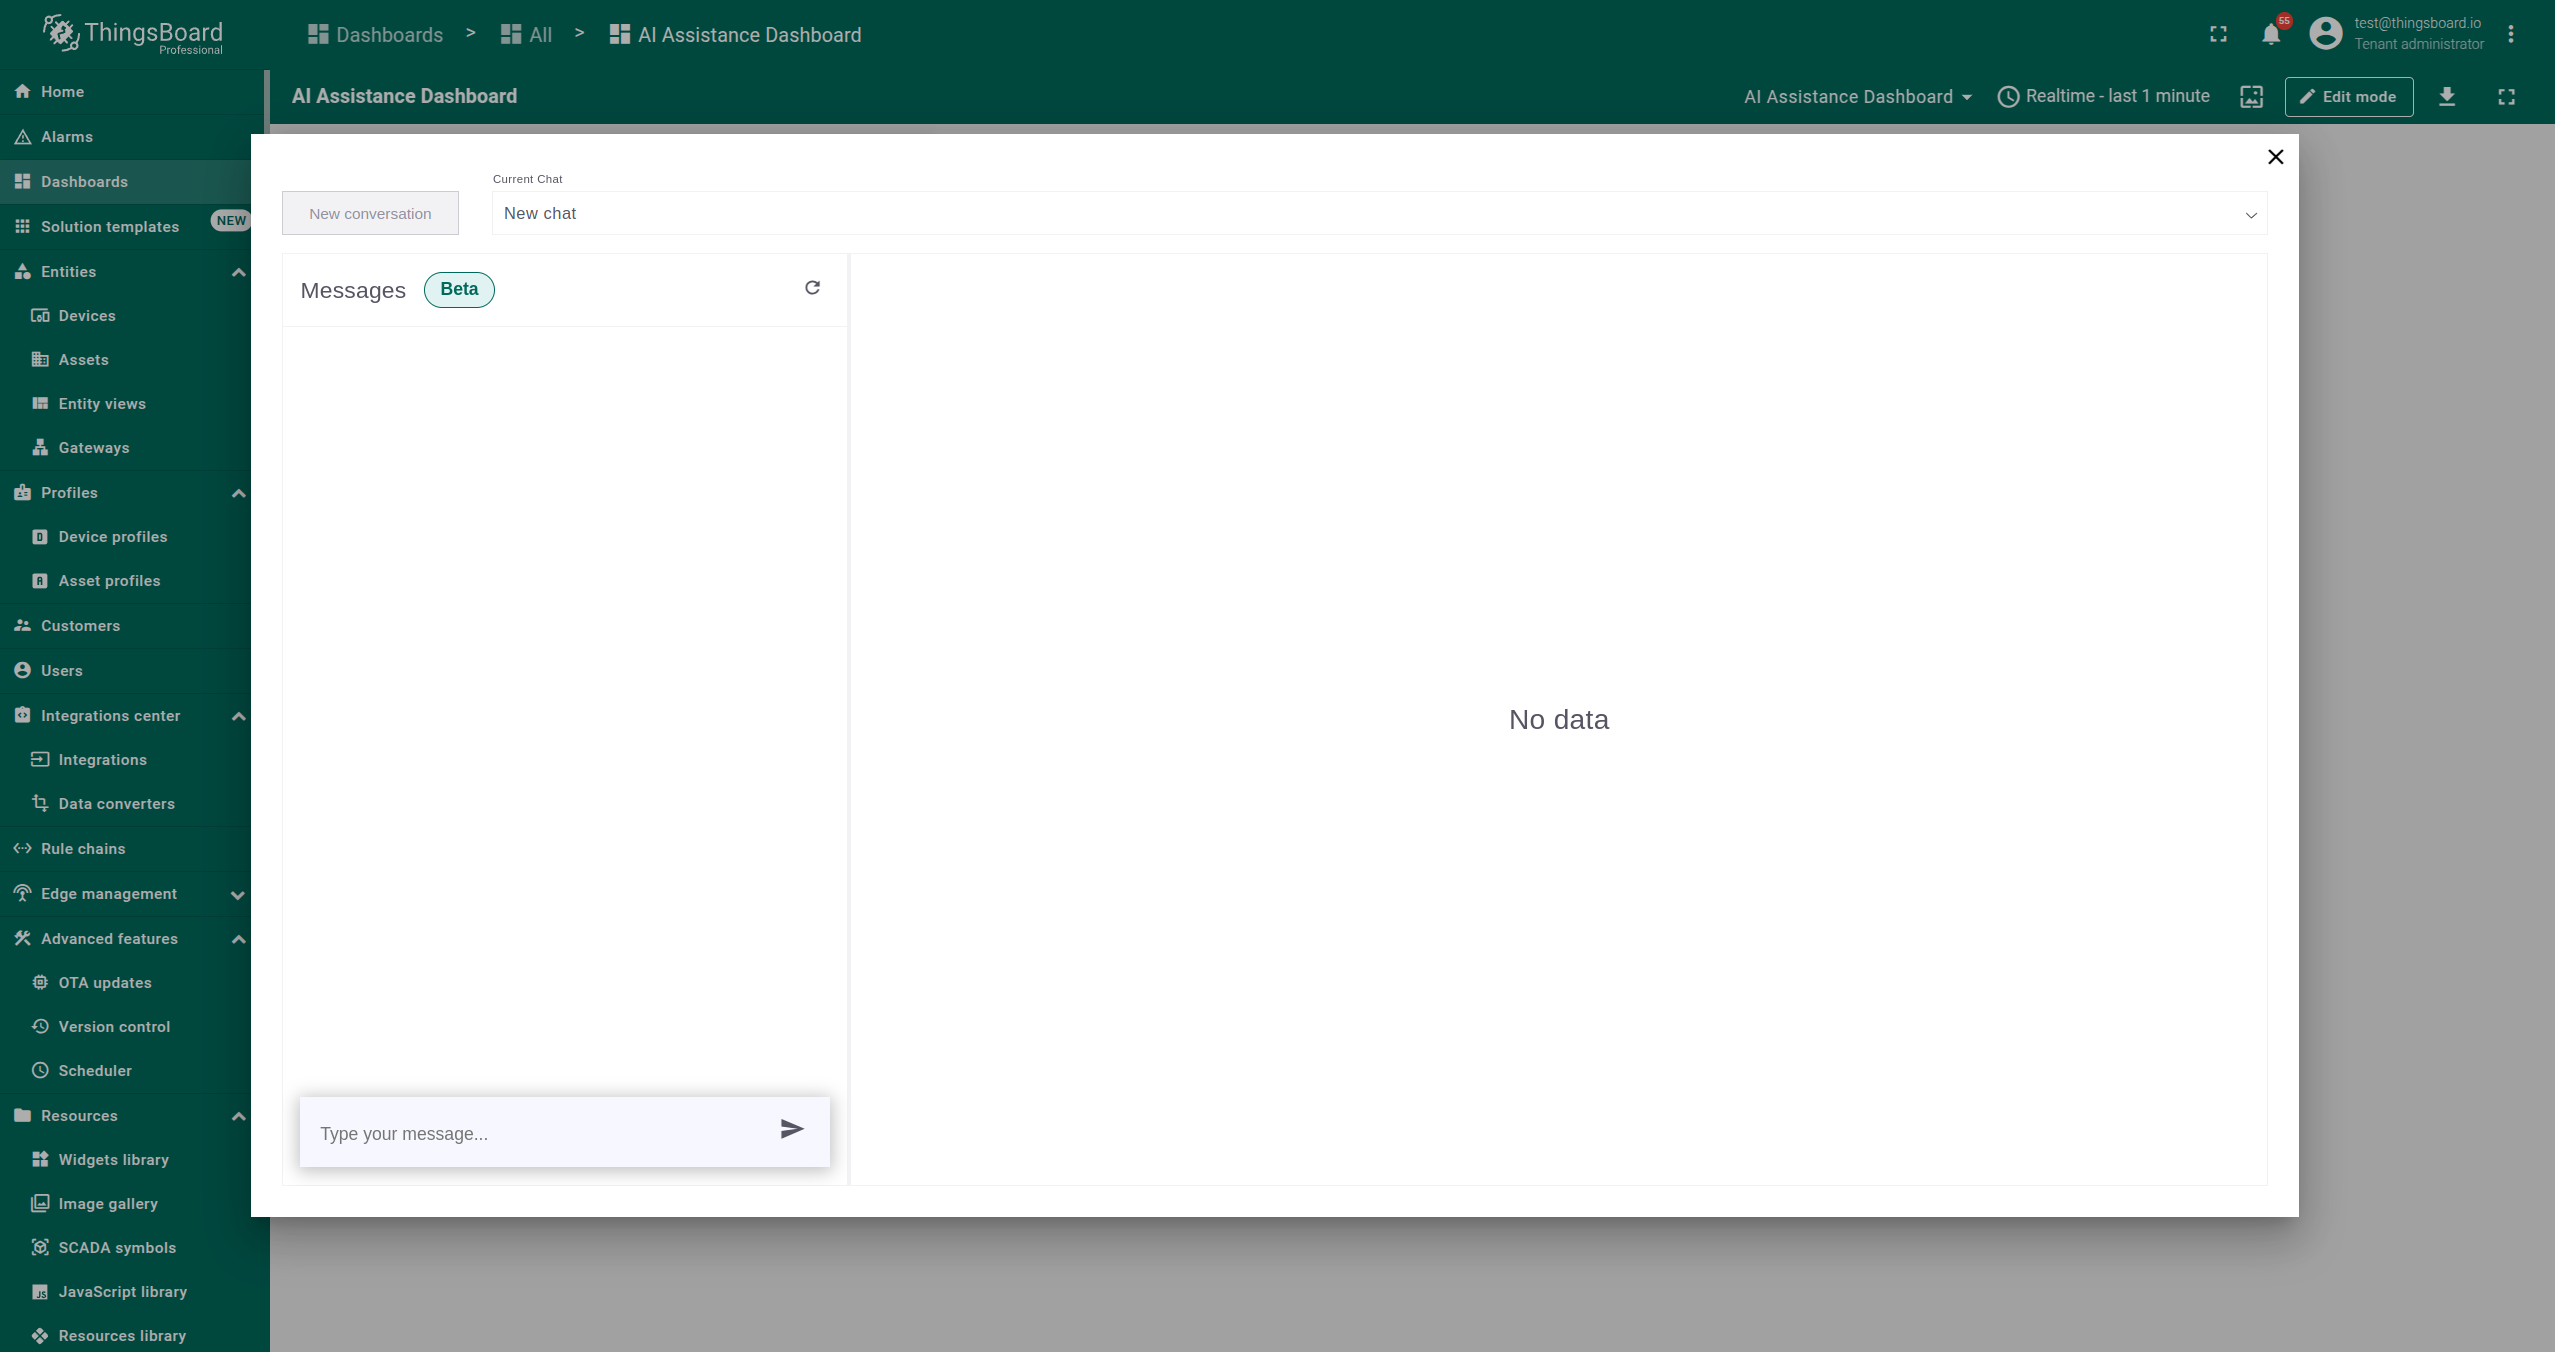
- Click on the desired asset, then click START AI CHAT.
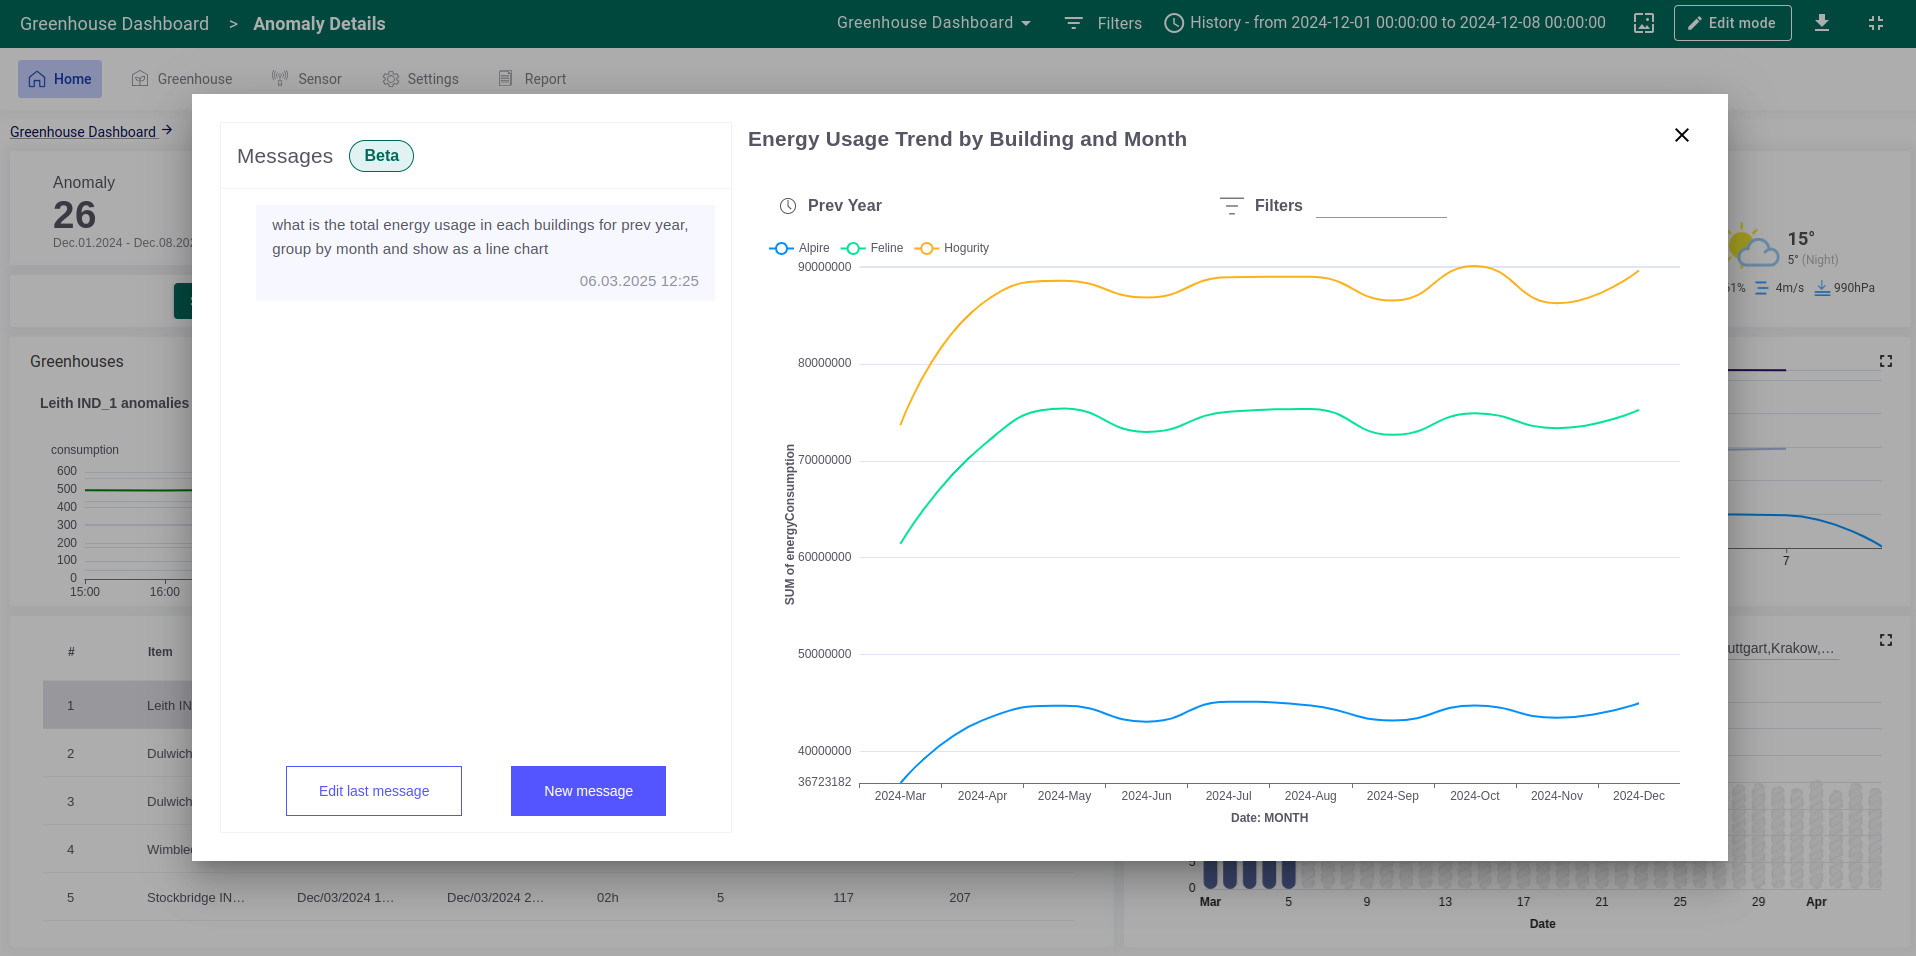
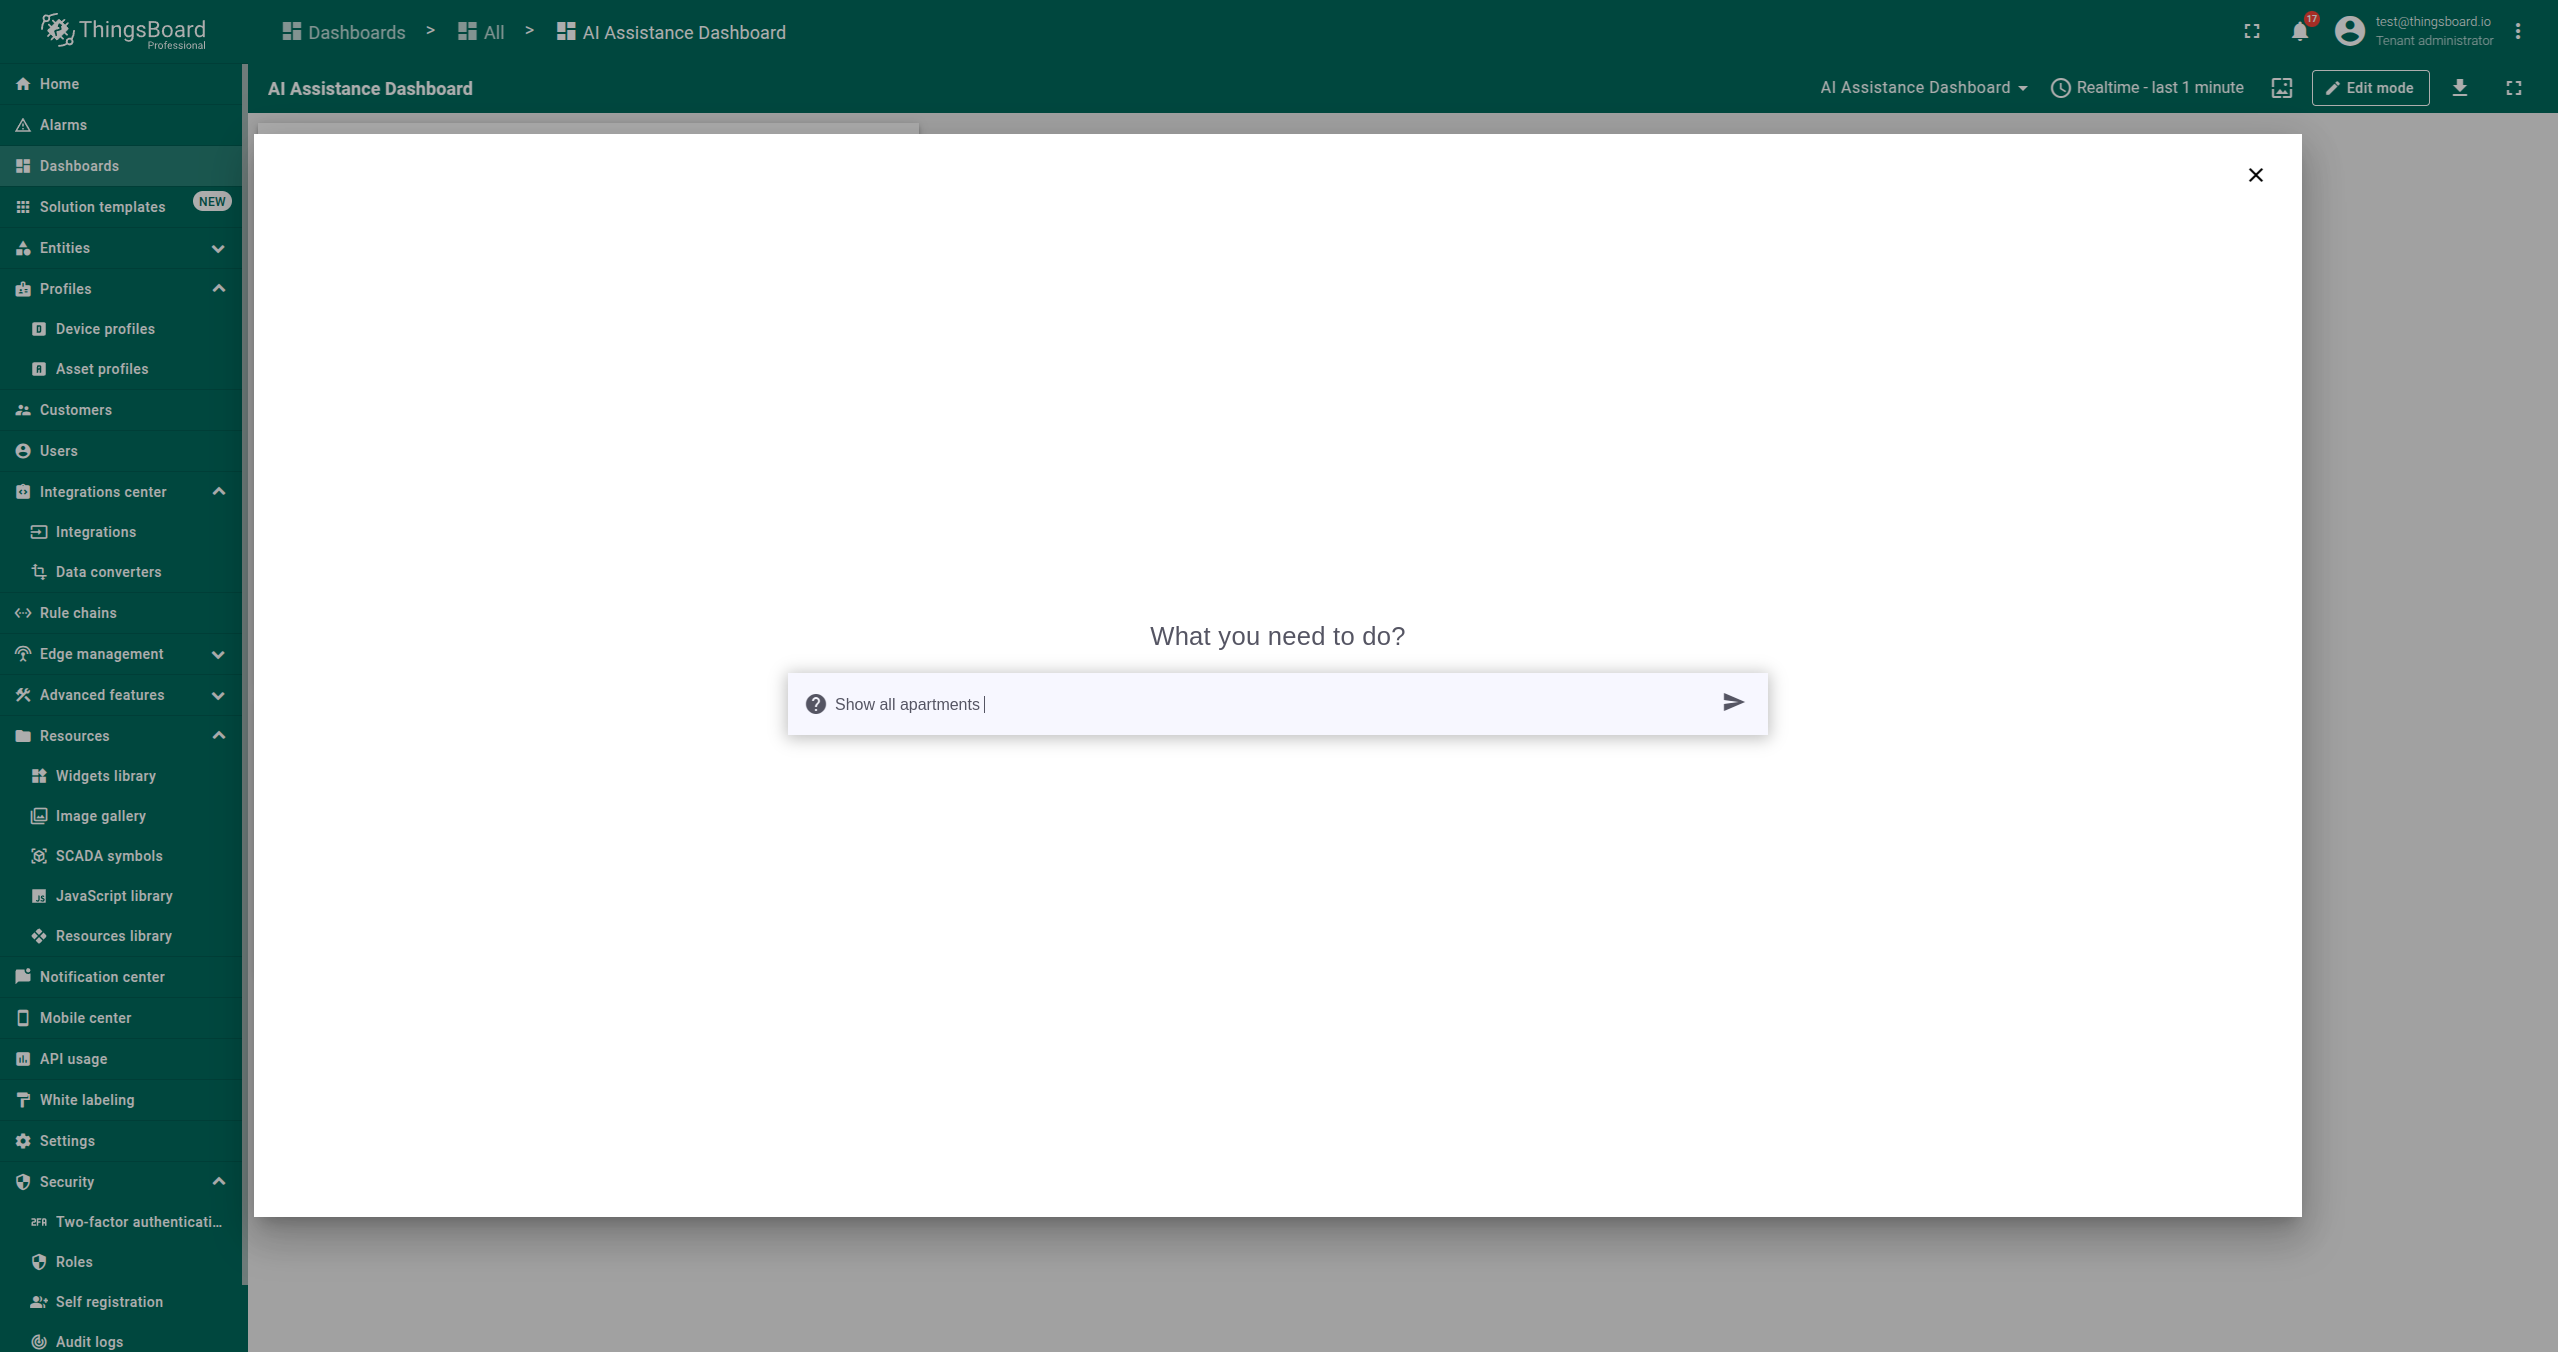
- In the pop-up window, ask questions about the selected asset.
- The current version of the AI Assistant supports memory and ongoing conversations, so you can ask follow-up questions or provide additional specifications.
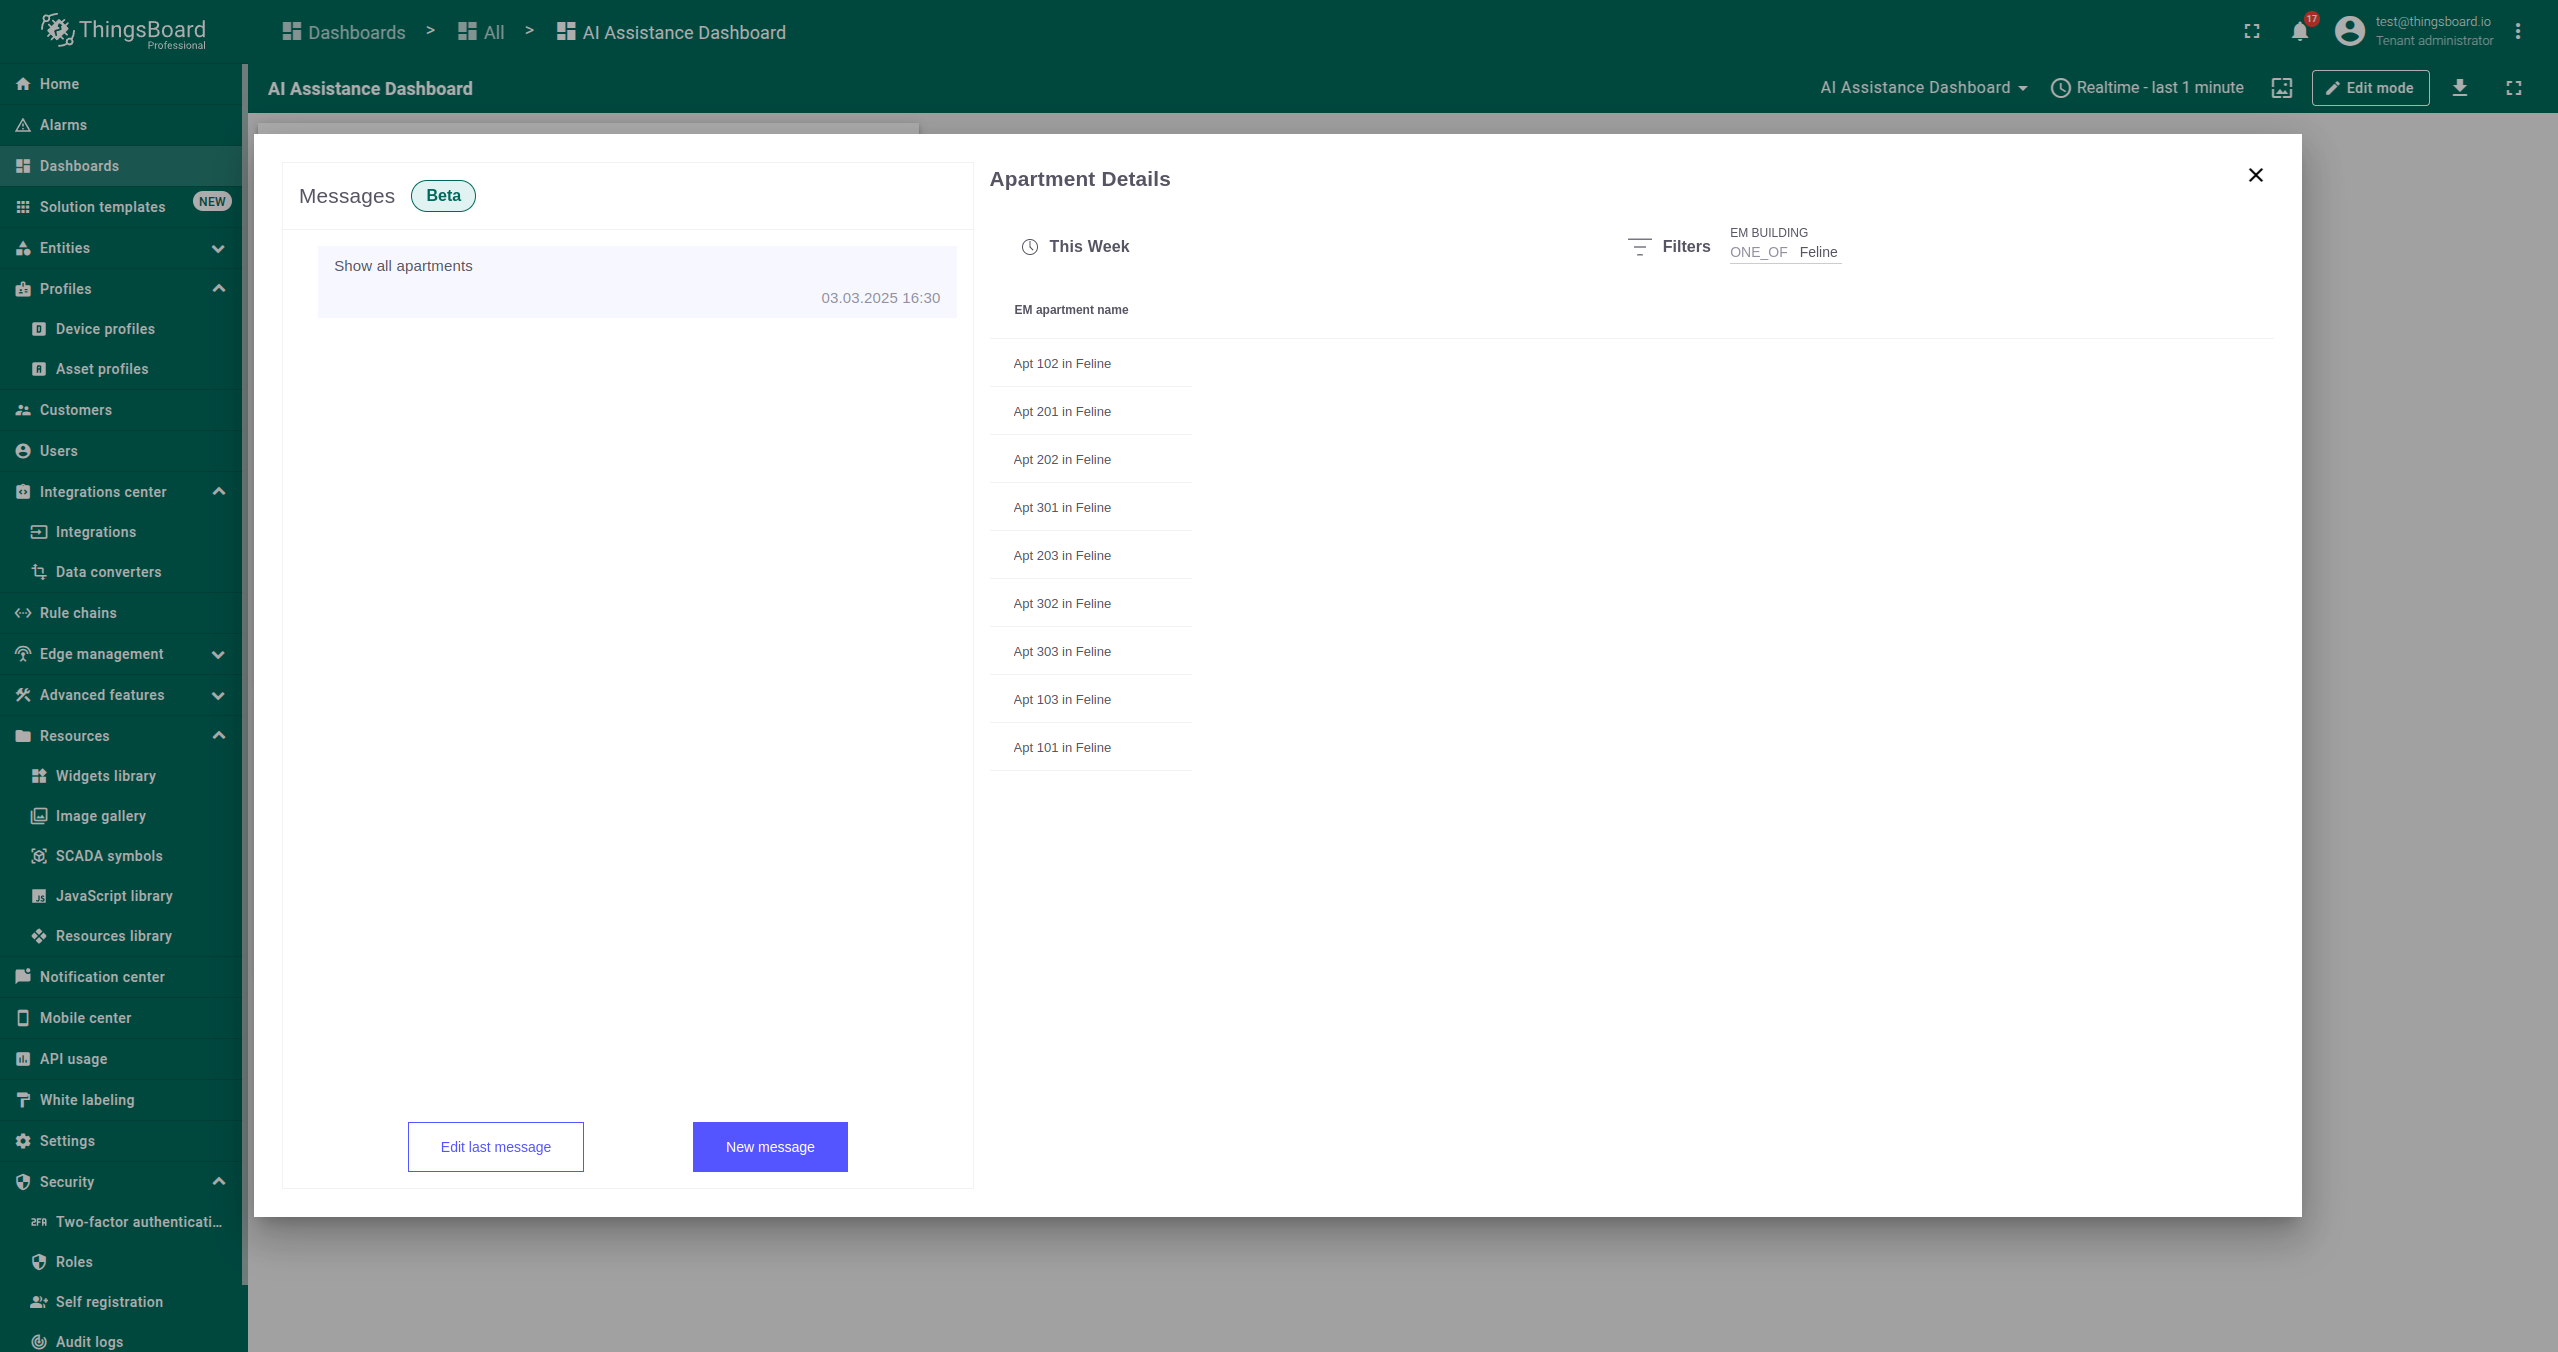
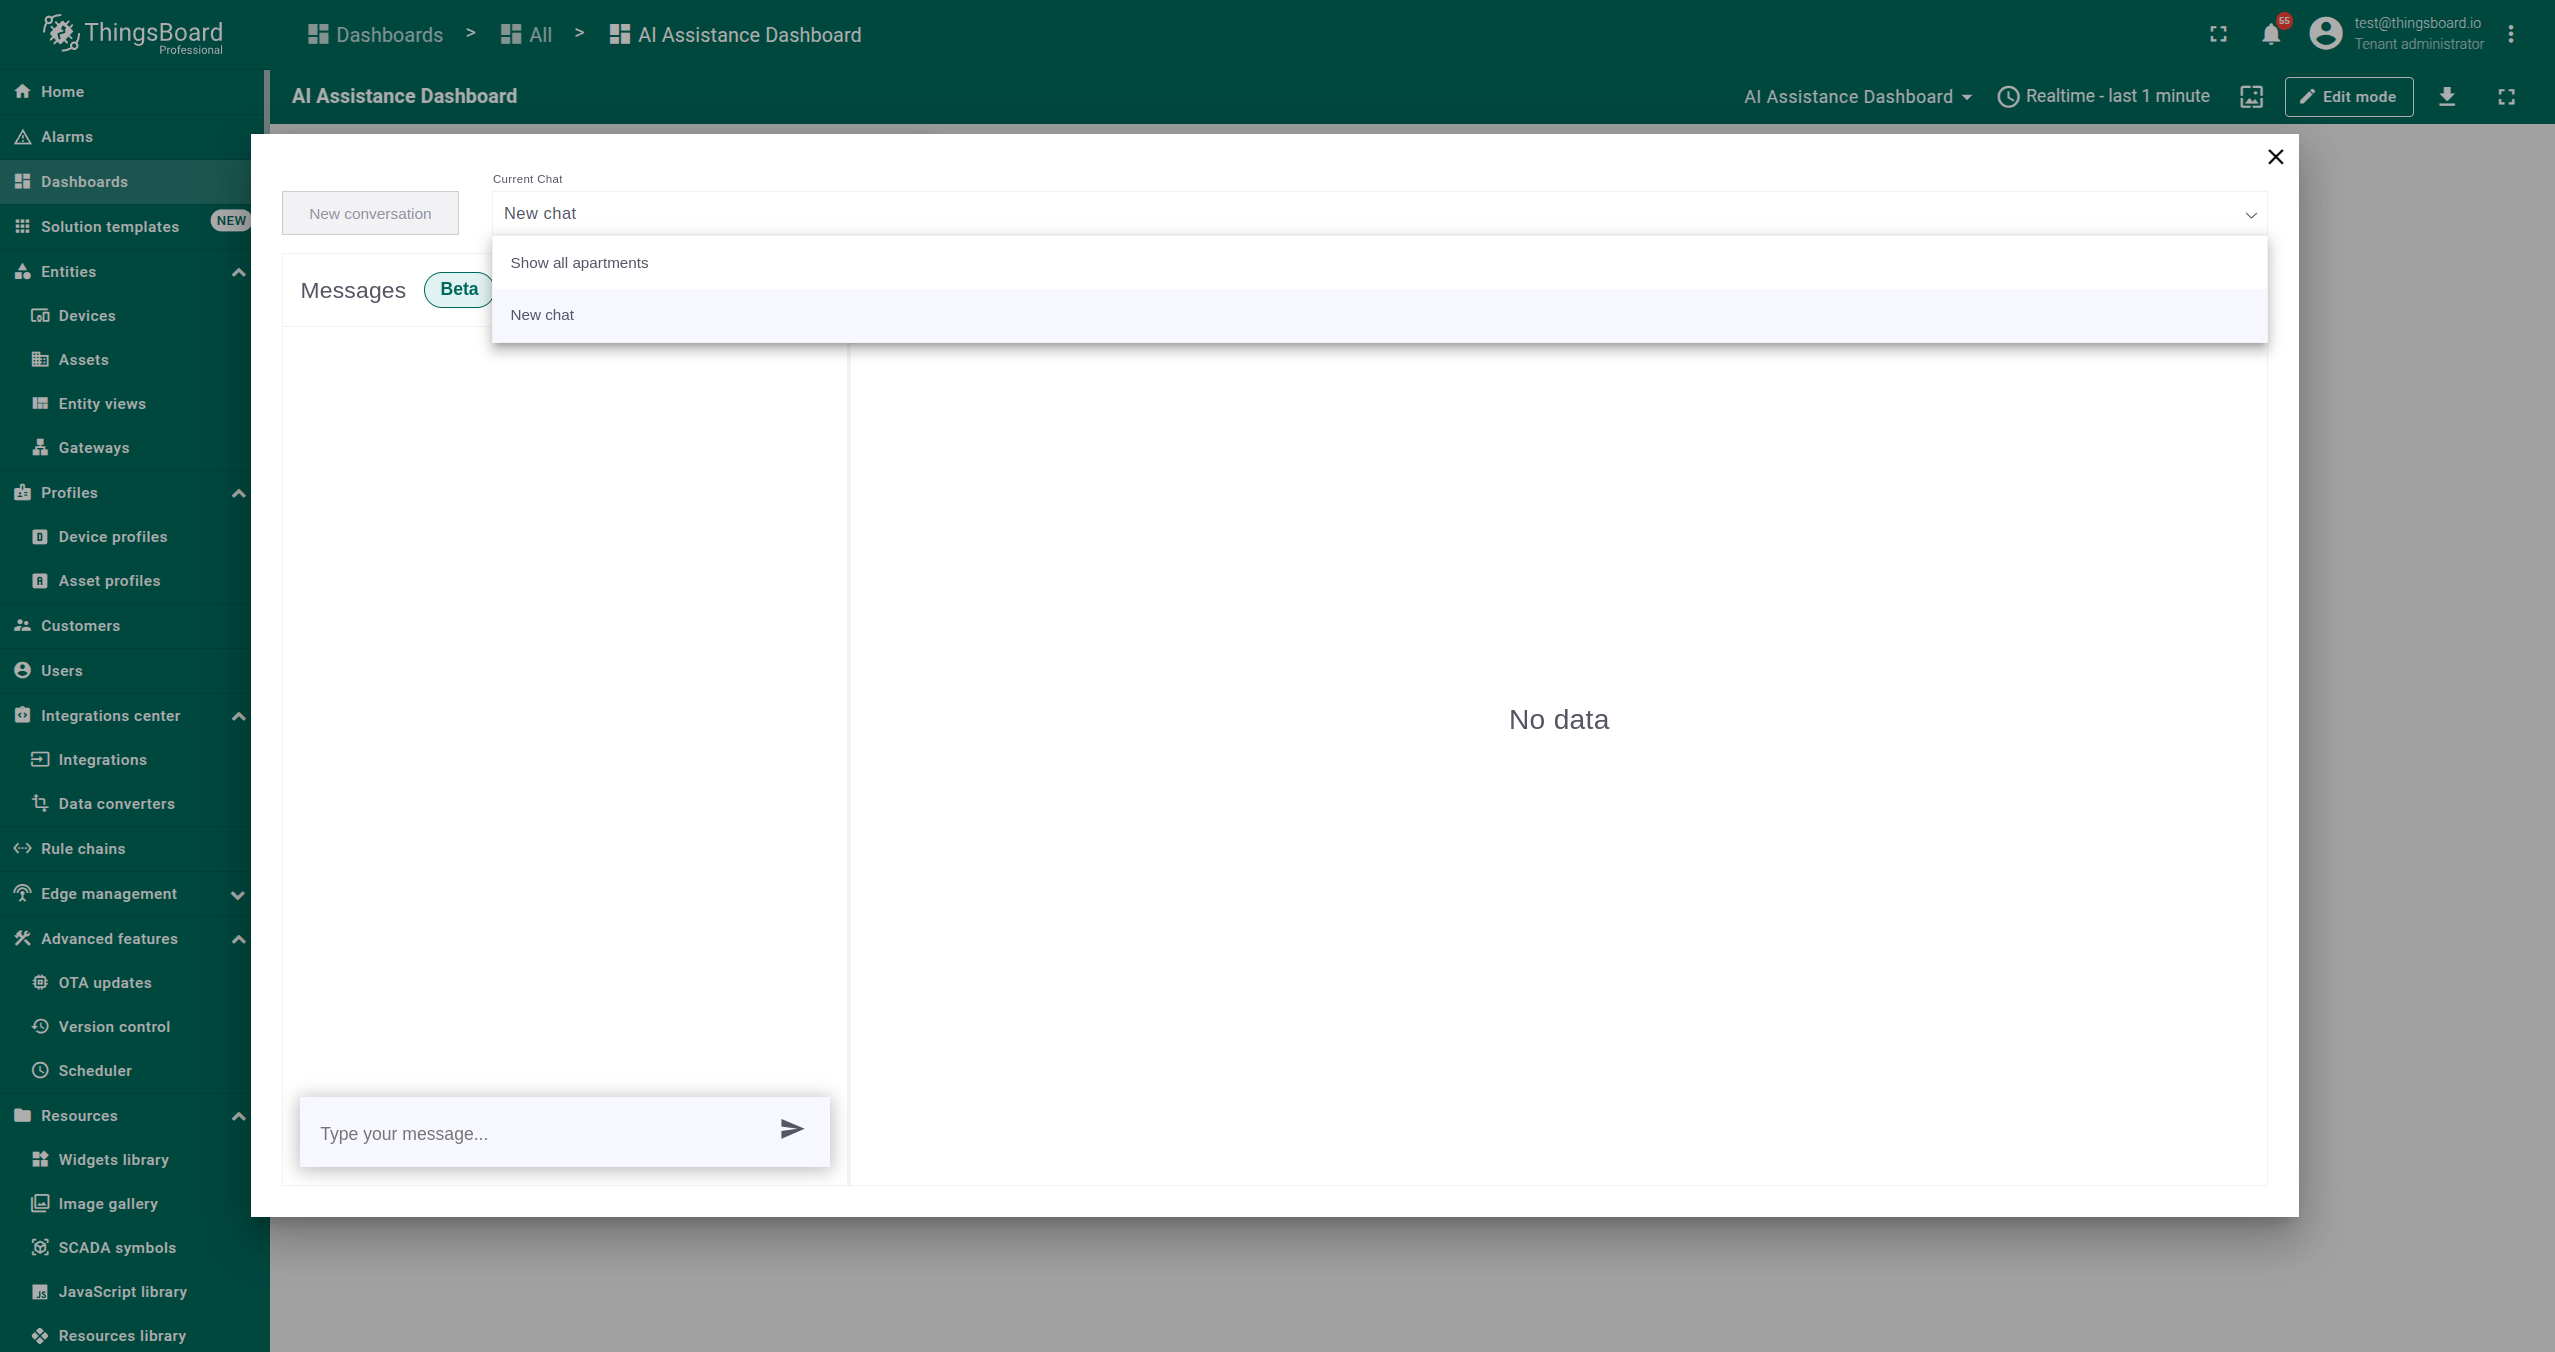
- To start a new conversation, click the New Conversation button.
- You can always return to a previous conversations using the dropdown under the Current Chat label.
- You can view messages or save generated views in the Chats tab by selecting chats with a Dashboard Origin.

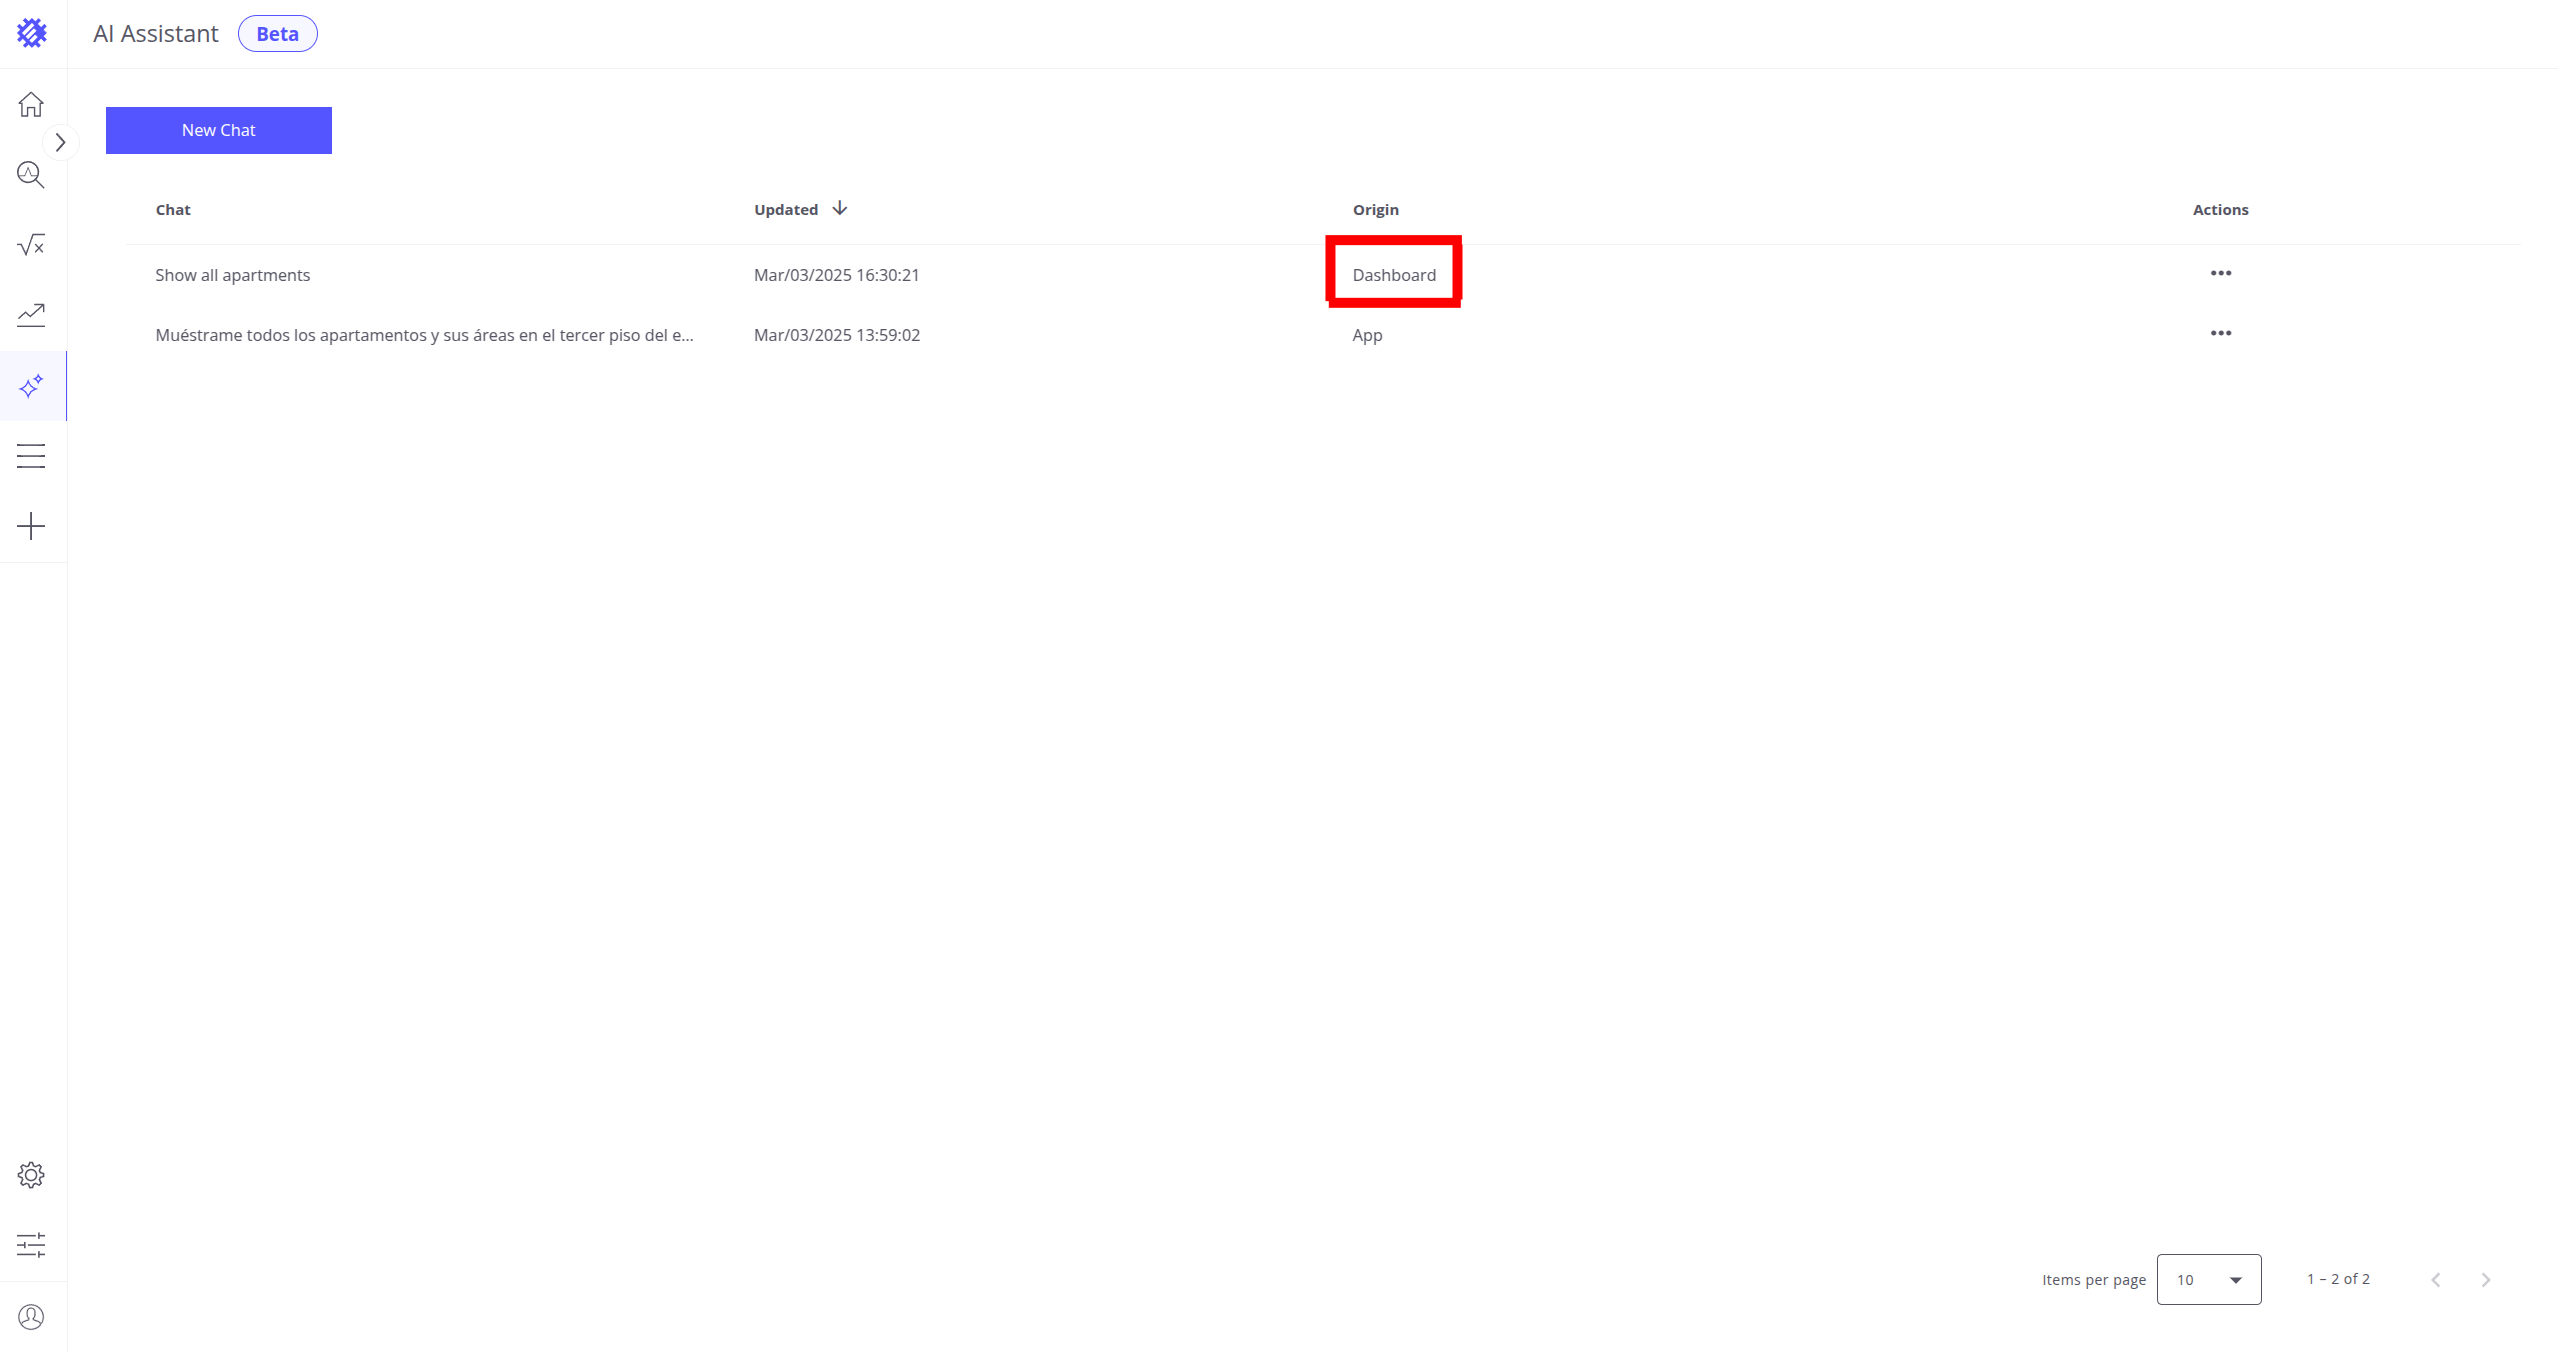
You can find out more about the AI Assistant chat here.
Next Steps
-
Getting started guide - These guide provide quick overview of main Trendz features.
-
Installation guides - Learn how to setup ThingsBoard on various available operating systems.
-
Metric Explorer - Learn how to explore and create new metrics with Trendz Metric Explorer.
-
Anomaly Detection - Learn how to identify anomalies in the data.
-
Calculated Fields - Learn about Calculated fields and how to use them.
-
States - Learn how to define and analyse states for assets based on raw telemetry.
-
Prediction - Learn how to make forecasts and predict telemetry behavior.
-
Filters - Learn how filter dataset during analysis.
-
Available Visualizations - Learn about visualization widgets available in Trendz and how to configure them.
-
Share and embed Visualizations - Learn how to add Trendz visualizations on ThingsBoard dashboard or 3rd party web pages.