- Introduction
- Prerequisites
- List of hardware
- Wiring
- Complete wiring
- Device provisioning
- Provision your dashboard
- Creating Arduino firmware
- Troubleshooting
- Data visualization
Introduction
ThingsBoard is an open-source server-side platform that allows you to monitor and control IoT devices. It is free for both personal and commercial usage and you can deploy it anywhere. If this is your first experience with the platform we recommend to review what-is-thingsboard page and getting-started guide.
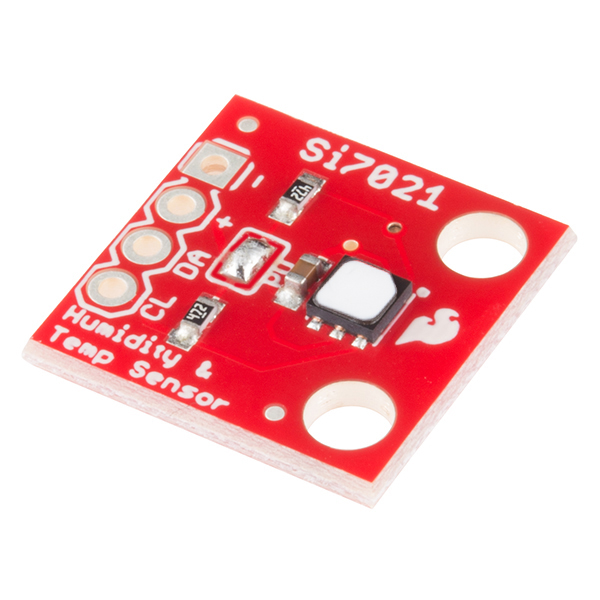
This sample application performs collection of humidity and temperature values produced by HTU21D sensor and further visualization on the real-time web dashboard. Collected data is pushed via HTTP to ThingsBoard server for storage and visualization. The purpose of this application is to demonstrate ThingsBoard data collection API and visualization capabilities.
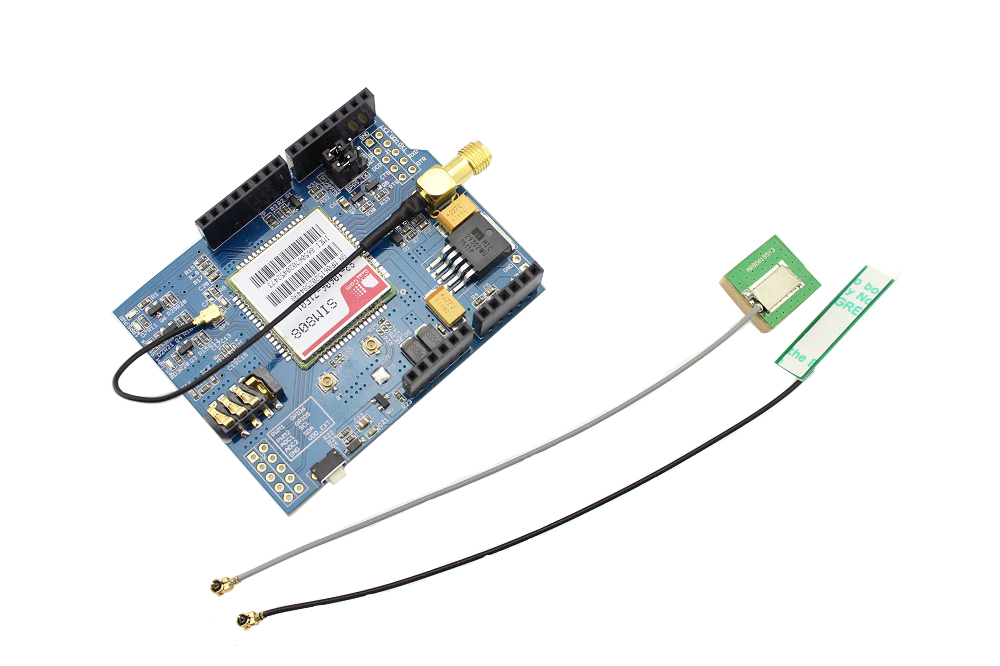
The HTU21D sensor is connected to Arduino UNO. Arduino UNO connects to the Internet using SIM808 GSM shield. Arduino UNO pushes data to ThingsBoard server via HTTP protocol by using Arduino ThingsBoard SDK. Data is visualized using built-in customizable dashboard. The application that is running on Arduino UNO is written using Arduino SDK which is quite simple and easy to understand.
Once you complete this sample/tutorial, you will see your sensor data on the following dashboard.

Prerequisites
You will need to have ThingsBoard server up and running. The easiest way is to use Live Demo server.
The alternative option is to install ThingsBoard using the installation guide:
- Windows users should follow this guide
- Linux users with Docker installed can execute the following commands:
1
2
3
4
mkdir -p ~/.mytb-data && sudo chown -R 799:799 ~/.mytb-data
mkdir -p ~/.mytb-logs && sudo chown -R 799:799 ~/.mytb-logs
docker run -it -p 8080:9090 -p 7070:7070 -p 1883:1883 -p 5683-5688:5683-5688/udp -v ~/.mytb-data:/data \
-v ~/.mytb-logs:/var/log/thingsboard --name mytb --restart always thingsboard/tb-postgres
These commands install ThingsBoard and load demo data and accounts.
The ThingsBoard UI will be available at: http://localhost:8080.
You can use:
- Username: tenant@thingsboard.org
- Password: tenant
More information about the demo account.
List of hardware
-
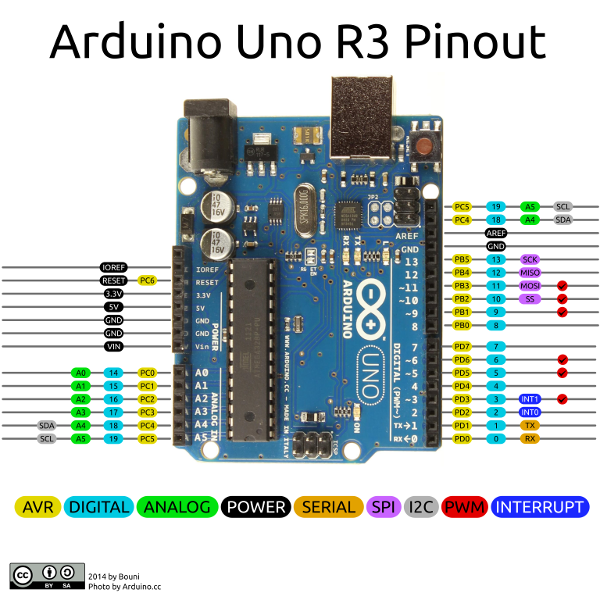
Arduino UNO
-
-
Wiring
SIM808 shield connection
Simply connect SIM808 shield on top of your Arduino.
HTU21D connection
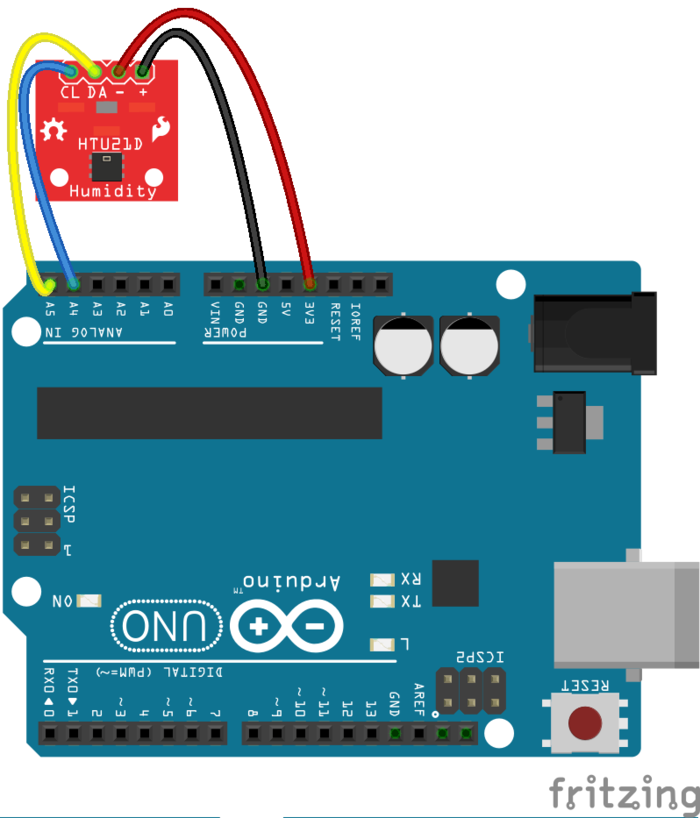
Connect HTU21D in following manner:
- VCC - Arduino 3.3V
- GND - Arduino GND
- SDA - Arduino A5
- SCL - Arduino A4
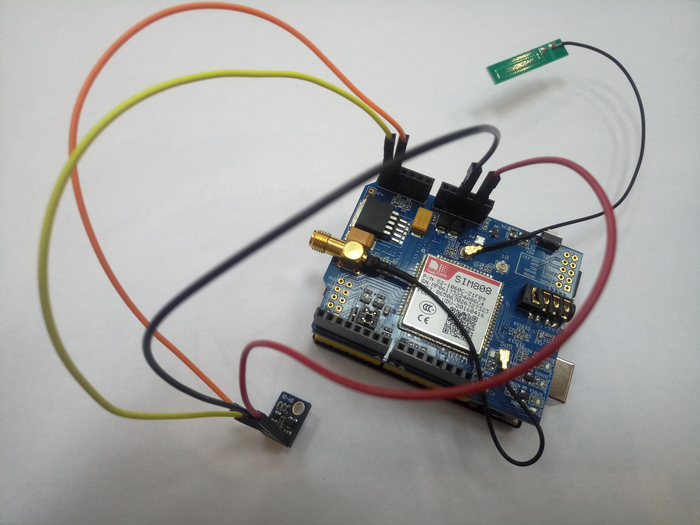
Complete wiring
Double-check that your wiring follows schematics below:
The complete setup will look like that:
Device provisioning
This step contains instructions that are necessary to connect your device to ThingsBoard.
Open ThingsBoard Web UI (http://localhost:8080) in browser and login as tenant administrator. If you loaded the demo data during TB installation, the next credentials can be used:
- login: tenant@thingsboard.org
- password: tenant
Go to “Devices” section. Click “+” button and create a device with the name “Arduino UNO Demo Device”. Set “Device type” to “default”.

Once device created, open its details and click “Manage credentials”.
Copy auto-generated access token from the “Access token” field. Please save this device token. It will be referred to later as $ACCESS_TOKEN.

Provision your dashboard
Download the dashboard file using this link. Use import/export instructions to import the dashboard to your ThingsBoard instance.
Creating Arduino firmware
If you already familiar with basics of Arduino UNO programming using Arduino IDE you can skip the following step and proceed with step 2.
Step 1. Arduino UNO and Arduino IDE setup.
In order to start programming the Arduino UNO device, you will need Arduino IDE and all related software installed.
Download and install Arduino IDE.
To learn how to connect your Uno board to the computer and upload your first sketch please follow this guide.
Step 2. Install Arduino ThingsBoard SDK and dependencies
To simplify application development, install the ThingsBoard Arduino SDK and its dependencies from standard Arduino library repository:
-
Proceed to Sketch -> Include Library… submenu. Select Manage Libraries.
-
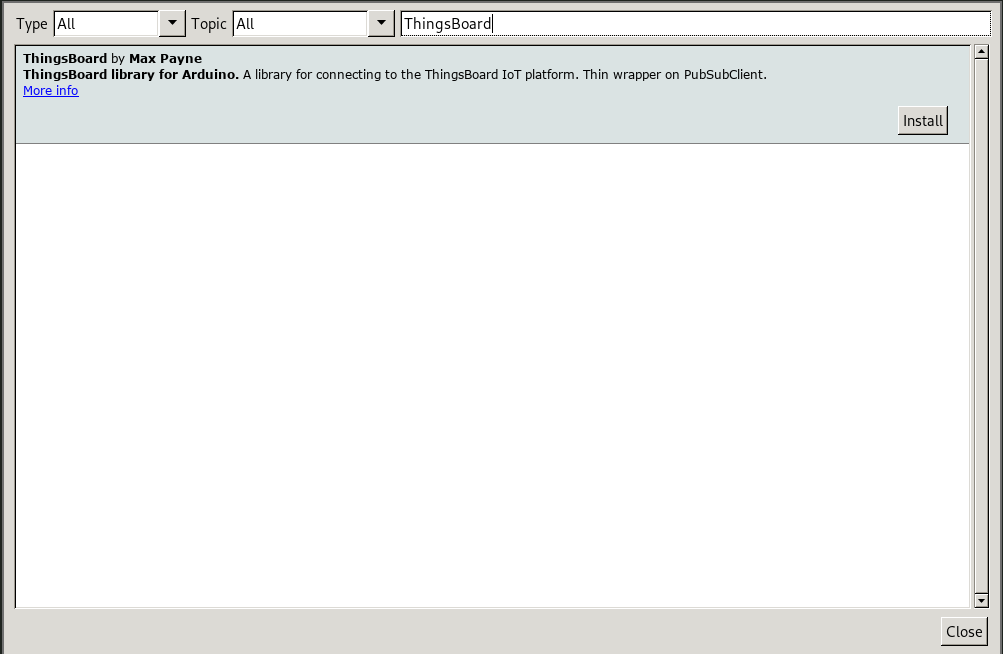
Find and install ThingsBoard Arduino SDK and PubSubClient by Nick O’Leary libraries.
-
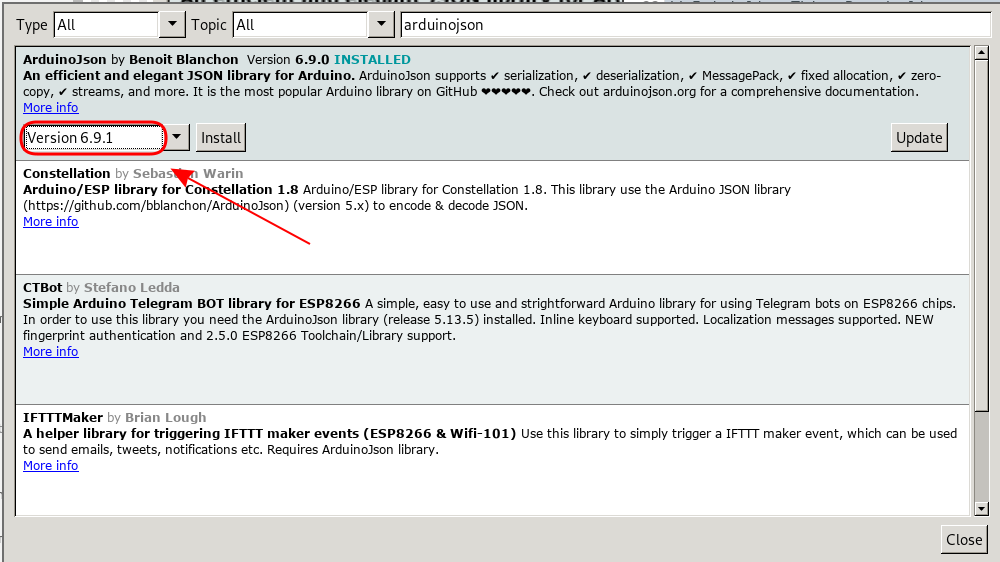
Install ArduinoJSON library v6.9.1 or higher. Avoid installing beta releases of the ArduinoJson library.
-
Install ArduinoHttpClient library.
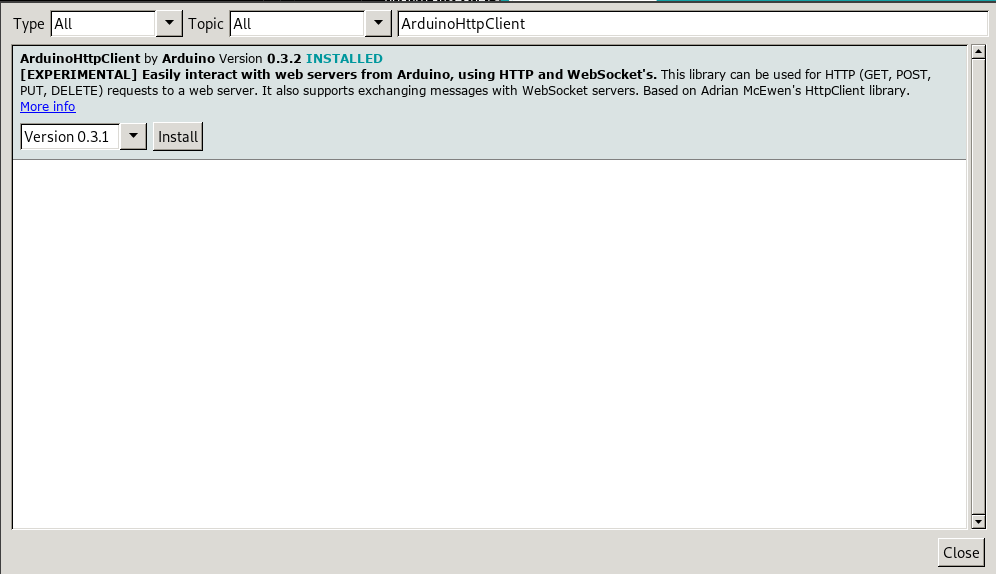
From now on, you can use ThingsBoard SDK right from Arduino IDE.
Step 3. Install HTU21D library
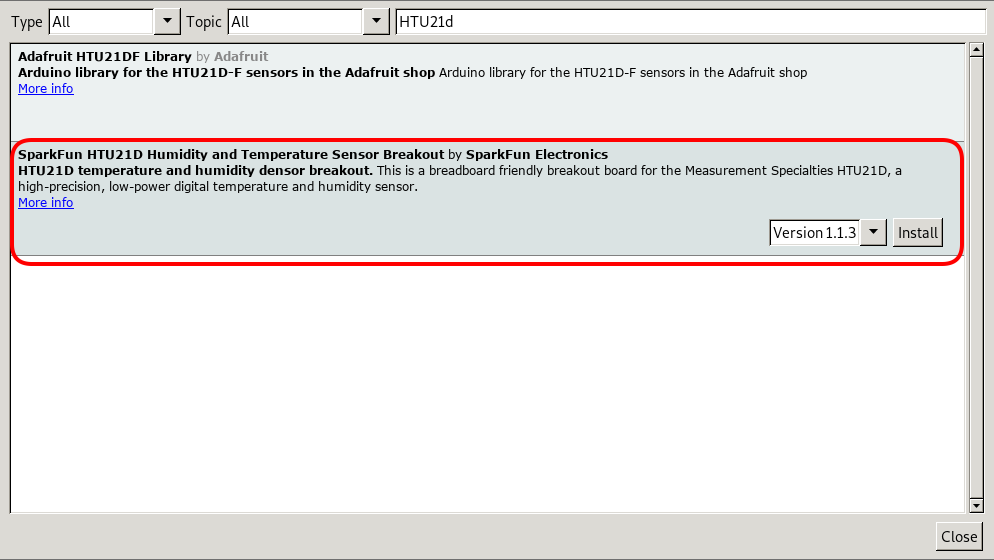
Use SparkFun HTU21D library, as shown in the screenshot below.
Step 4. Install SIM808 driver
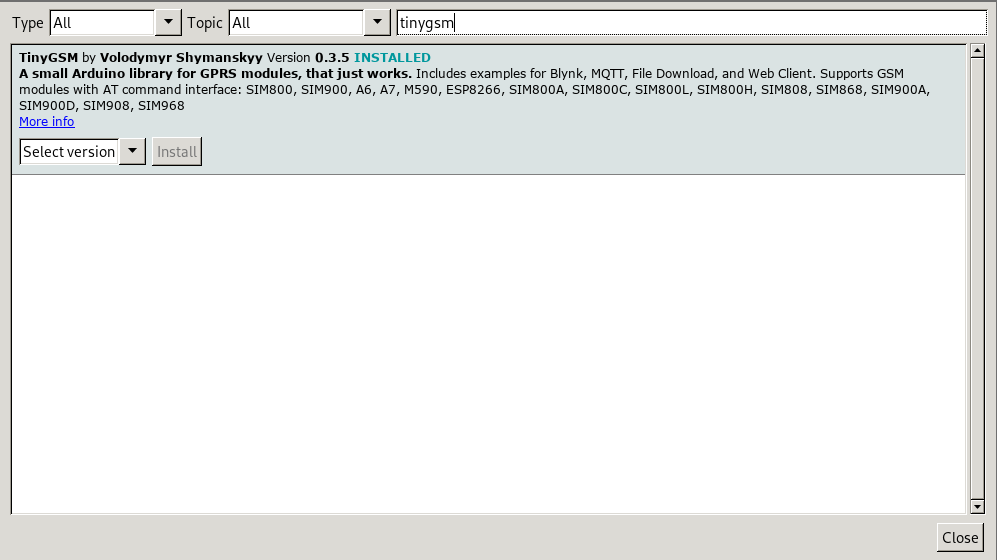
The SIM808 is support by the TinyGSM driver, which can be installed as described below.
Step 5. Prepare and upload a sketch.
Download and open arduino_htu21d_sim808_http.ino sketch.
Note You need to edit following constants and variables in the sketch:
apn- GPRS access point name. Consult your cellular network provider to get more information.user- GPRS access point user. Consult your cellular network provider to get more information.pass- GPRS access point password. Consult your cellular network provider to get more information.TOKEN- the $ACCESS_TOKEN from ThingsBoard configuration step.THINGSBOARD_SERVER- ThingsBoard HOST/IP address that is accessible from within your wifi network. Specify “demo.thingsboard.io” if you are using live demo server.THINGSBOARD_PORT- HTTP port to connect to. Change it if necessary.
|
Connect your Arduino UNO device via USB cable and select “Arduino/Genuino Uno” port in Arduino IDE. Compile and Upload your sketch to the device using “Upload” button.
After application will be uploaded and started it will try to connect to ThingsBoard node using HTTP and upload “humidity” and “temperature” timeseries data once per second.
Troubleshooting
When the application is running you can select “Arduino/Genuino Uno” port in Arduino IDE and open “Serial Monitor” in order to view debug information produced by serial output.
Data visualization
Finally, open ThingsBoard Web UI. You can access this dashboard by logging in as a tenant administrator. Use
- login: tenant@thingsboard.org
- password: tenant
in case of local ThingsBoard installation.
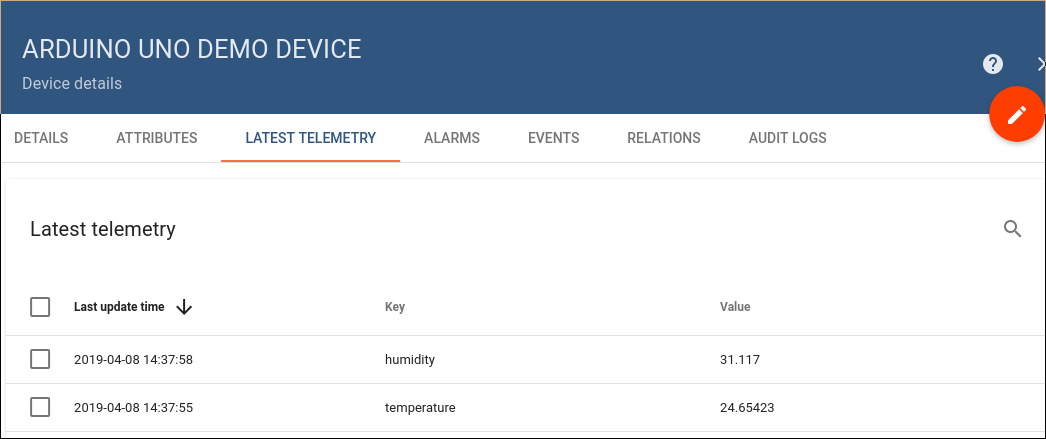
Go to “Devices” section and locate “Arduino UNO Demo Device”, open device details and switch to “Latest telemetry” tab. If all is configured correctly you should be able to see latest values of humidity and temperature in the table.
After, open “Dashboards” section then locate and open “dashboard Arduino Uno with SIM808 Shield and HTU21D sensor”. As a result, you will see two time-series charts and digital gauges displaying humidity and temperature level (similar to dashboard image in the introduction).