- Introduction
- Prerequisites
- Device connection
- Creating an Application on TTN
- Register End-Device at TTN
- Log in to ThingsBoard
- Adding the Data Converter
- Adding an Integration
- New device is created
- Create a Dashboard
- Conclusion
Introduction
 The Sentrius™ RS26x s a battery powered IP67 temperature sensor platform that delivers HACCP level temperature monitoring with real time alerting for your food safety compliance. In addition to ensuring product safety, these intelligent devices avoid inventory loss, improve facility efficiency and save you time and money in automated day to day operations.
They are available in two variants: One with an internal temperature sensor, and a second that supports an external sensor probe.
Only Professional Edition supports Platform Integrations feature.
Use ThingsBoard Cloud or install your own platform instance.
Prerequisites
To continue with this guide we will need the following:
- RS26x LoRaWAN Temperature Sensor
- A smartphone with the Ezurio Xbit app for configuration of the RS26x (Android/iOS)
- LoRaWAN gateway (e.g. Ezurio RG1xx)
- ThingsBoard account
Device connection
Please follow the official RS26x Getting Started Guide: Connecting RS26x to The Things Stack v3 and the official RS26x User Guide to configure the sensor properly and connect it to The Things Stack.
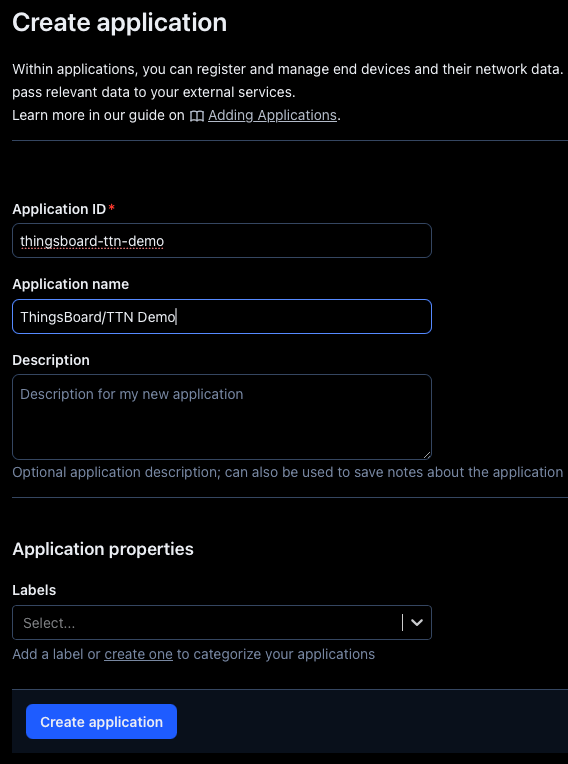
Creating an Application on TTN
On the TTN console go to Applications:

and select “Add Application”:
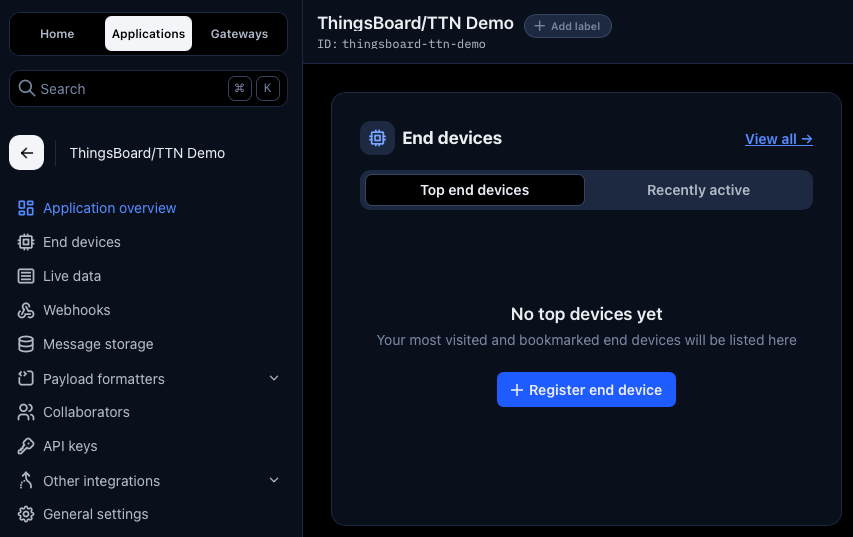
Now we can register end devices.
Register End-Device at TTN
In the newly created application select the Application overview and click on + Register end device.
The Ezurio RS26x LoRaWAN sensor is a known device at TTN and hence you can select it from the device repository.

Apply the below settings and make sure to align the region profile and frequency plan with your location.
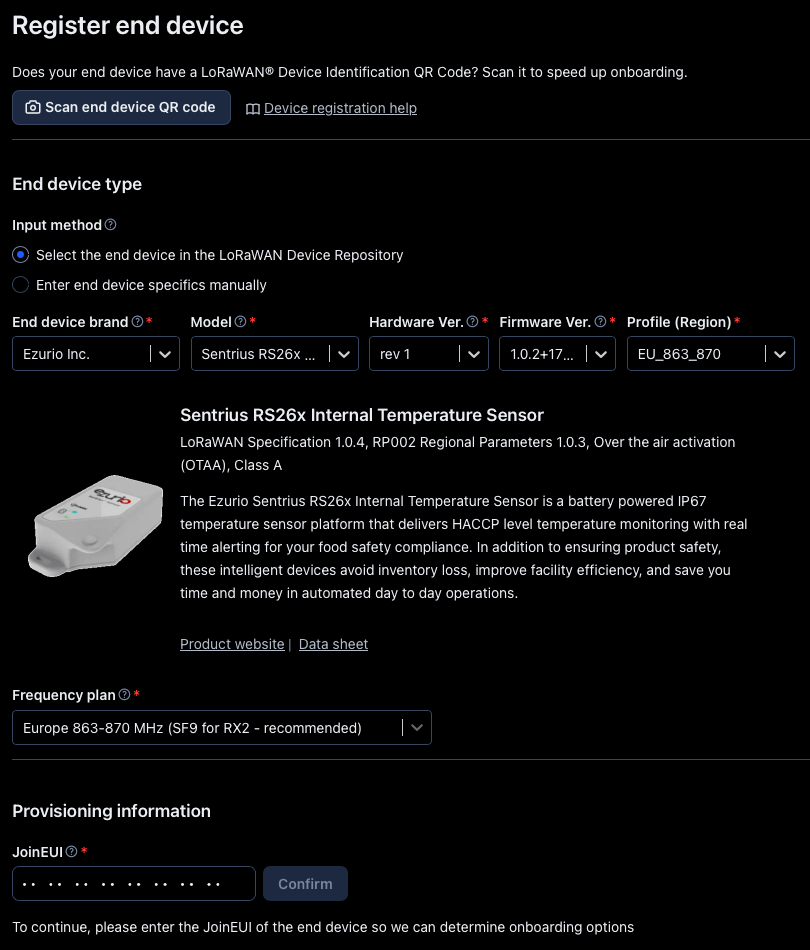
Next we need to enter the provisioning information for the new device.
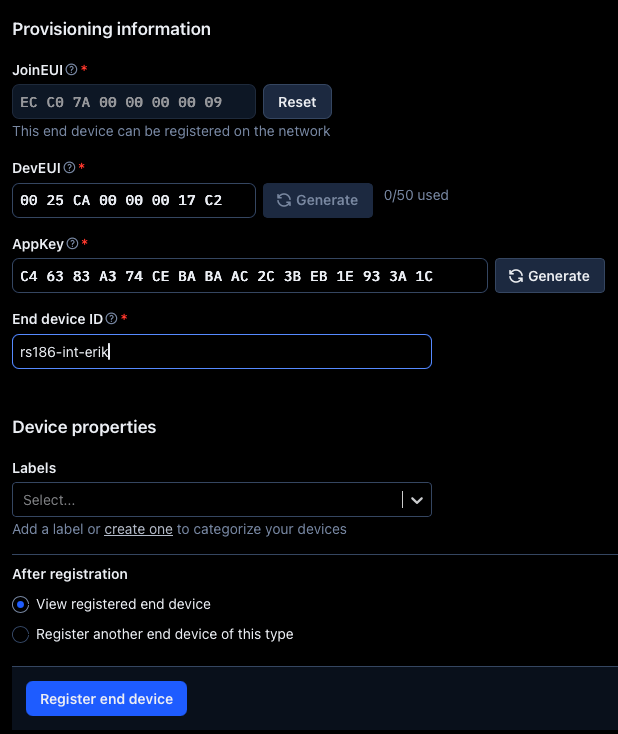
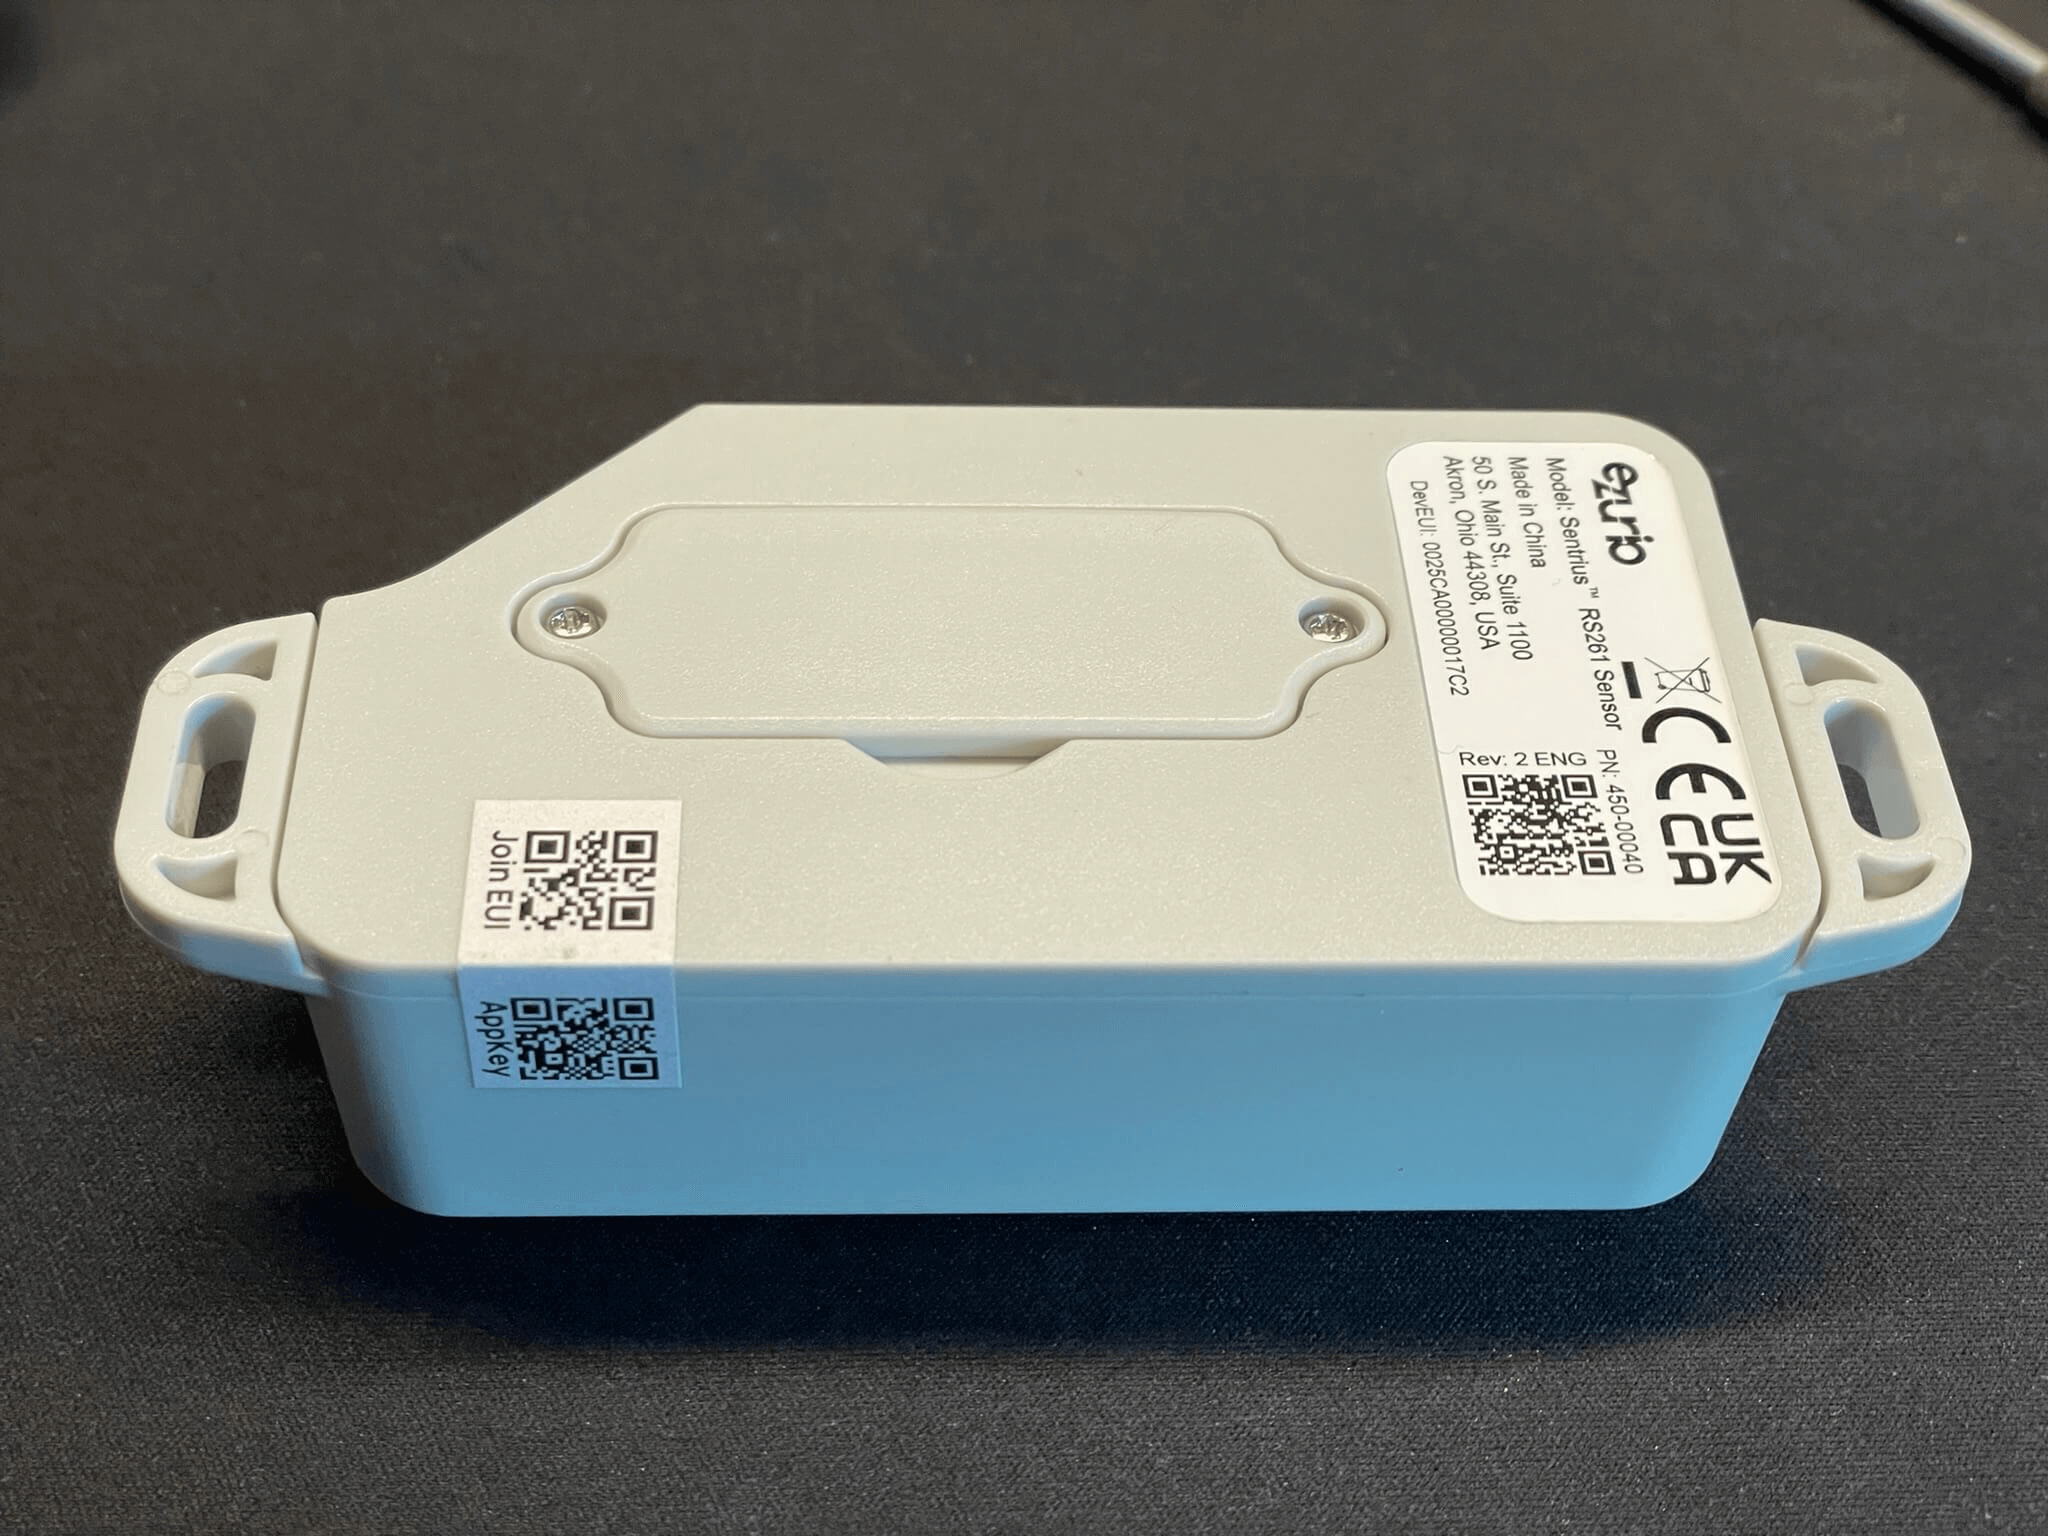
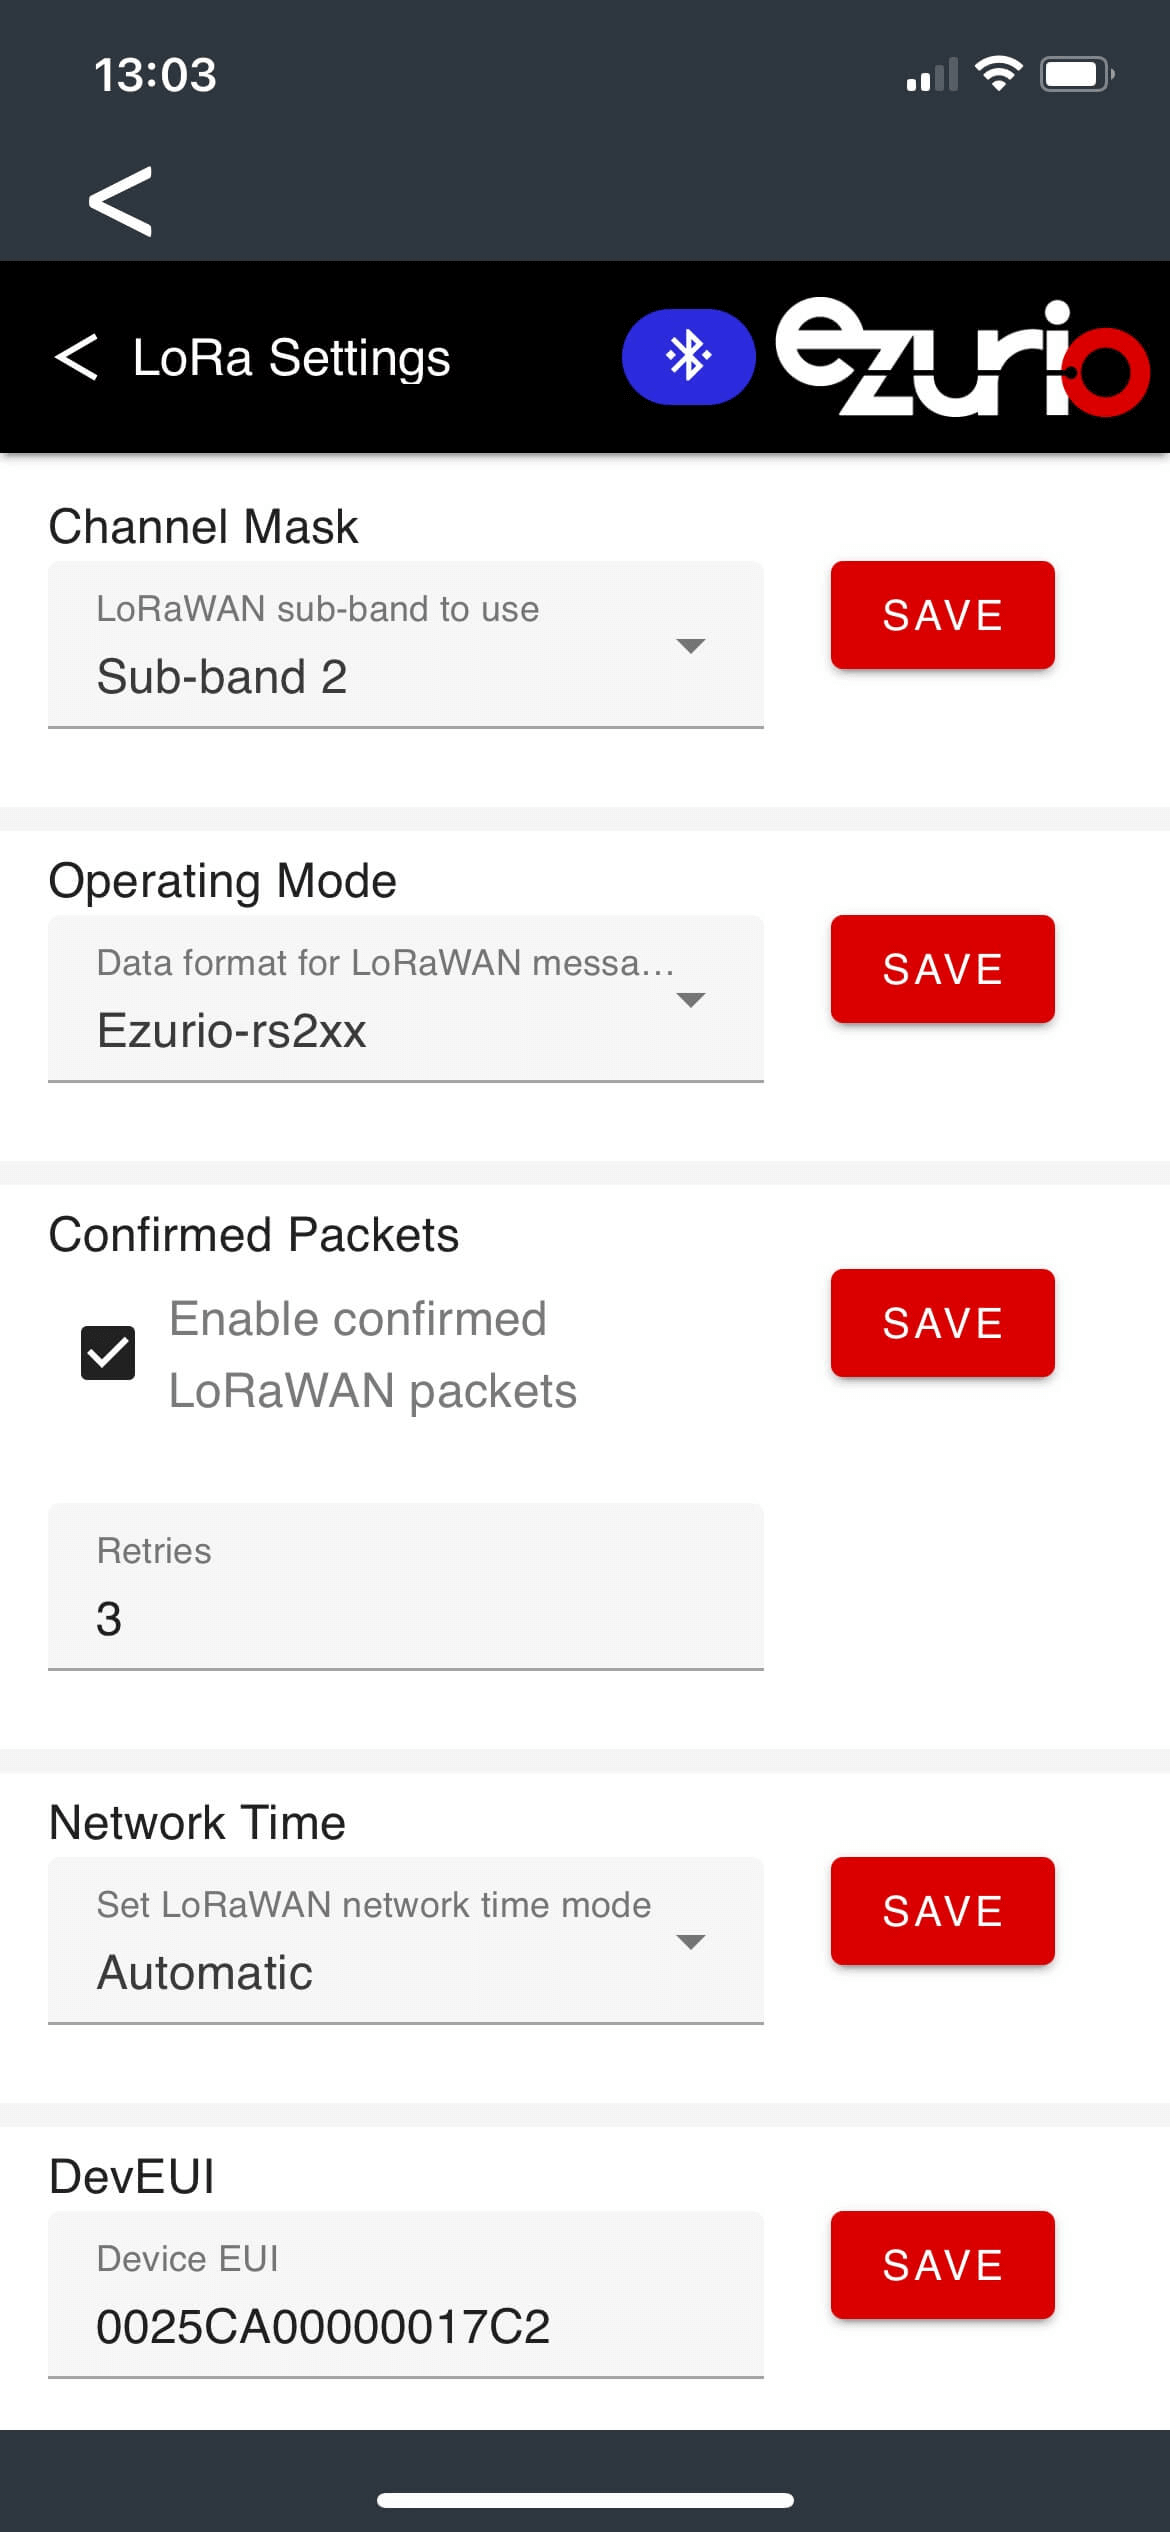
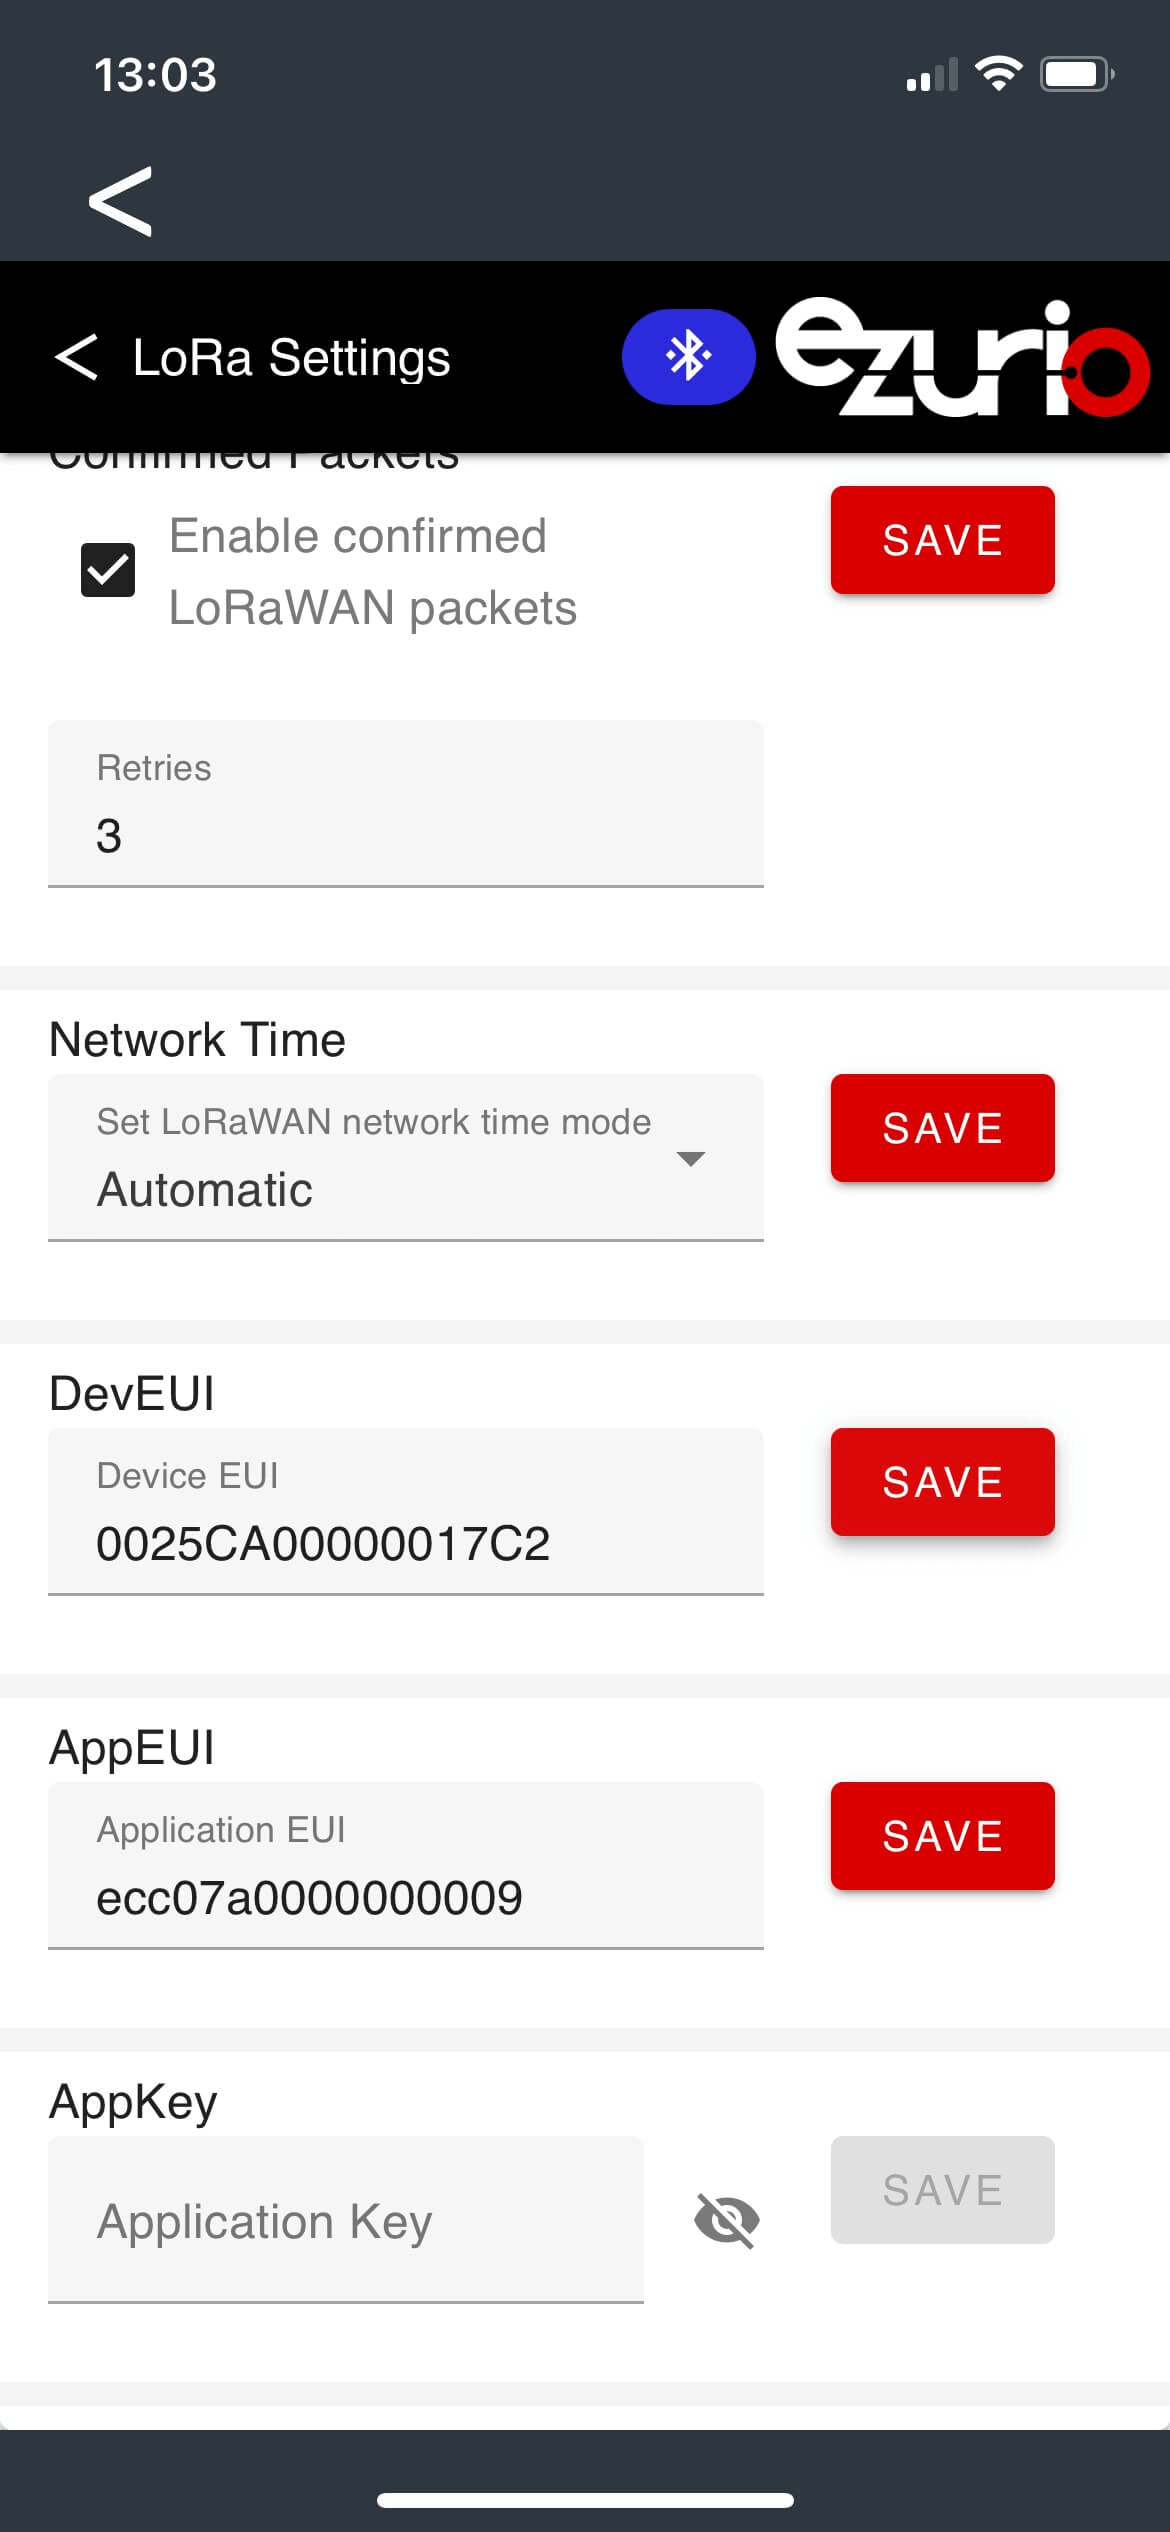
JoinEUI, DevUEI and AppKey are provided as QR code on the RS26x sensor.
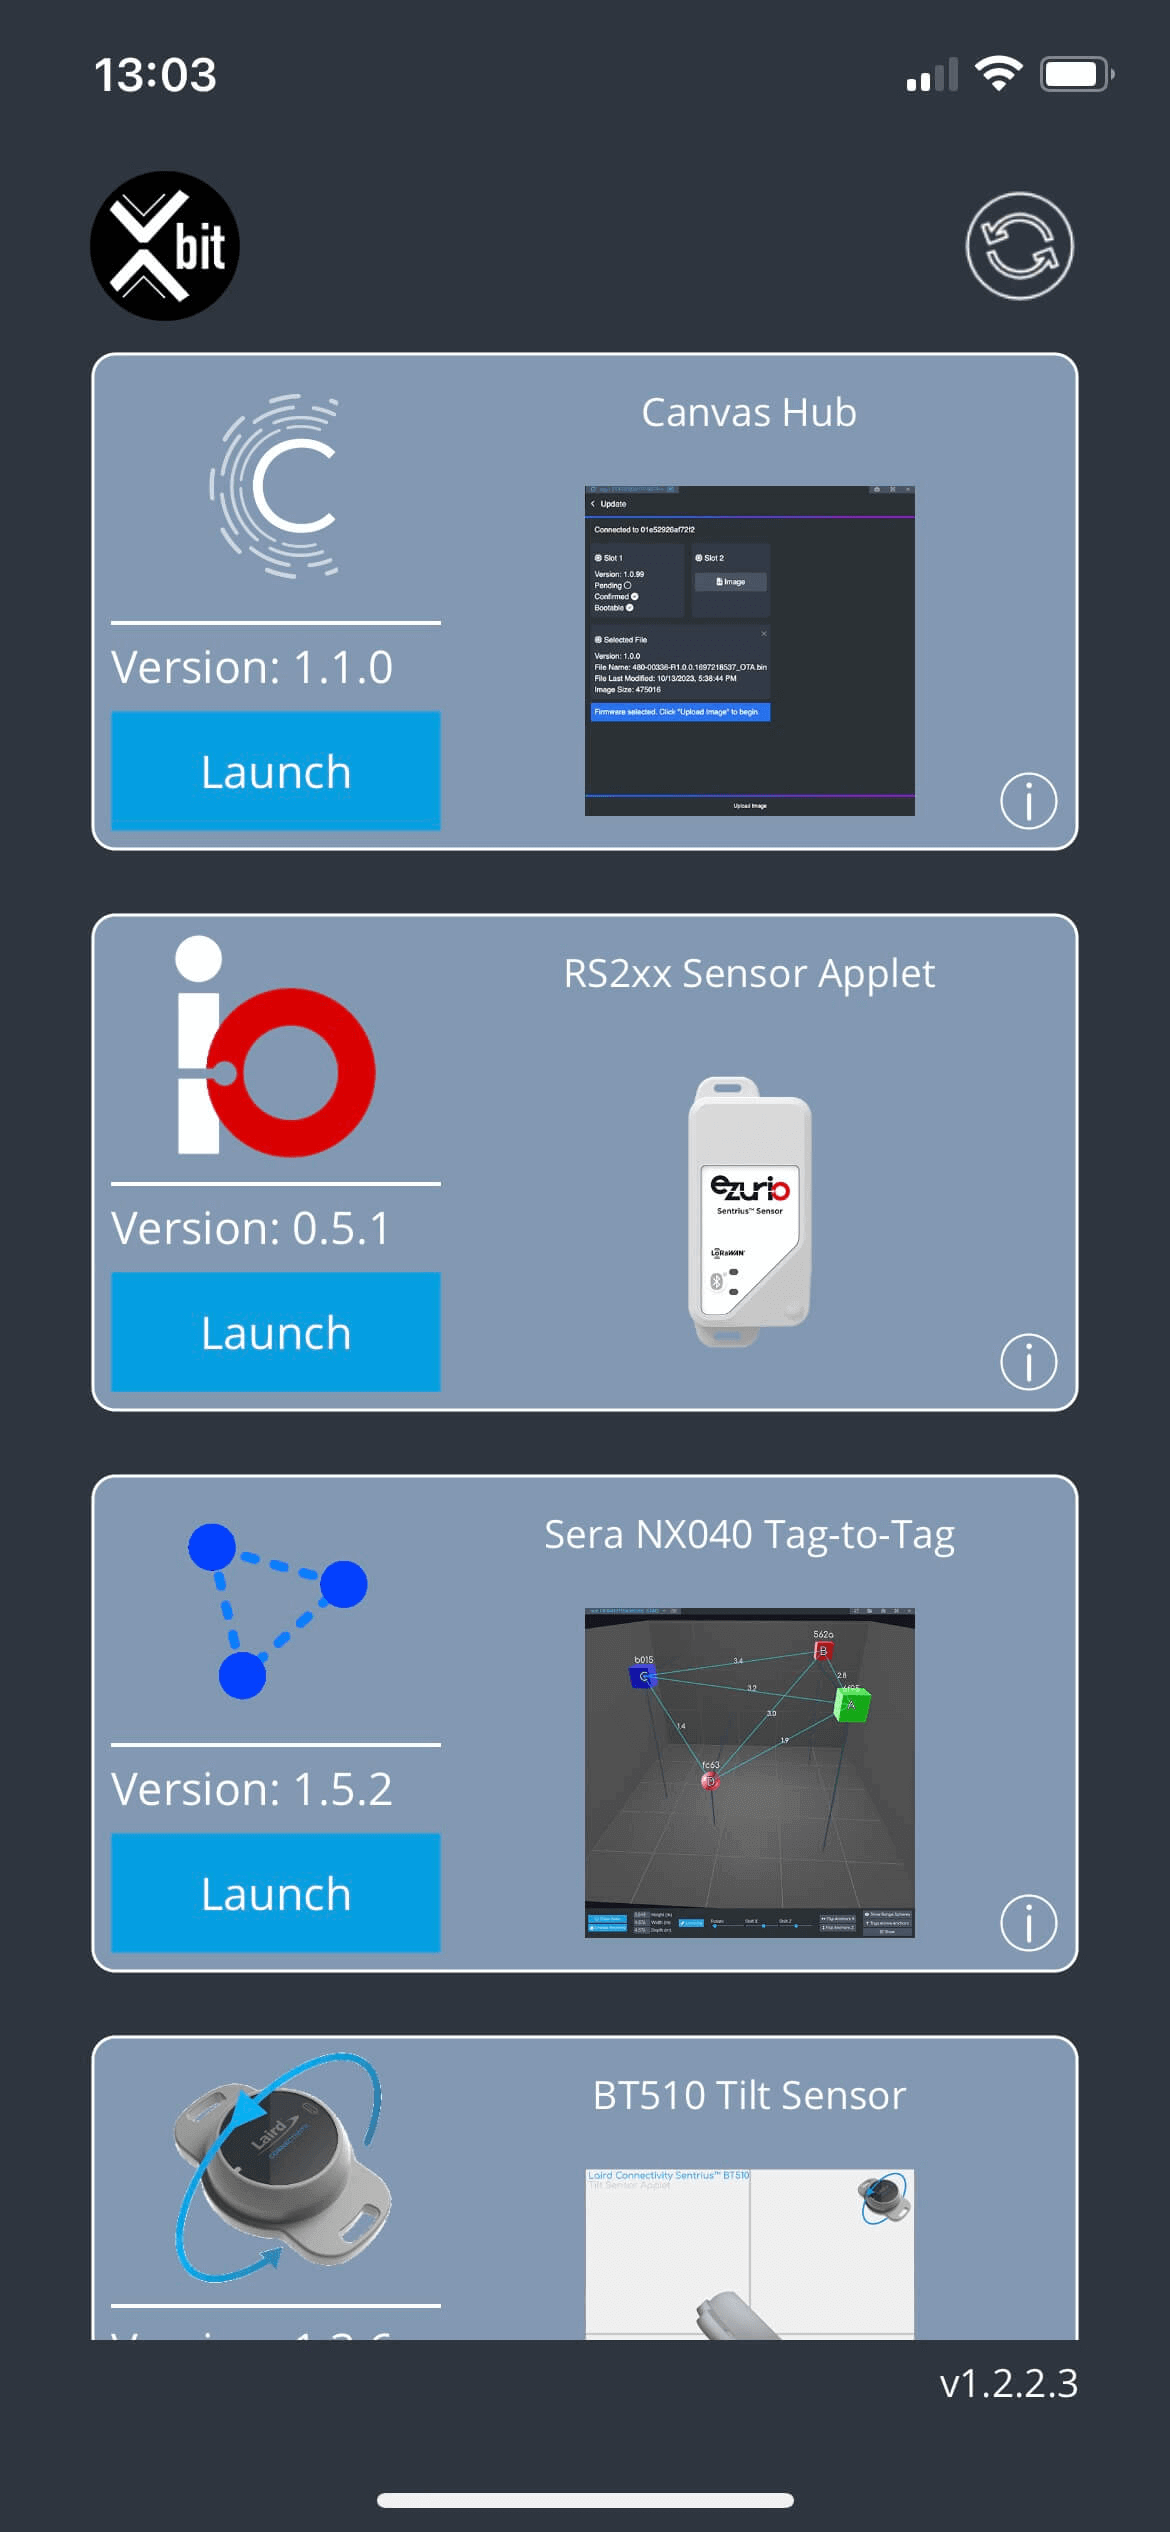
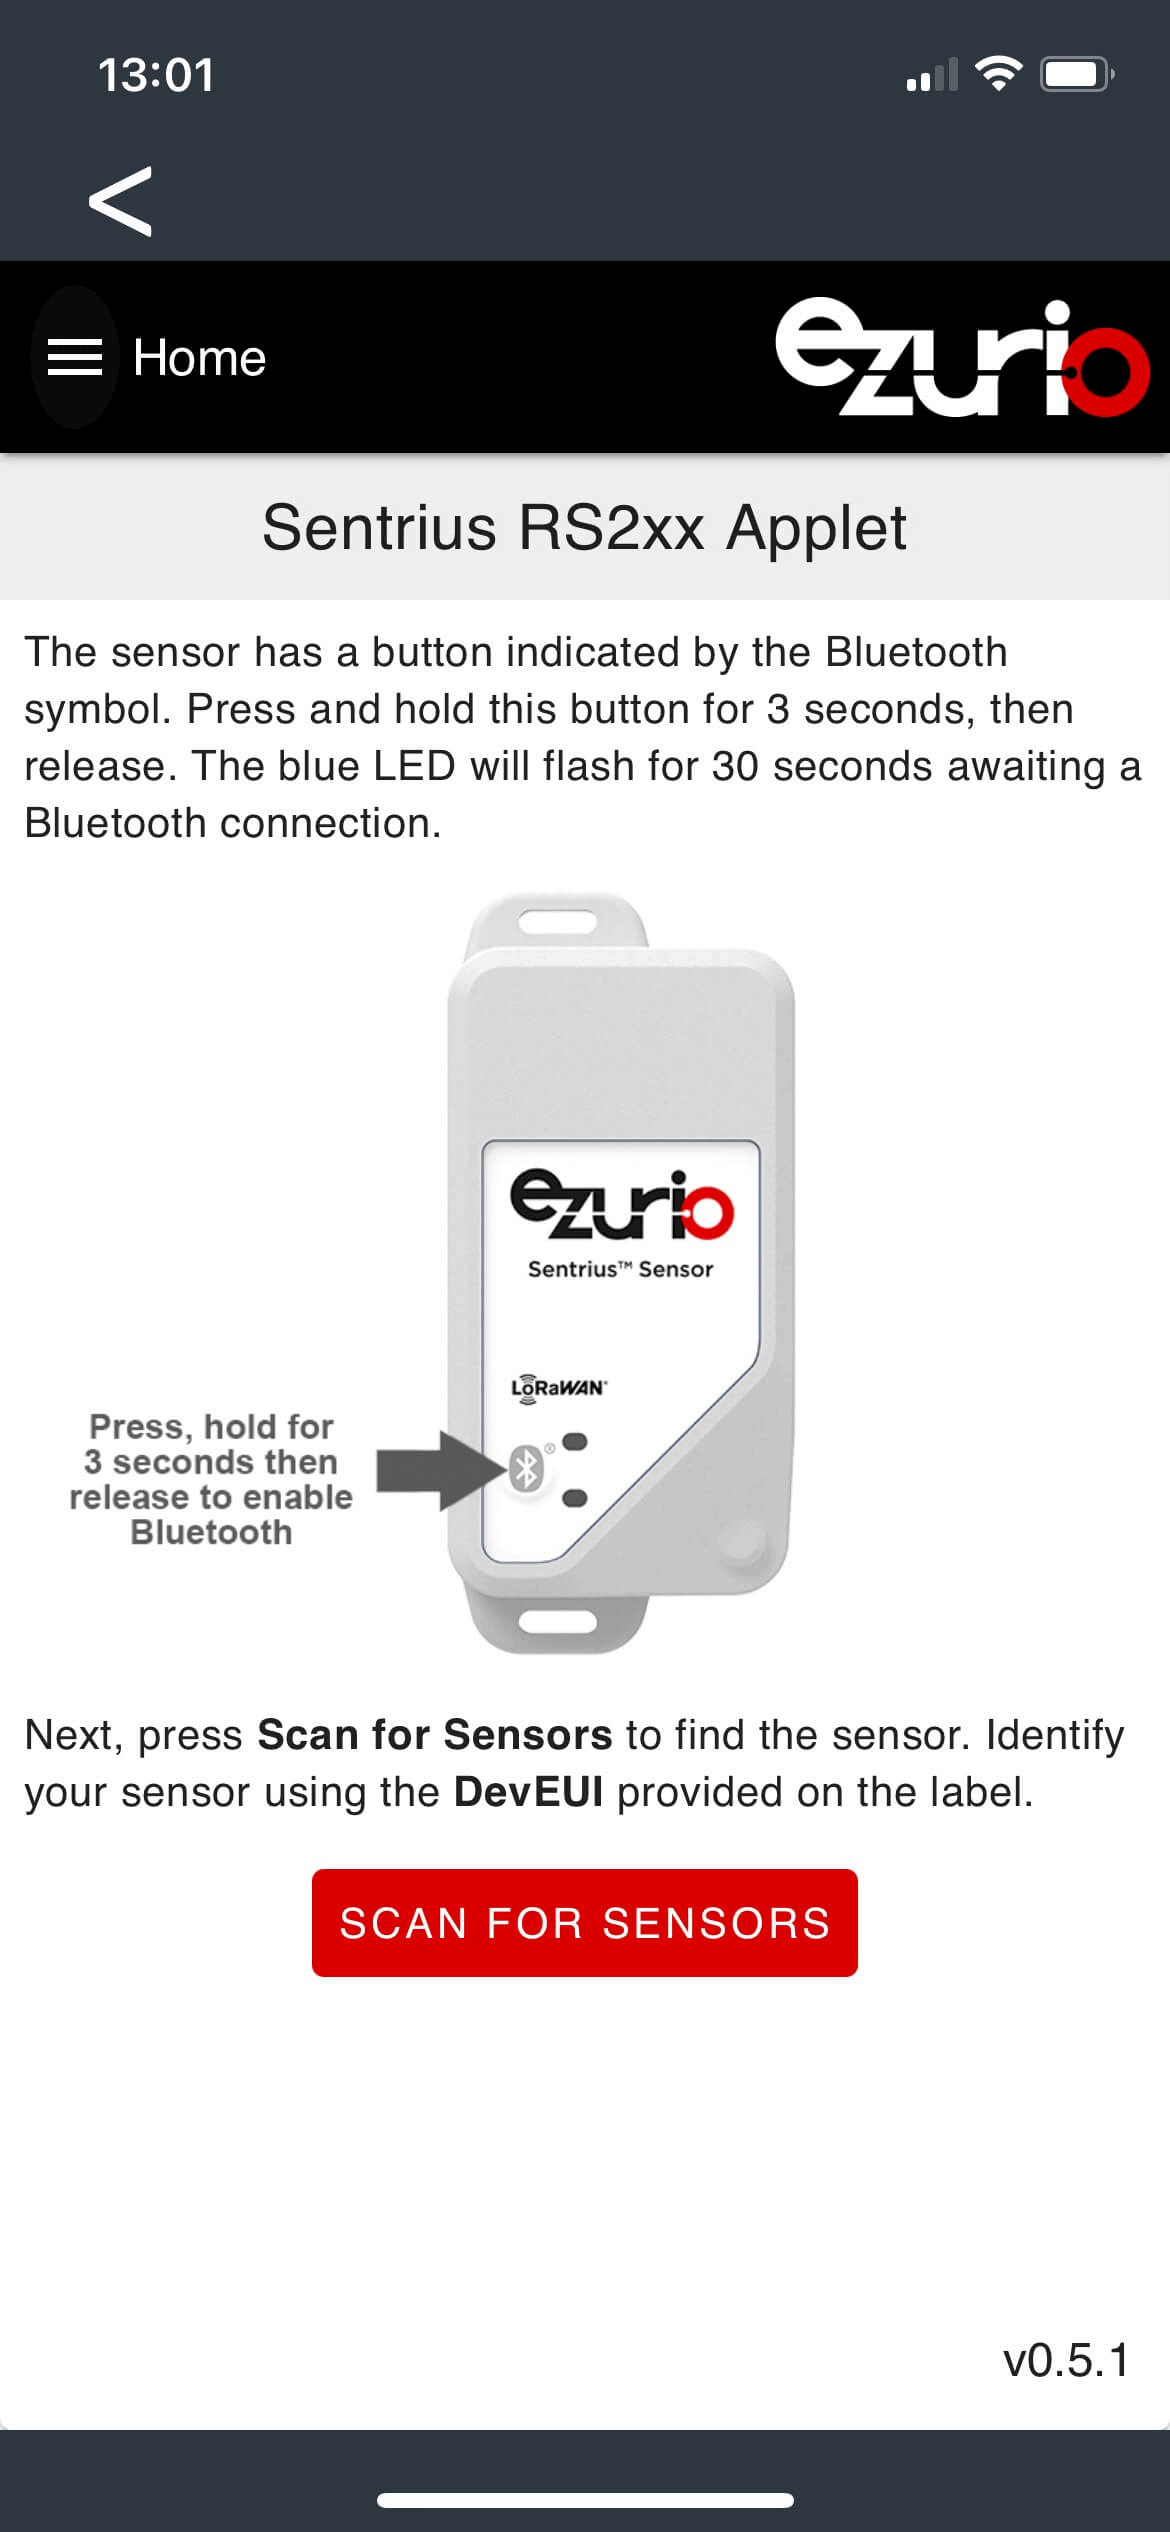
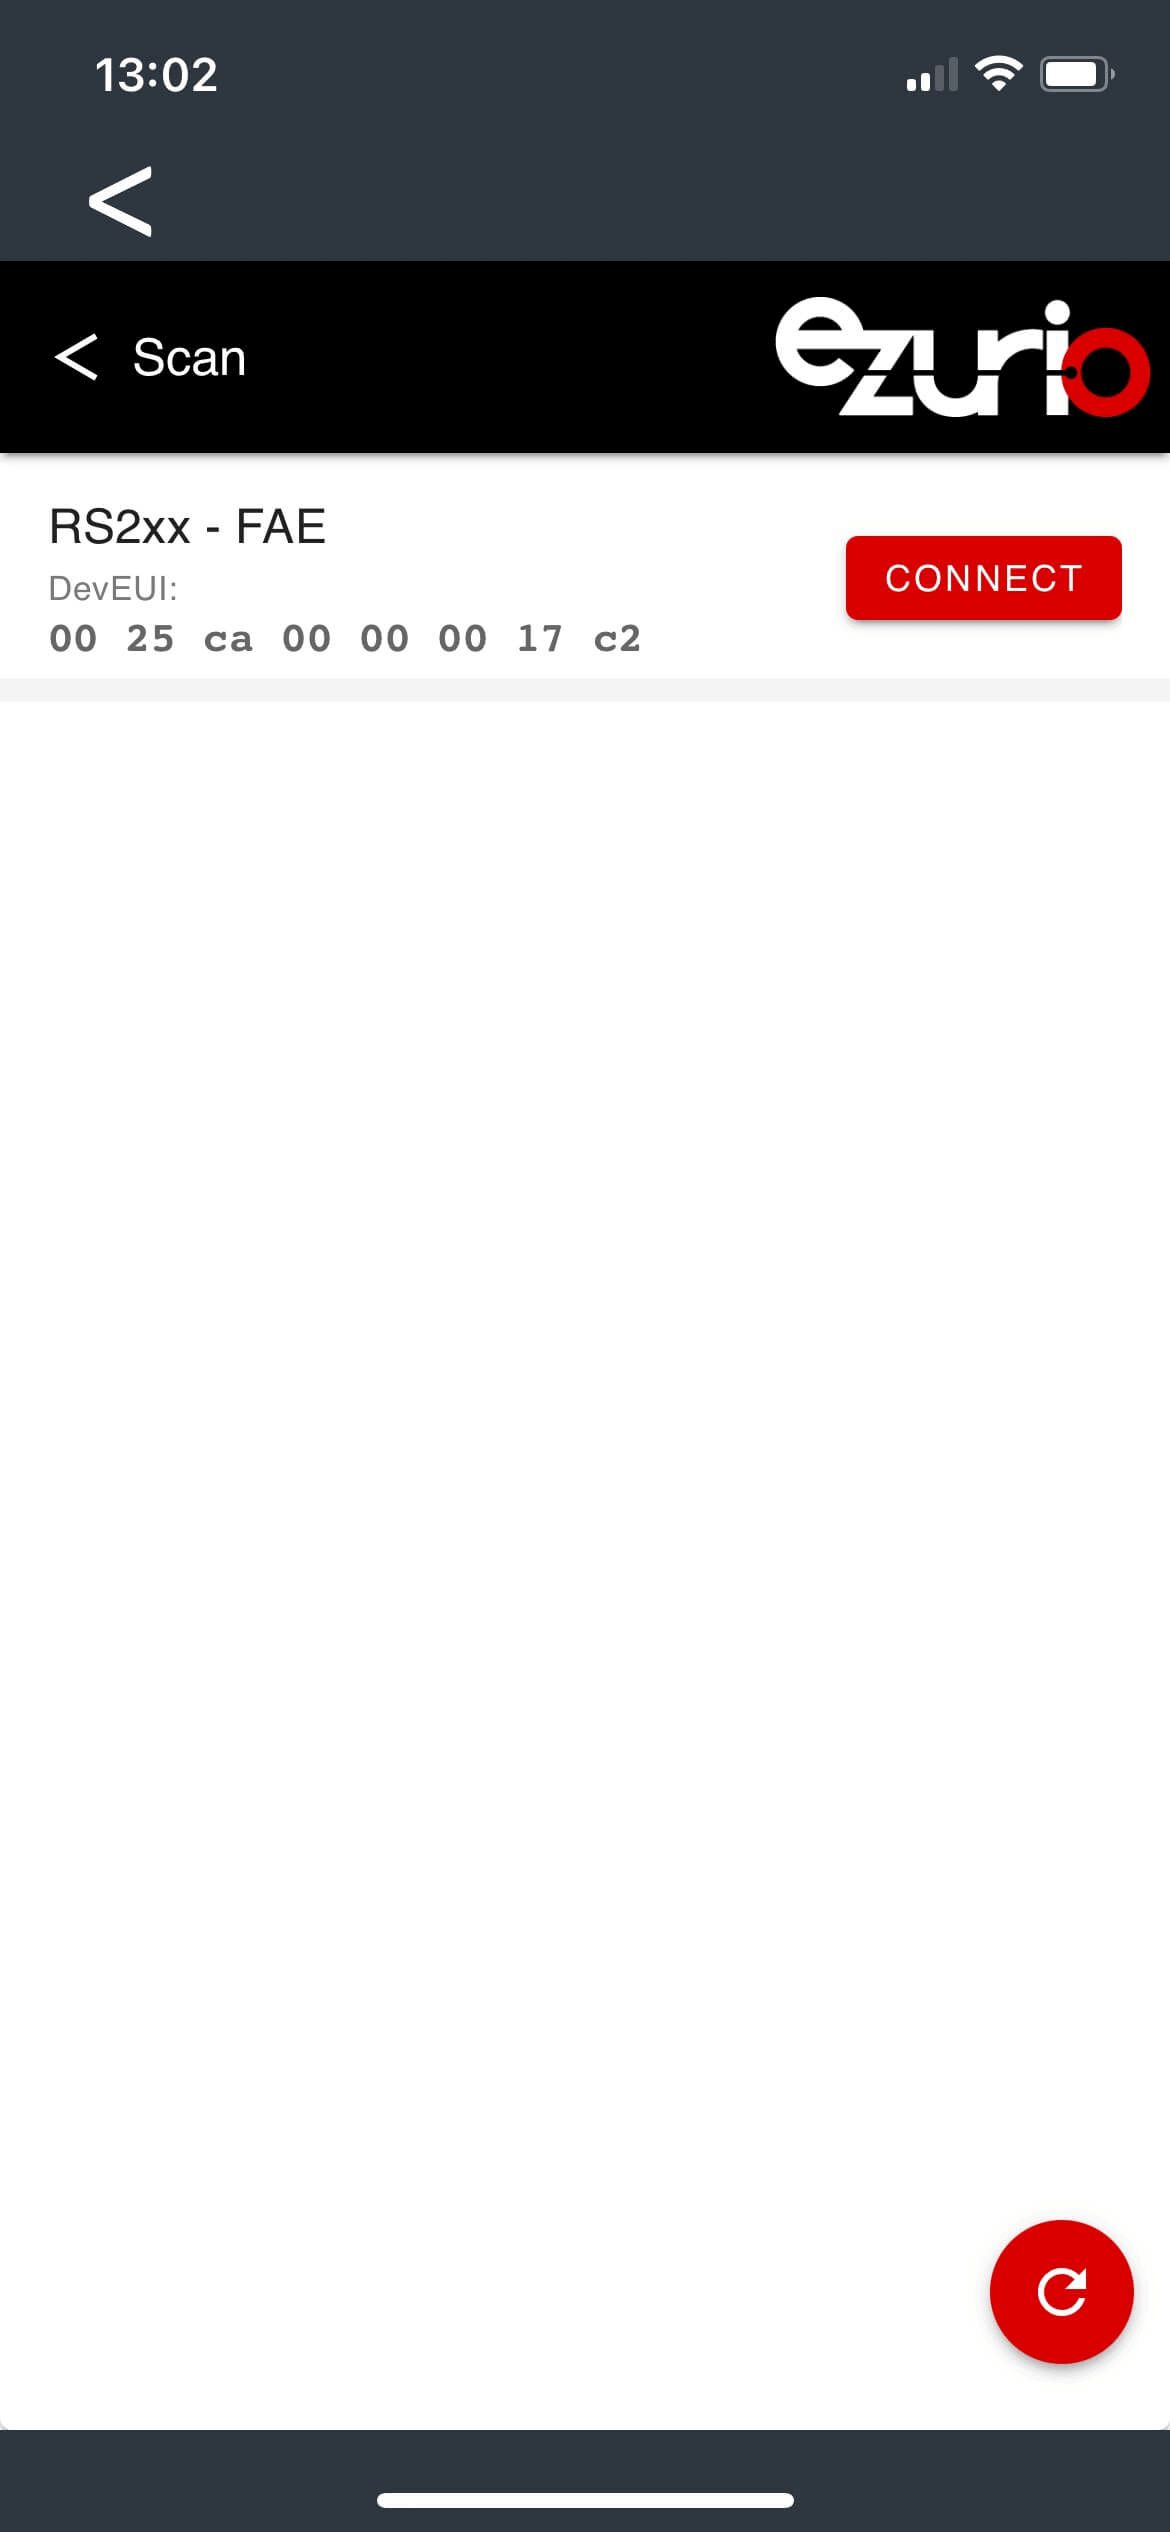
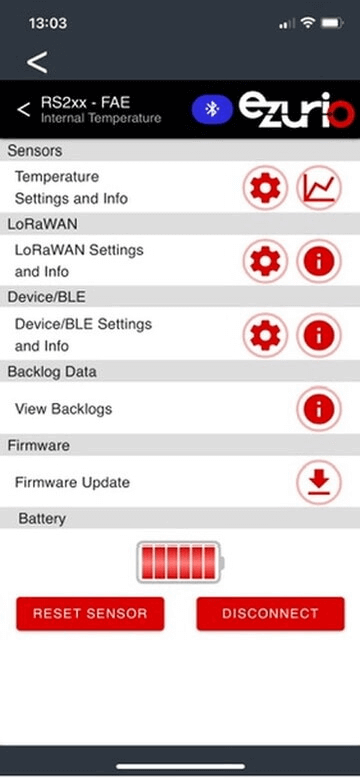
Alternatively you can also grab the provisioning information from the RS26x Sensor Applet in the Xbit mobile app.
The Ezurio Xbit app for configuration of the RS26x is available for Android and iOS. See the official RS26x quick start guide and RS26x user guide for details on configuring the RS26x sensor.
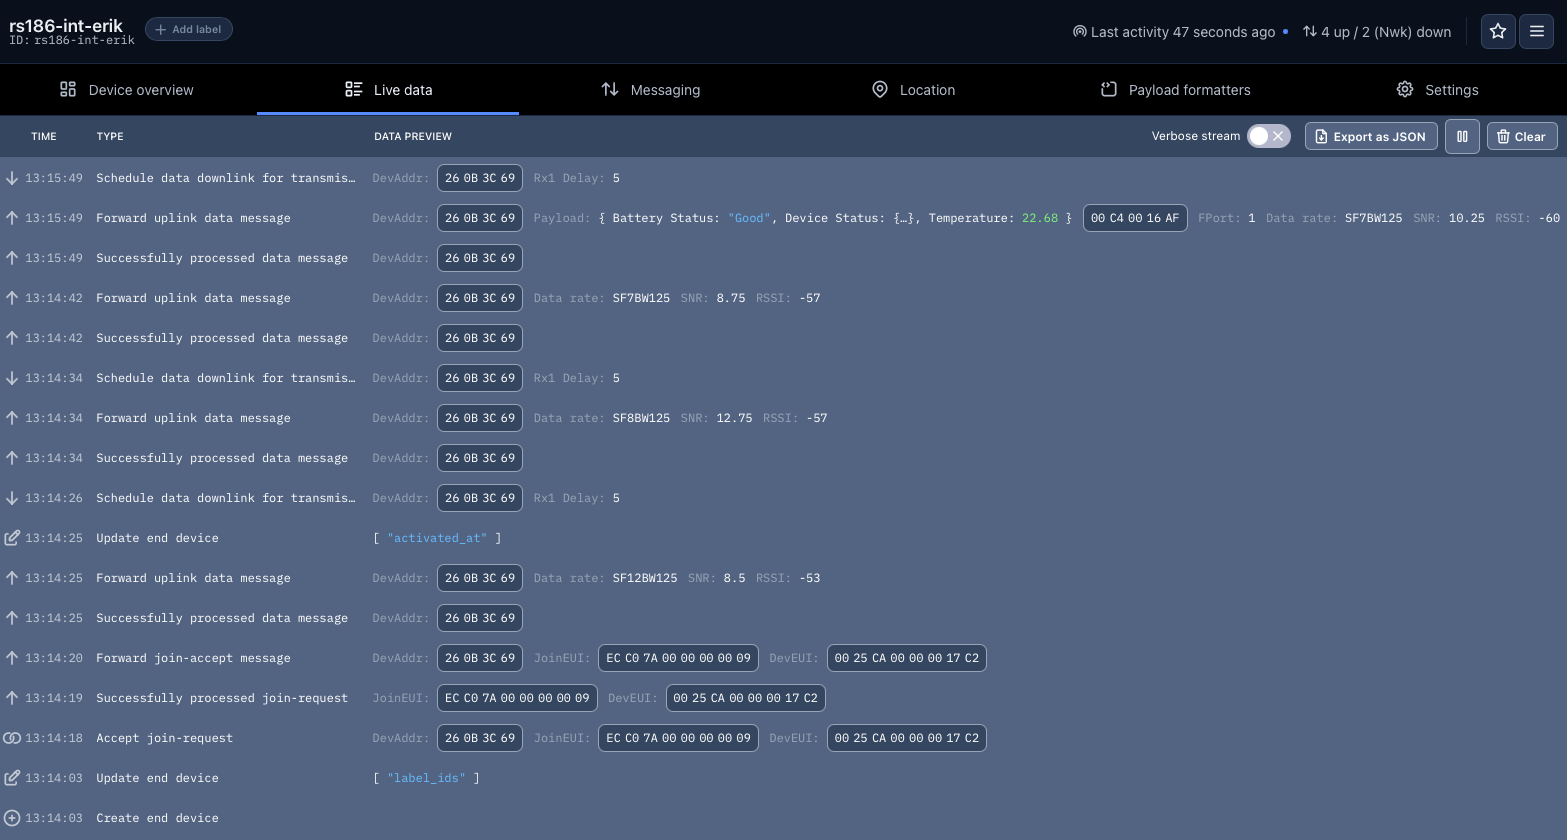
The device should finally show up under the Device overview in the TTN console.
And you should be able to see some live data. It might take a while until new live data shows up depending on the device settings.
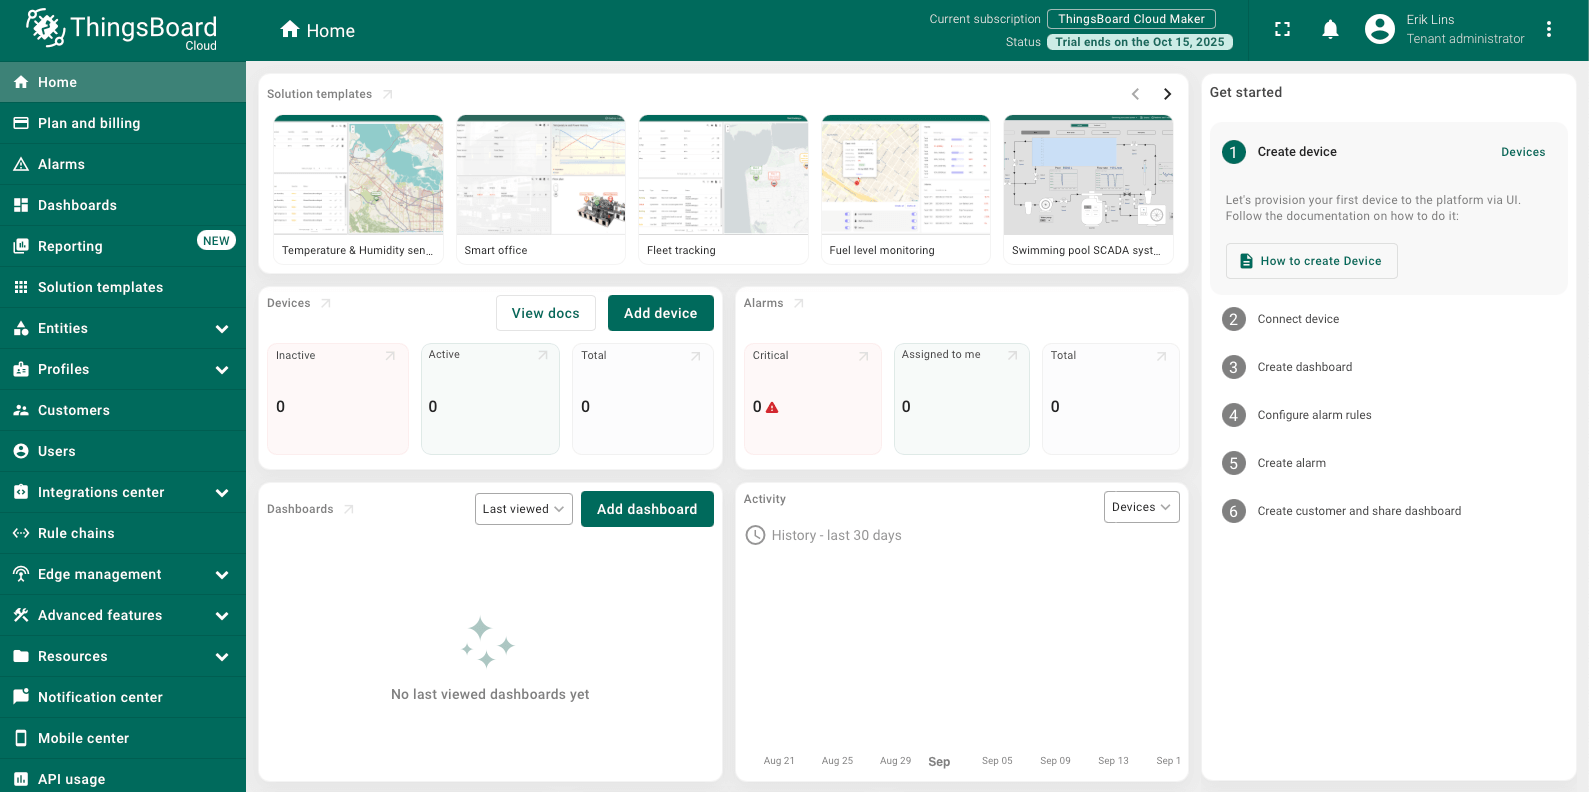
Log in to ThingsBoard
Log in to ThingsBoard by following this link and selecting your region.
Adding the Data Converter
The first thing to add would be the uplink data converter to convert the incoming data from TTN into a usable format for Thingsboard dashboard widgets.
- Navigate to Data converter in the Integrations center.
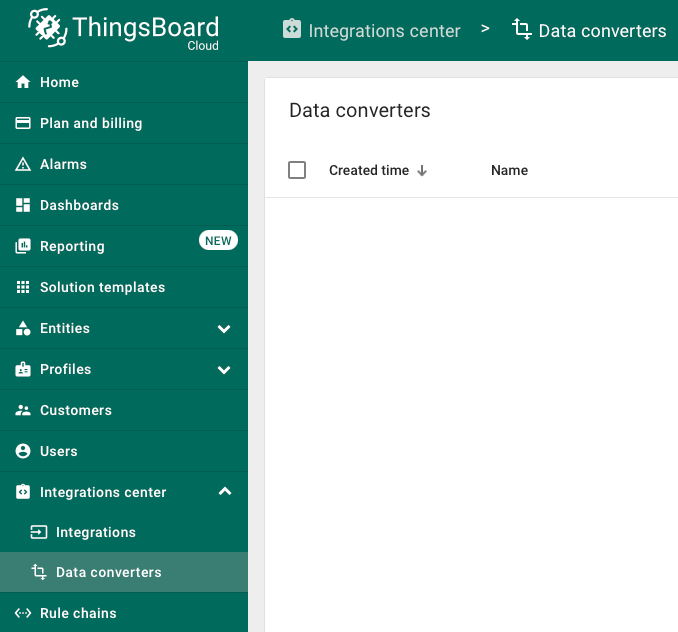
- Click on “+” and select import converter.
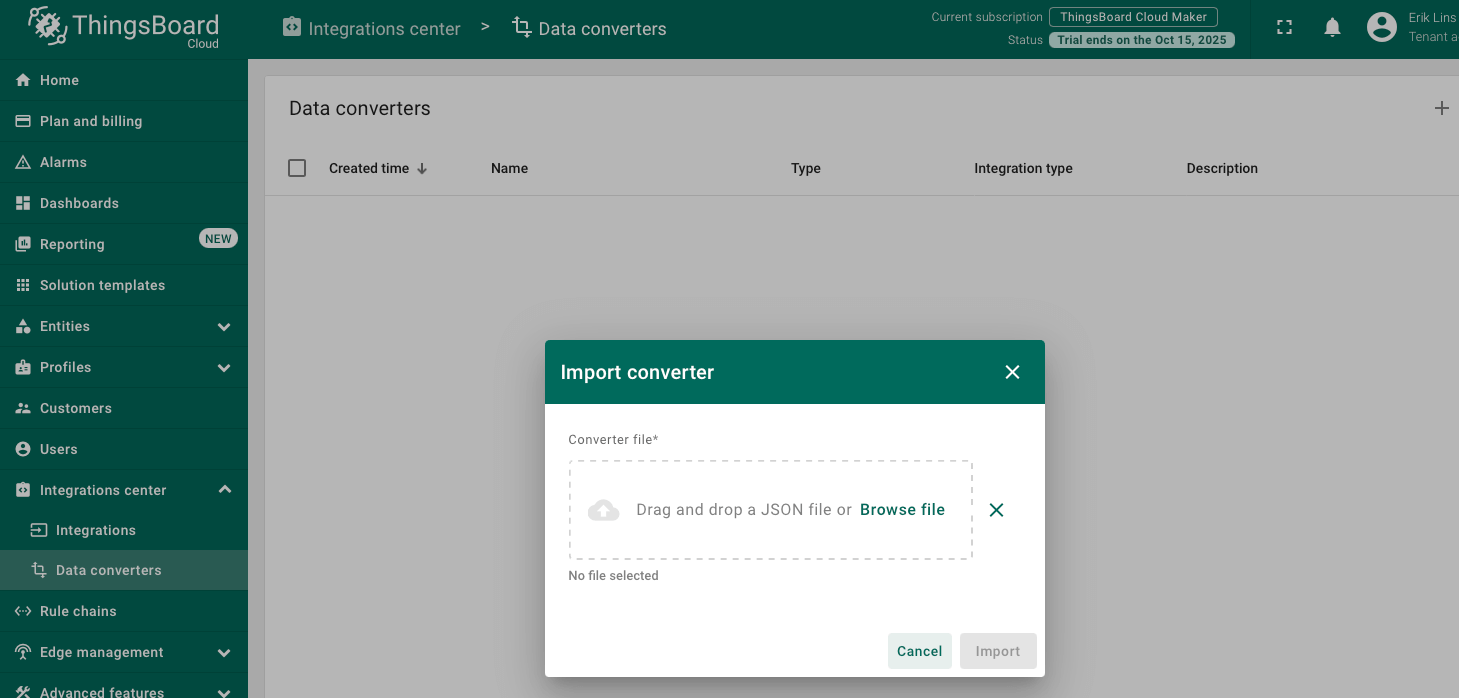
- Download the things_stack_community_uplink_converter_for_ezurio_rs26x.json file.
- Drag and drop it into the import window and click Import.
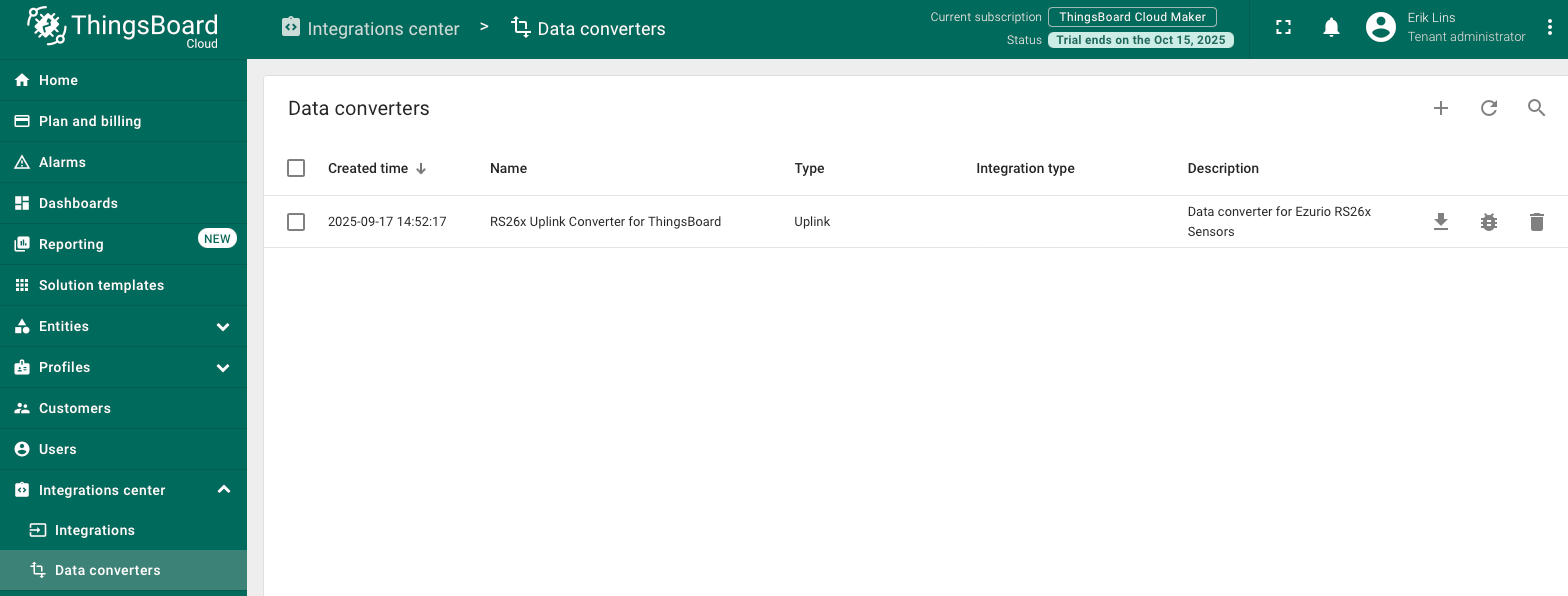
- After the upload is complete, you should see the newly added data converter.
Adding an Integration
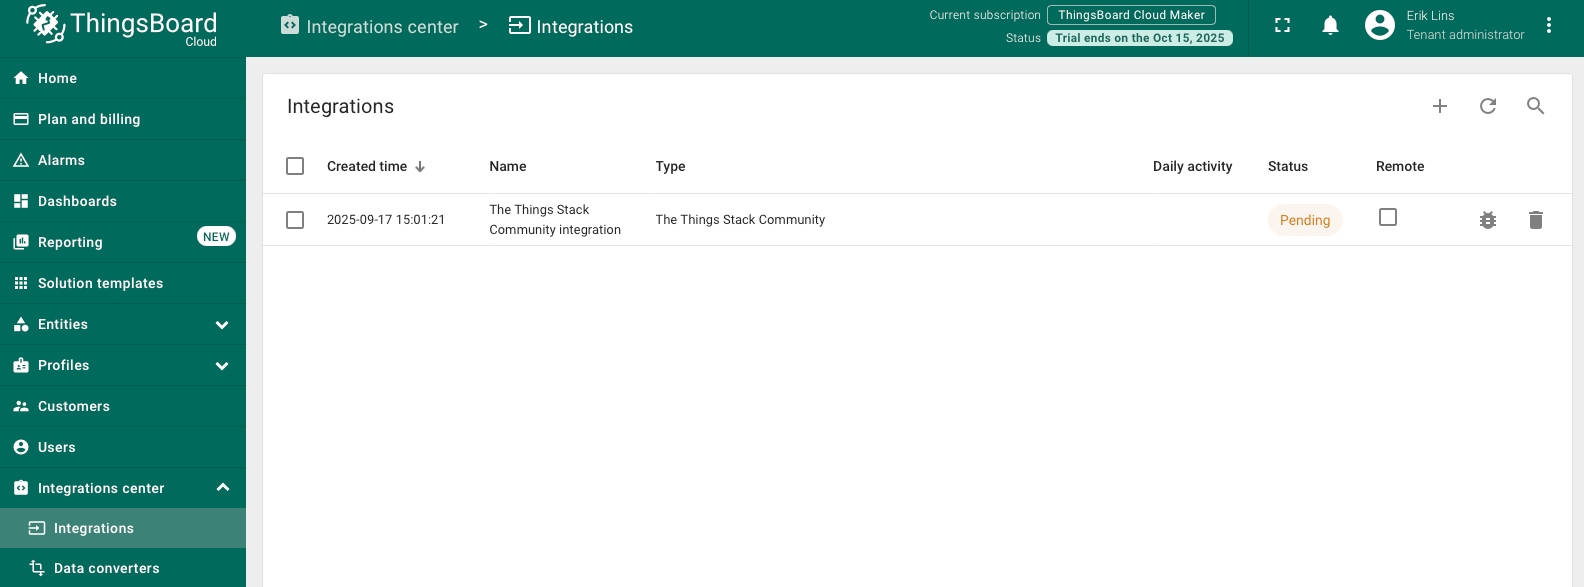
Navigate to Integration center → Integrations and click “+” to add a new integraton.
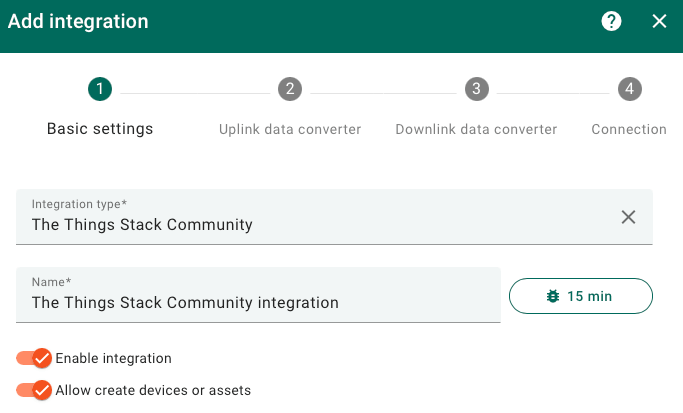
Basic settings.
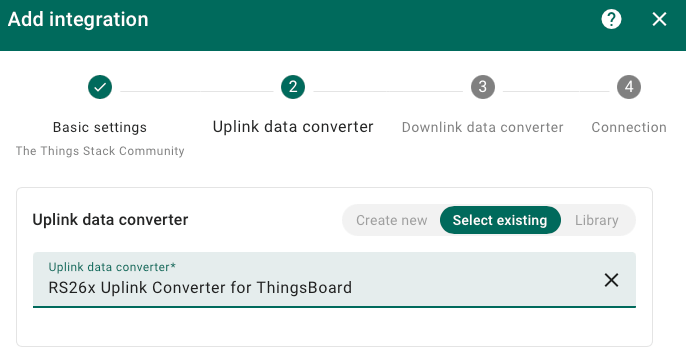
Select Uplink Data Converter.
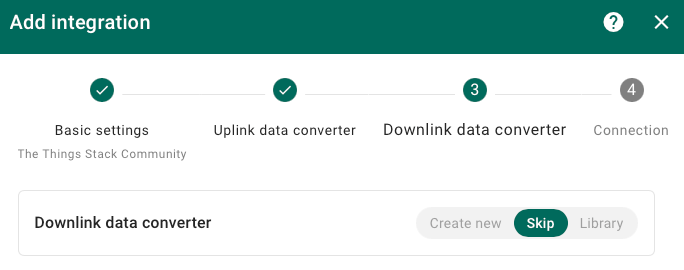
Skip Downlink Data Converter.
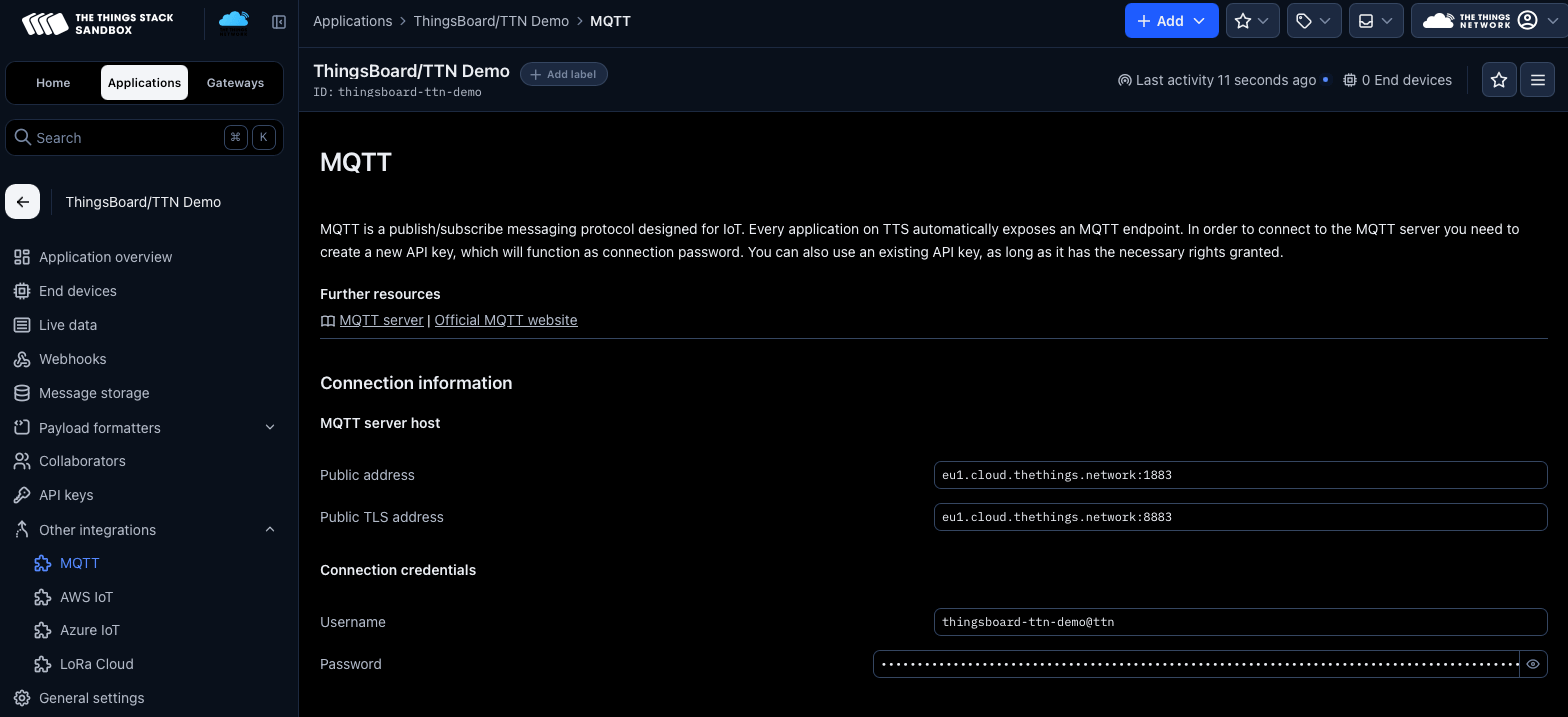
Enter connection details.
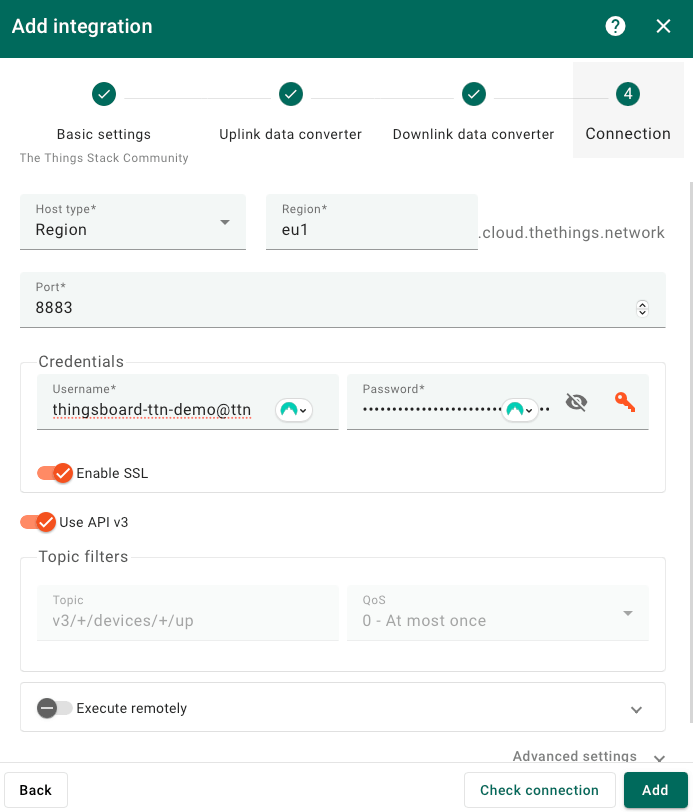
Make sure to use the proper regional settings from your specific TTN settings. The credentials need to be fetched from the TTN console, see below.
In Thingsboard click Check connection and you should see a Connected message.
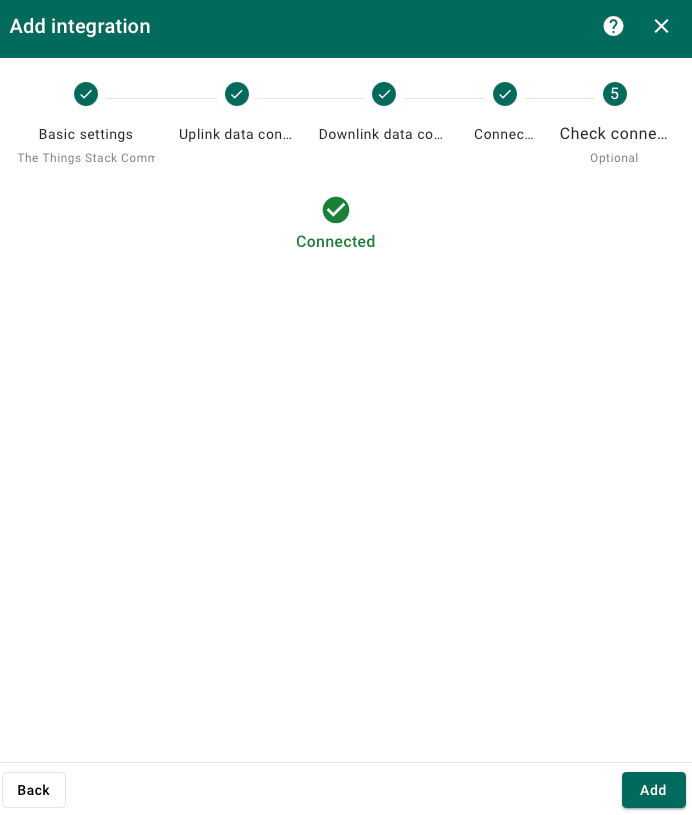
Click add to finish creating the integration.
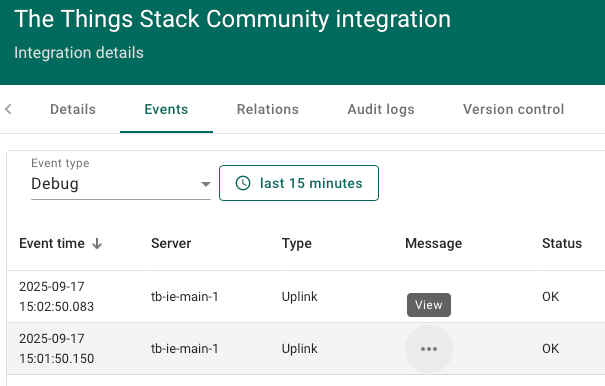
If you now click on the integration, you should see uplink messages coming in if the RS26x is active. Depending on the set uplink interval in your device, it might take a moment until first data can be seen.
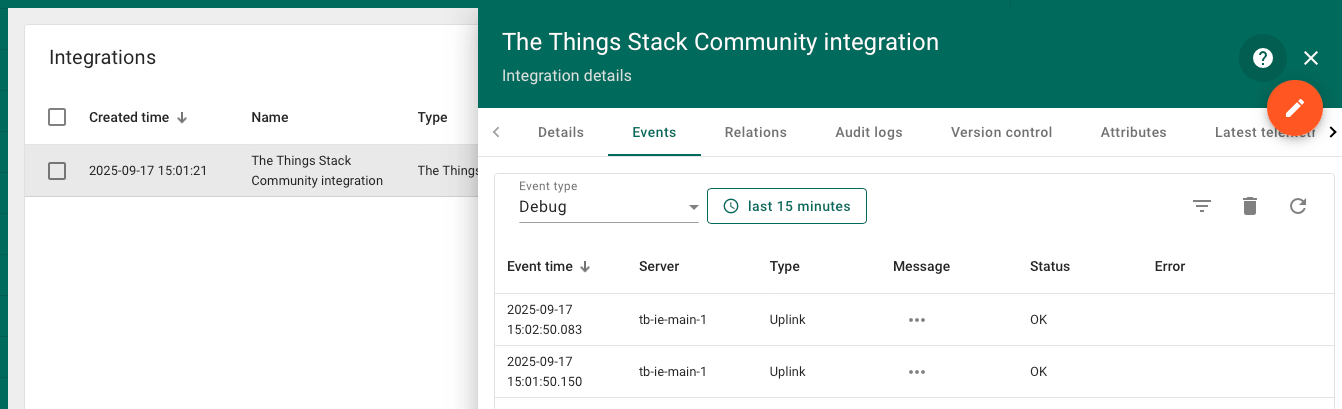
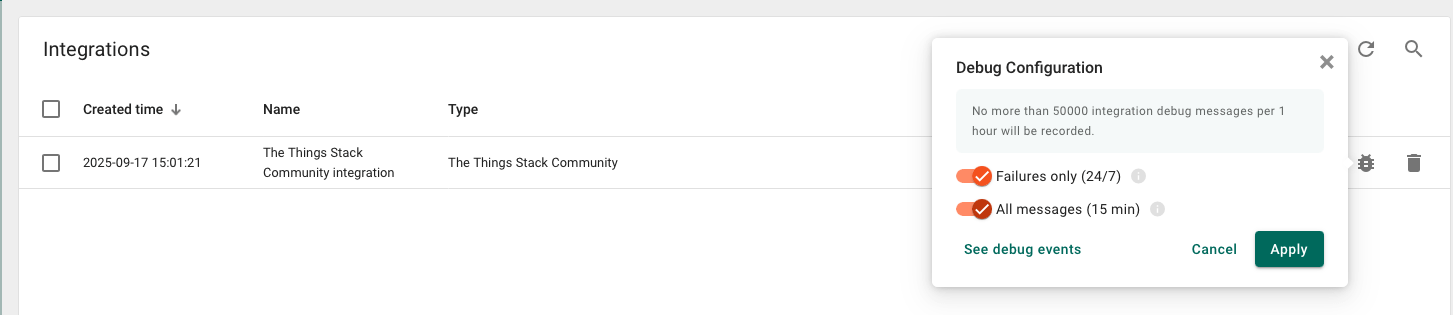
Note: The display of uplink messages is set to Failure messages only. To see all messages you need to enable this in the Debug Configuration as shown below.
You can click on the three dots in the Message column and view the uplink data sent.
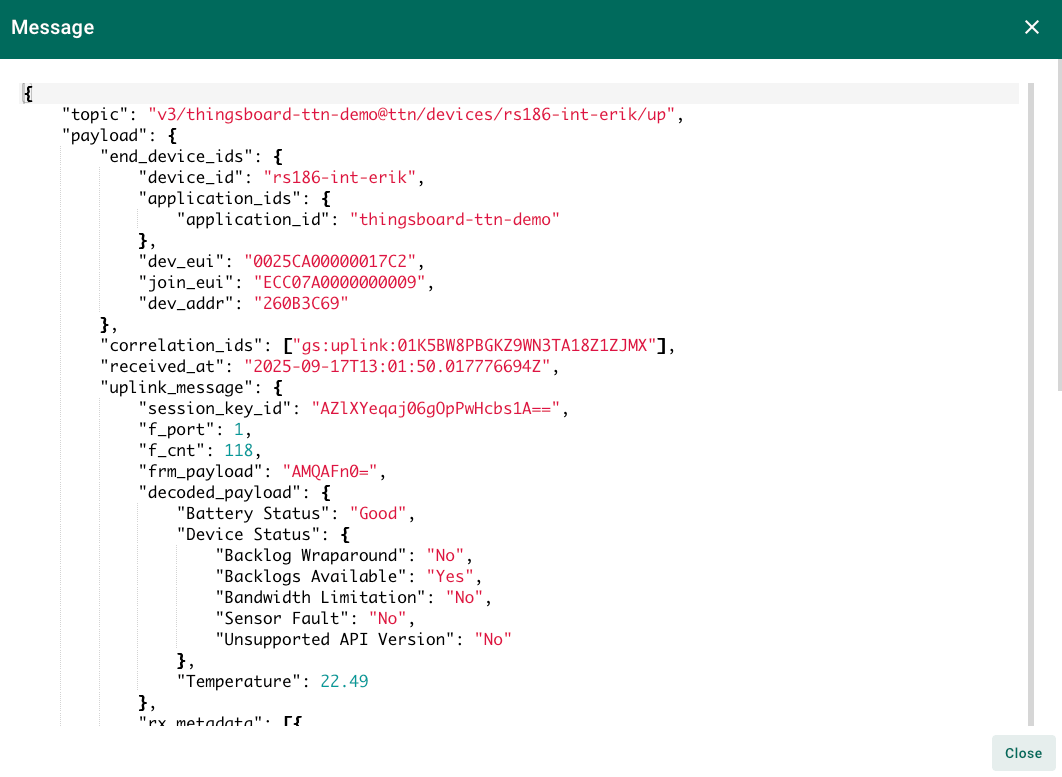
The data is JSON format and looks like below. Underneath “decoded_payload” you see the RS26x battery status as well as the Temperature.
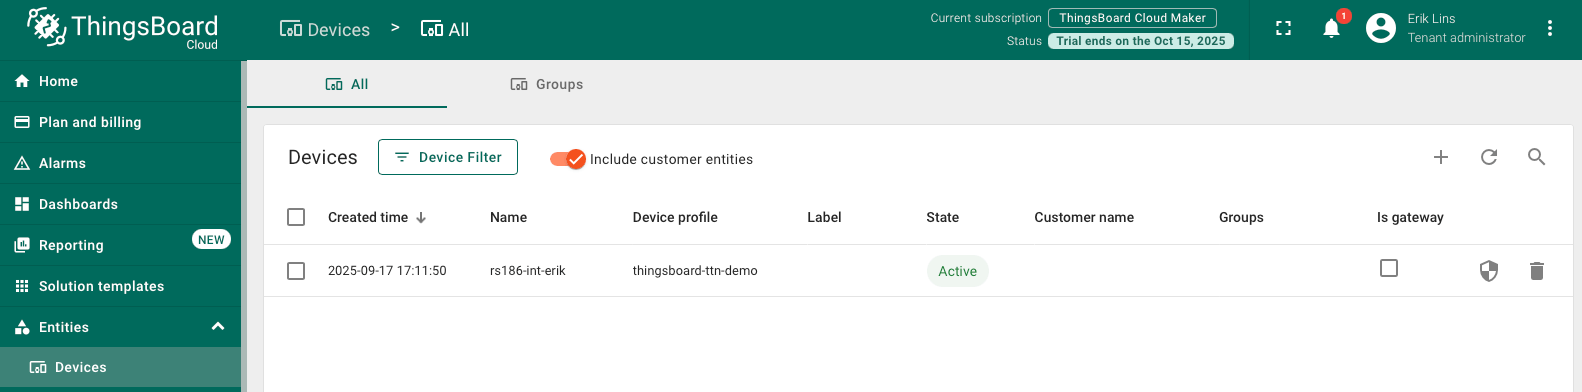
New device is created
When the device is active and transmitting data to TTN it will automatically create a Device profile…
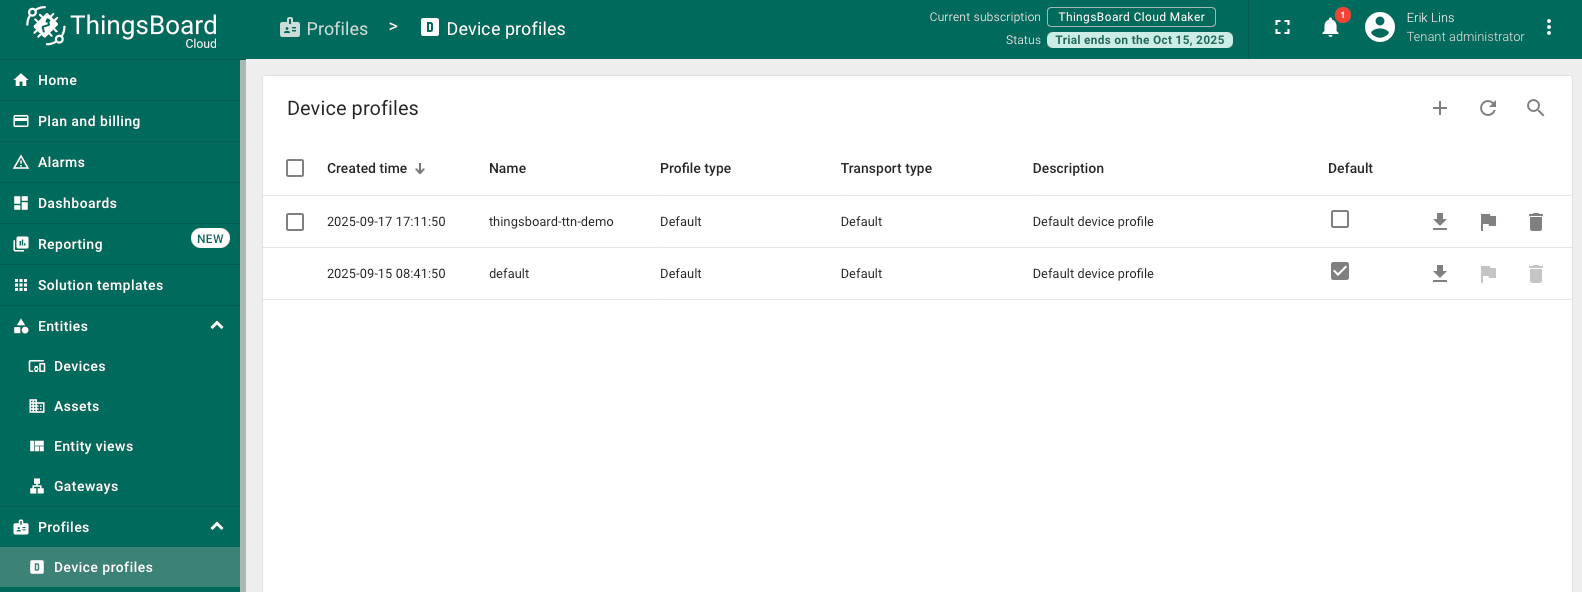
…and a device.
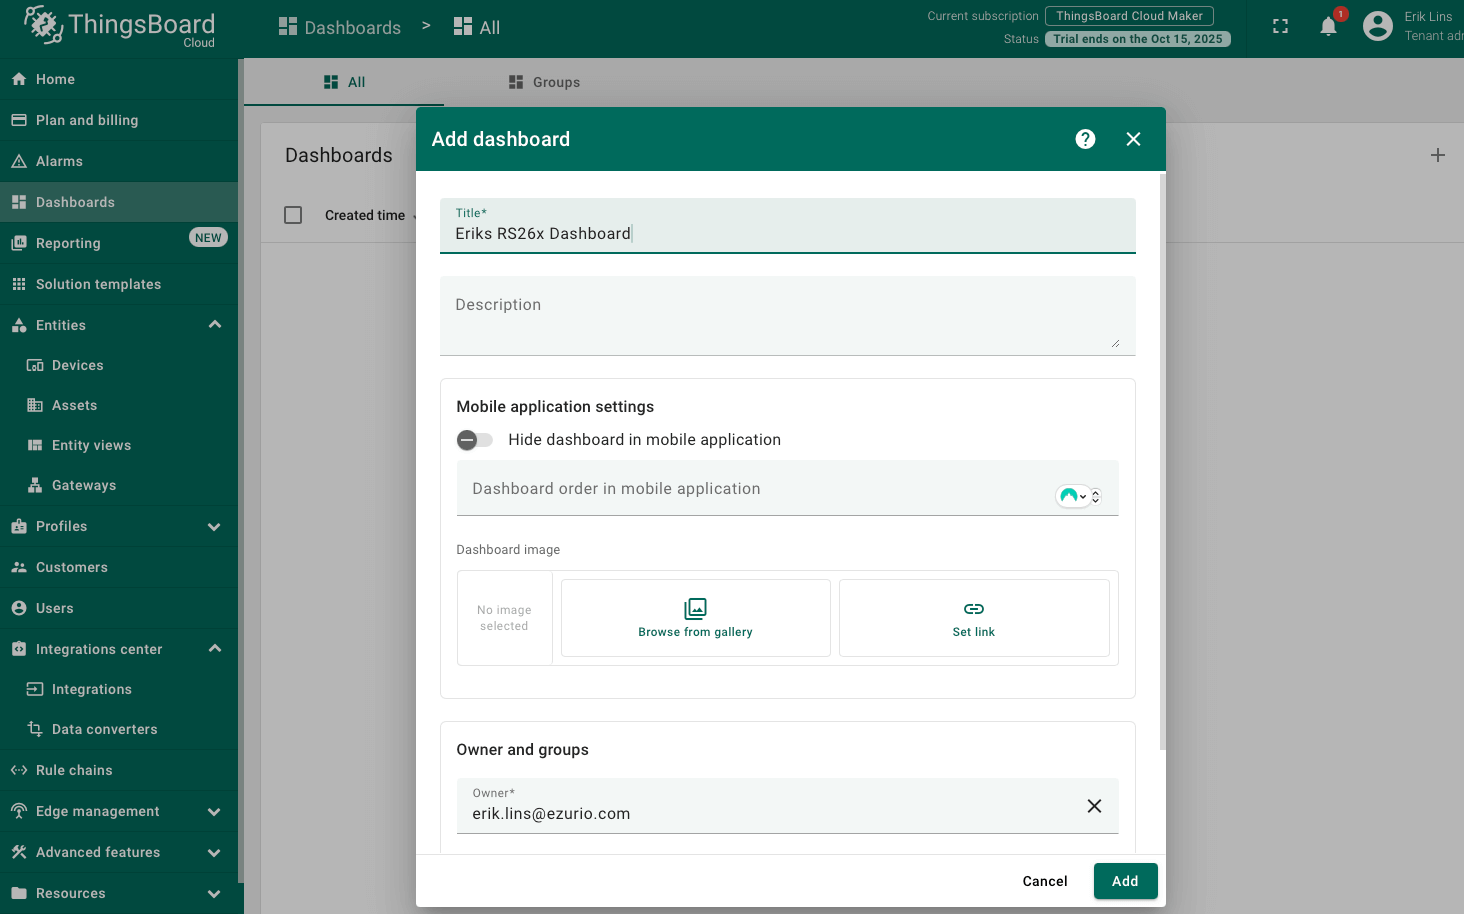
Create a Dashboard
Navigate to Dashboard and click “+”.
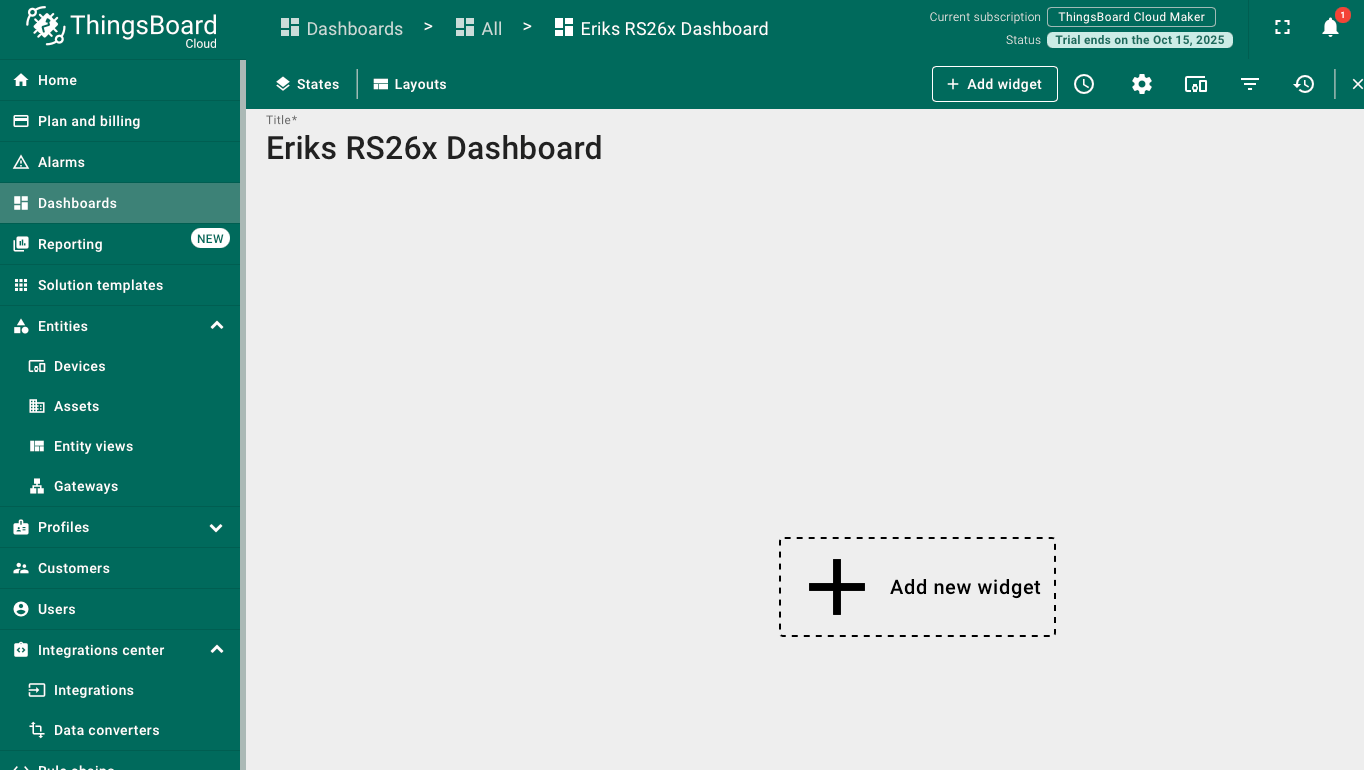
This opens a new, empty dashboard where you can start adding widgets.
Go to Cards widgets bundle and select a Simple Value and chart card widget.
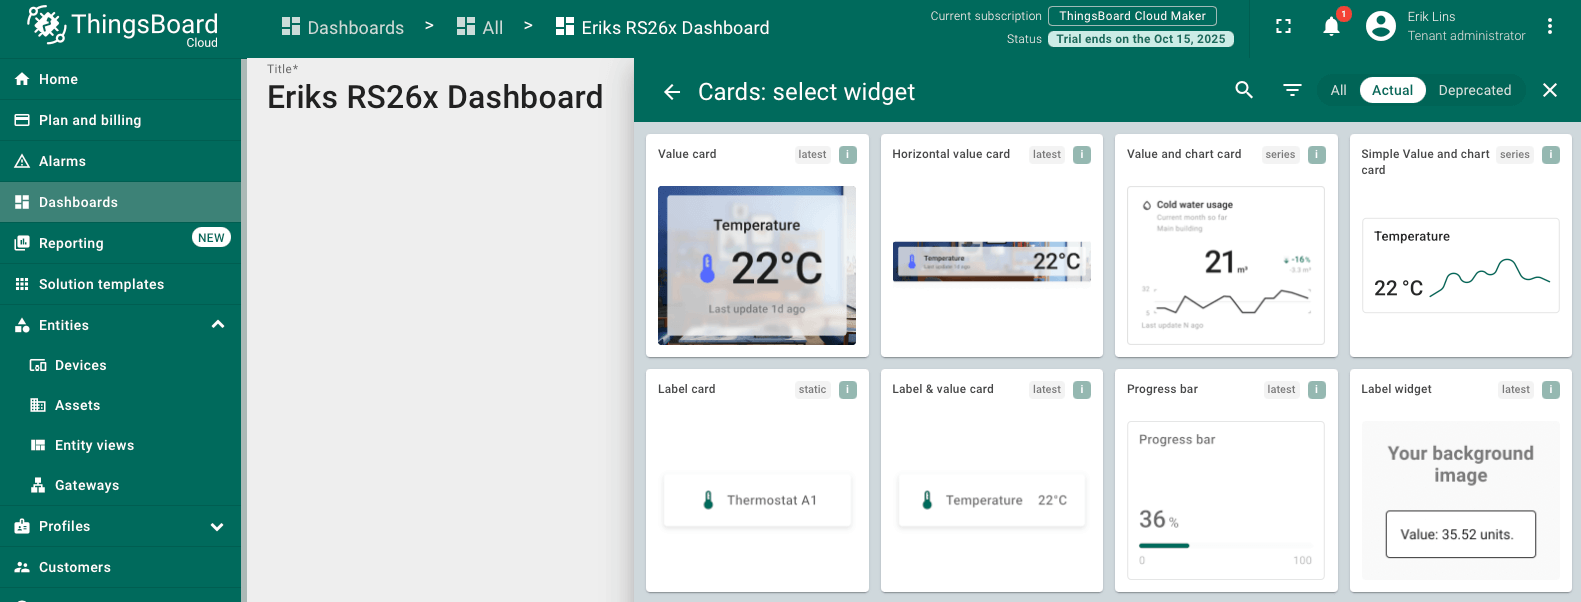
Select our device as data source and the data key should be temperature. Feel free to enter a new title as well.
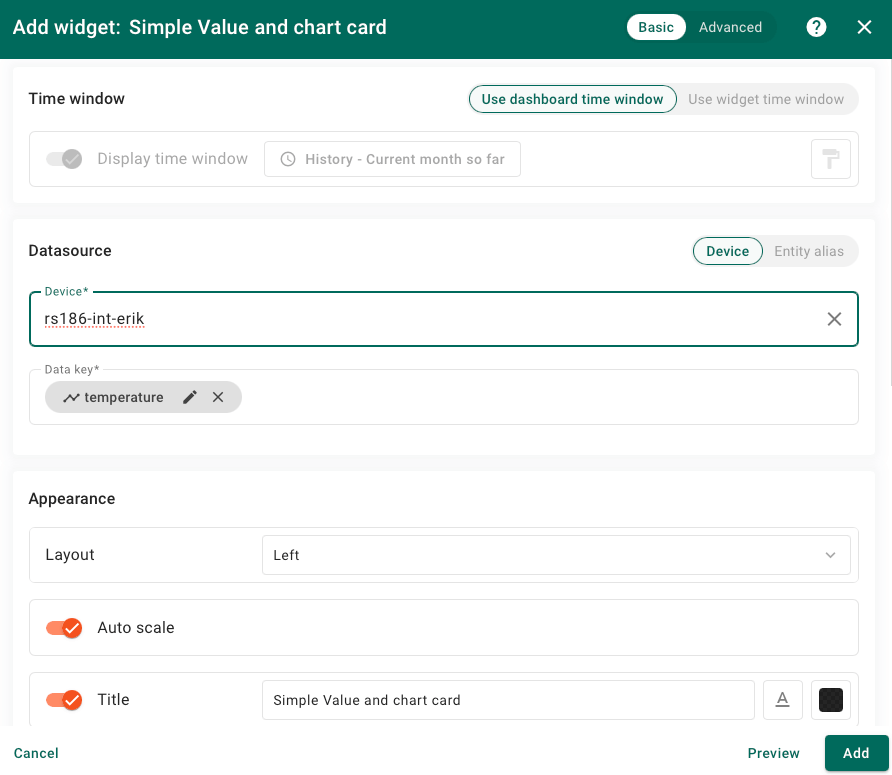
You can now adjust the widget size or explore the advanced settings, for example, to add an extra decimal place.
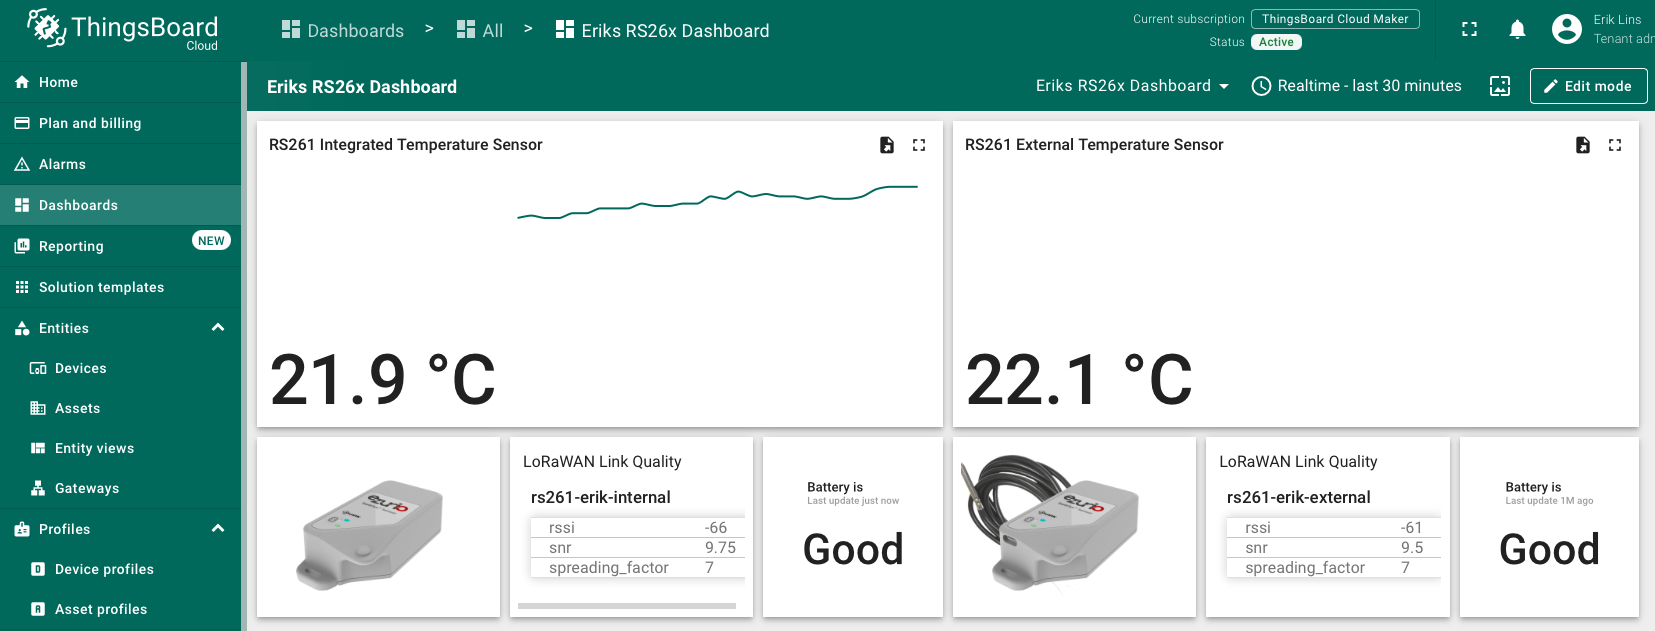
Try adding other widgets showing other telemetry data like RSSI, SNR or the used spreading factor as indication of the link quality.
Conclusion
Now you can easily connect your RS26x LoRaWAN temperature sensor and start sending data to ThingsBoard.
To go further, explore the ThingsBoard documentation to learn more about key features, such as creating more dashboards and leveragin additional widgets to visualize your telemetry, or setting up alarm rules to monitor device behavior in real time.