- Introduction
- Integration with ThingsBoard Edge
- Configuring the ModBus Connector
- Installing the ThingsBoard IoT Gateway on the reComputer R1100
- Visualize Incoming Data with the Dashboard
Introduction
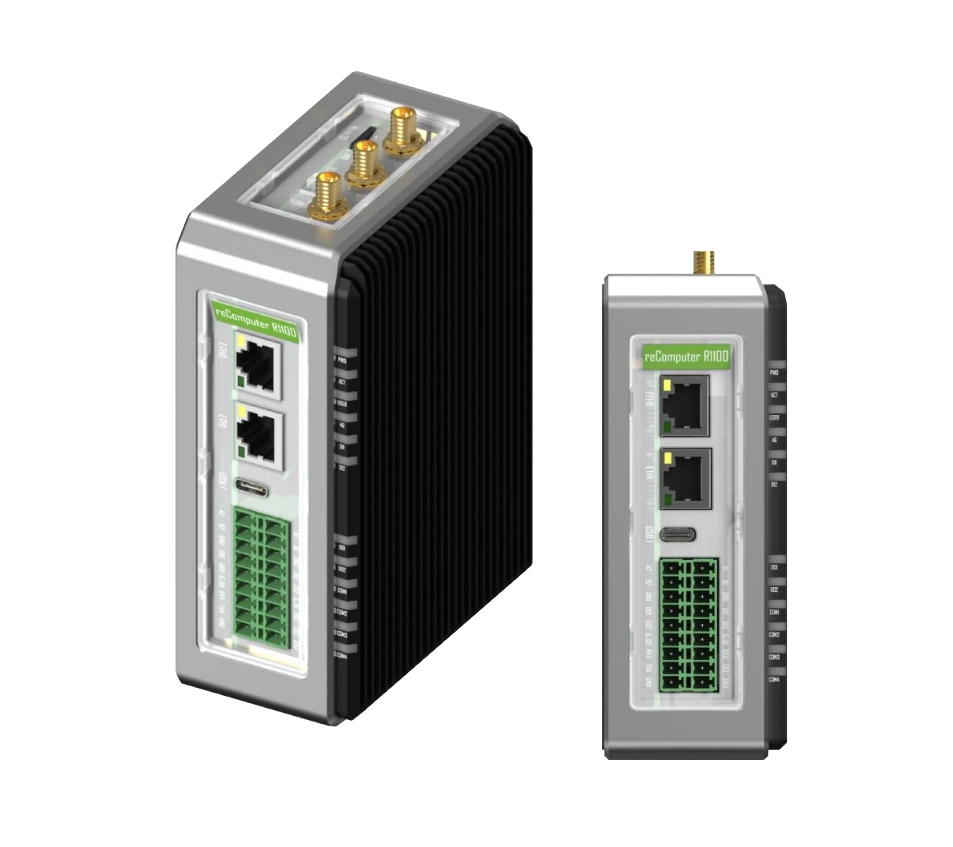 The reComputer R1100, powered by Raspberry Pi CM4, is an adaptable edge IoT gateway with AI capabilities.
It features comprehensive industrial interfaces (2x Ethernet, 2xUSB, 2xRS485, 2xRS232, 2xDI and 2xDO) and flexible wireless connectivity options (4G, LoRa®, Wi-Fi/BLE), making it ideal for diverse industrial applications
It has extensive applications in the IoT field. It can be used in aspects such as data acquisition and process monitoring, automation and robot control, intelligent manufacturing, and industrial communication and networking. With its small size, flexibility, low cost, and programmability, it provides strong support for automation & IoT system and more.
Integration with ThingsBoard Edge
Prerequisites
To continue with this guide, we will require the following:
|
To continue with this guide, we will require the following:
|
Starting Edge on the reComputer R1100
-
Log in to the ThingsBoard Professional Edition instance and go to the Edge Management > Instances section. Click the “+” icon in the top right corner and select the “Add new edge” option.
-
Enter a name for your Edge in the “Name” field and click the “Add” button to confirm the addition of your new Edge.
-
Your new edge should now appear at the top of the list, as entries are sorted by creation time by default.
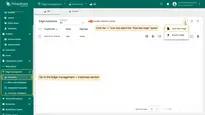
Log in to the ThingsBoard Professional Edition instance and go to the Edge Management > Instances section. Click the “+” icon in the top right corner and select the “Add new edge” option.
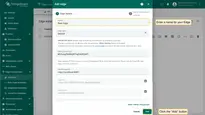
Enter a name for your Edge in the “Name” field and click the “Add” button to confirm the addition of your new Edge.
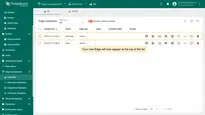
Your new edge should now appear at the top of the list, as entries are sorted by creation time by default.
Proceed with the installation of the Edge instance on the reComputer R1100:
- To initiate an SSH (Secure Shell) connection to the reComputer R1100, open the terminal and execute the following command:
1
ssh recomputer@ip_address #Enter the actual IP address
ip_address: The IP address of the reComputer R1100. Enter the actual IP address instead of ip_address.
Password: Terminal requests the password. The default password for the reComputer R1100 is: 12345678
- Once connected, you can follow the installation instructions below. Start by creating a new directory:
1
mkdir tb_edge
- Open this directory:
1
cd /home/recomputer/tb_edge
Create a docker compose file for the ThingsBoard Edge service within this directory:
1
nano docker-compose.yml
Then, you need to fill this file with the configuration lines. Once the Edge instance has been created, the preset installation instructions will be available for use. They contain important credentials, such as Edge Secret, Edge Key, etc. To access these configurations:
-
Go to the Edge management > Instances section of your ThingsBoard Professional Edition instance, and click on the Instance. Then, click the “Install & Connect Instructions” button.
-
On the “Install & Connect Instructions” pop-up window, select the “Docker” tab and copy the configuration lines.
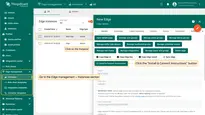
Go to the Edge management > Instances section of your ThingsBoard Professional Edition instance, and click on the Instance. Then, click the “Install & Connect Instructions” button.
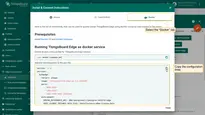
On the “Install & Connect Instructions” pop-up window, select the “Docker” tab and copy the configuration lines.
-
Paste the copied lines into the docker-compose.yml file and press CTRL+S to save it. To close the file press CTRL+X.
-
Execute the following commands:
1
2
docker compose up -d
docker compose logs -f mytbedge
- To set up a local port forwarding via SSH, open another terminal tab and execute the following command:
1
ssh -N -L 8080:127.0.0.1:8080 recomputer@ip_address #Enter the actual IP address
Any connection to localhost:8080 on your local machine will be forwarded to 127.0.0.1:8080 on the reComputer R1100.
- The ThingsBoard Edge instance is available at http://127.0.0.1:8080. Use your credentials to log in.
Provisioning the ThingsBoard IoT Gateway on Edge
To deploy the ThingsBoard Gateway:
-
Log in to the ThingsBoard Professional Edition instance and go to the Dashboards section and select the “Group” tab. Click the ”+” icon to add a new group. In the “Add entity group” pop-up window, enter the group name in the “Name” field and click the “Add” button.
-
Then, select the “All” tab and find the “ThingsBoard IoT Gateways” dashboard. The “ThingsBoard IoT Gateways” dashboard is one of the pre-created, out-of-the-box dashboards available. Click the “Dashboard details” button.
-
On the “Dashboard details” page click the “Manage owner and groups” button.
-
In the “Manage owner and groups” pop-up window, select the newly created group from the “Groups” drop-down menu. Click the “Update” button.
-
Navigate to the Edge Management > Instances section, then click the “Manage edge dashboard groups” button.
-
On the “Dashboard groups” page, click the “+” icon to assign the newly created group to the Edge instance. Click the “Assign” button. The group and all dashboard within it will be assigned to the Edge instance.
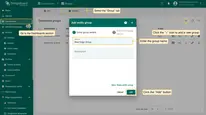
Log in to the ThingsBoard Professional Edition instance and go to the Dashboards section and select the “Group” tab. Click the ”+” icon to add a new group. In the “Add entity group” pop-up window, enter the group name in the “Name” field and click the “Add” button.
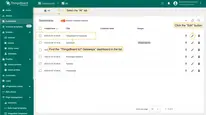
Then, select the “All” tab and find the “ThingsBoard IoT Gateways” dashboard. The “ThingsBoard IoT Gateways” dashboard is one of the pre-created, out-of-the-box dashboards available. Click the “Dashboard details” button.
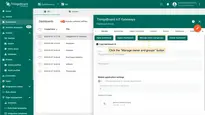
On the “Dashboard details” page click the “Manage owner and groups” button.
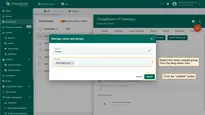
In the “Manage owner and groups” pop-up window, select the newly created group from the “Groups” drop-down menu. Click the “Update” button.
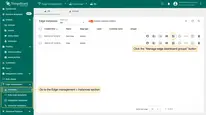
Navigate to the Edge Management > Instances section, then click the “Manage edge dashboard groups” button.
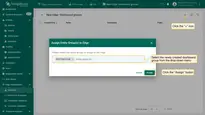
On the “Dashboard groups” page, click the “+” icon to assign the newly created group to the Edge instance. Click the “Assign” button. The group and all dashboard within it will be assigned to the Edge instance.
-
Open your Edge instance, navigate to the Dashboards section and open the “ThingsBoard IoT Gateways” dashboard.
-
Click the “+” icon in the upper right corner to add a new gateway. Enter the gateway name in the “Name” field, and select the “default” device profile. Click the “Create” button.
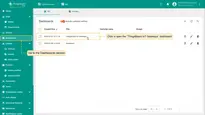
Open your Edge instance, navigate to the Dashboards section and open the “ThingsBoard IoT Gateways” dashboard.
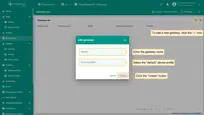
Click the “+” icon in the upper right corner to add a new gateway. Enter the gateway name in the “Name” field, and select the “default” device profile. Click the “Create” button.
Configuring the ModBus Connector
The new IoT Gateway device will be featured at the top of the “ThingsBoard IoT Gateways” dashboard list, allowing us to add a ModBus Connector. For example, we can use the ModBus Connector to fetch temperature data from the to fetch temperature data from the Siemens LOGO! device:
-
On the “ThingsBoard IoT Gateways” dashboards page, click the “Connectors” button.
-
To add a Connector, click the “+” button. In the pop-up window, select the MODBUS option in the “Type” field and enter thename of the connector in the “Name” field. Click the “Add” button to proceed.
-
To make further adjustments, click on the newly added Connector and select the “Advanced” tab and the “Configuration” sub-tab on the right side of the “MODBUS Configuration” screen.
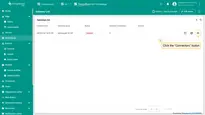
On the “ThingsBoard IoT Gateways” dashboards page, click the “Connectors” button.
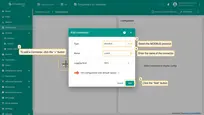
To add a Connector, click the “+” button. In the pop-up window, select the MODBUS option in the “Type” field and enter thename of the connector in the “Name” field. Click the “Add” button to proceed.
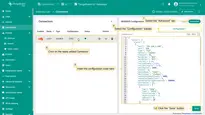
To make further adjustments, click on the newly added Connector and select the “Advanced” tab and the “Configuration” sub-tab on the right side of the “MODBUS Configuration” screen.
- Then, please insert the following configuration code. Then, click the “Save” button.
Installing the ThingsBoard IoT Gateway on the reComputer R1100
Start installation of the IoT Gateway on the reComputer R1100:
-
Go back to the “ThingsBoard IoT Gateways” dashboard page and click on the newly added Gateway device (reComputer R1100).
-
On the Gateway device page, click the “Launch command” button and download docker-compose.yml for your gateway.
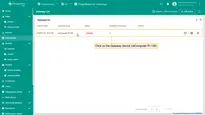
Go back to the “ThingsBoard IoT Gateways” dashboard page and click on the newly added Gateway device (reComputer R1100).
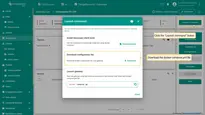
On the Gateway device page, click the “Launch command” button and download docker-compose.yml for your gateway.
- Then, open another tab in the terminal and initiate the SSH connection to the reComputer R1100:
1
ssh recomputer@ip_address
ip_address: The IP address of the reComputer R1100. Enter the actual IP address instead of ip_address.
Password: Terminal requests the password. The default password for the reComputer R1100 is: 12345678
- Create the directory for the Gateway service:
1
mkdir gateway_service
- Open this directory:
1
cd /home/recomputer/gateway_service
- Create the docker compose file for your IoT Gateway:
1
nano docker-compose.yml
- Copy the content of the previously downloaded docker-compose.yml file, and paste it into the new one via the terminal:
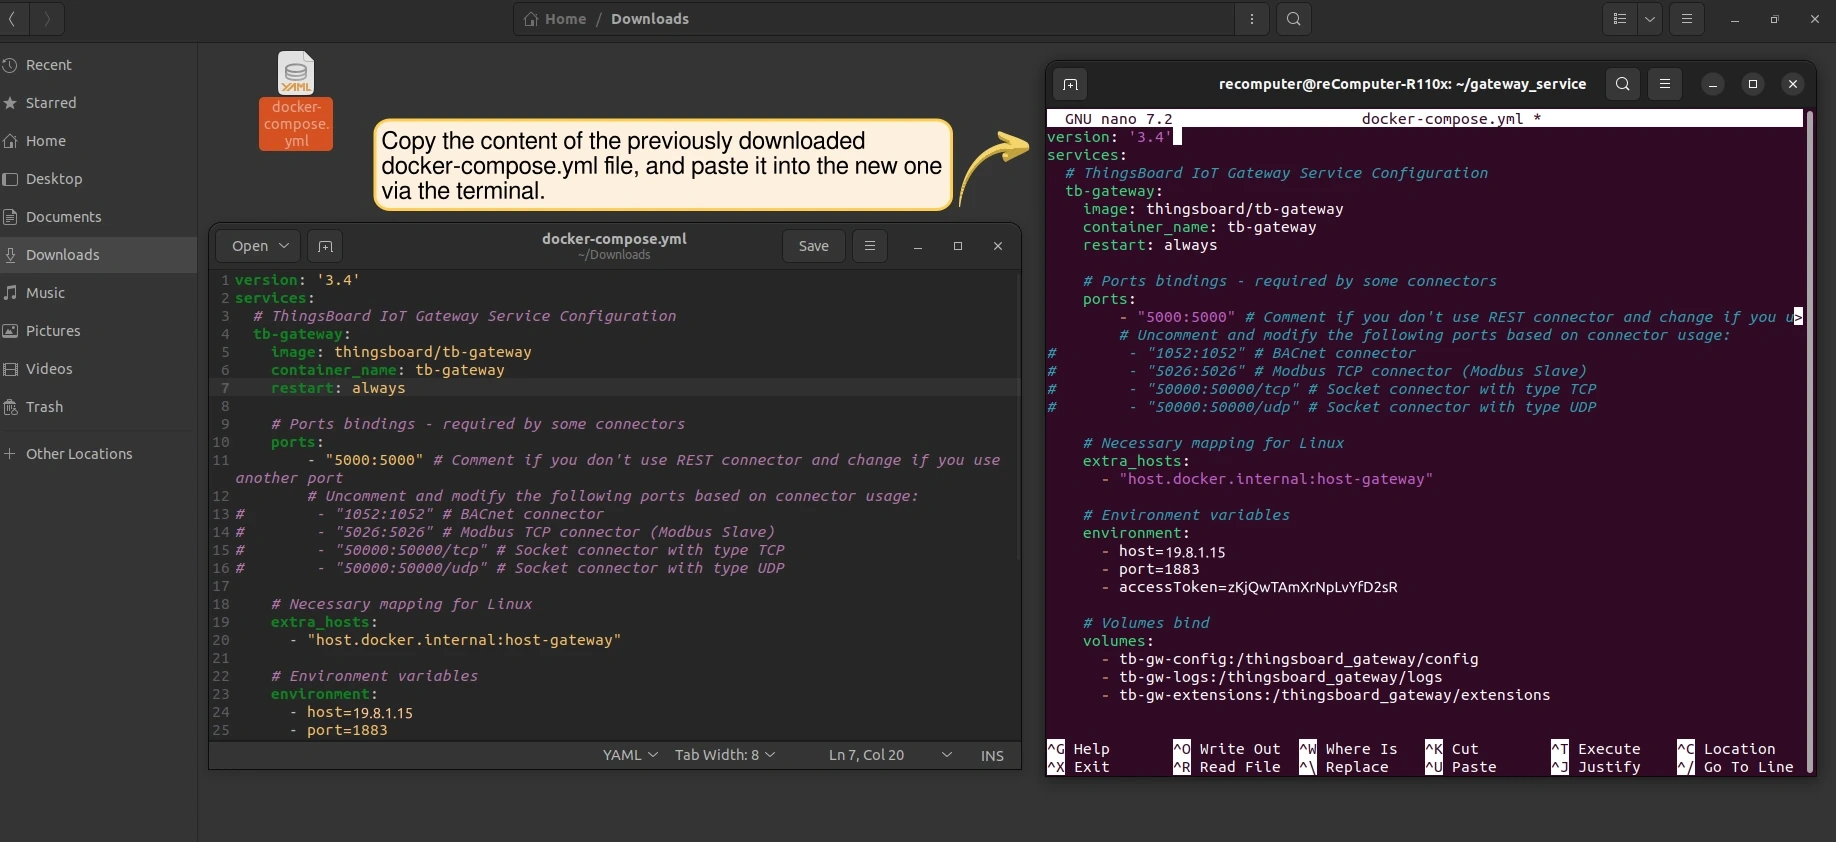
-
Save the docker-compose.yml file and press CTRL+S to save it. To close the file press CTRL+X.
-
Start the Gateway by executing the following command in the terminal:
1
2
docker compose up -d
docker compose logs -f
Visualize Incoming Data with the Dashboard
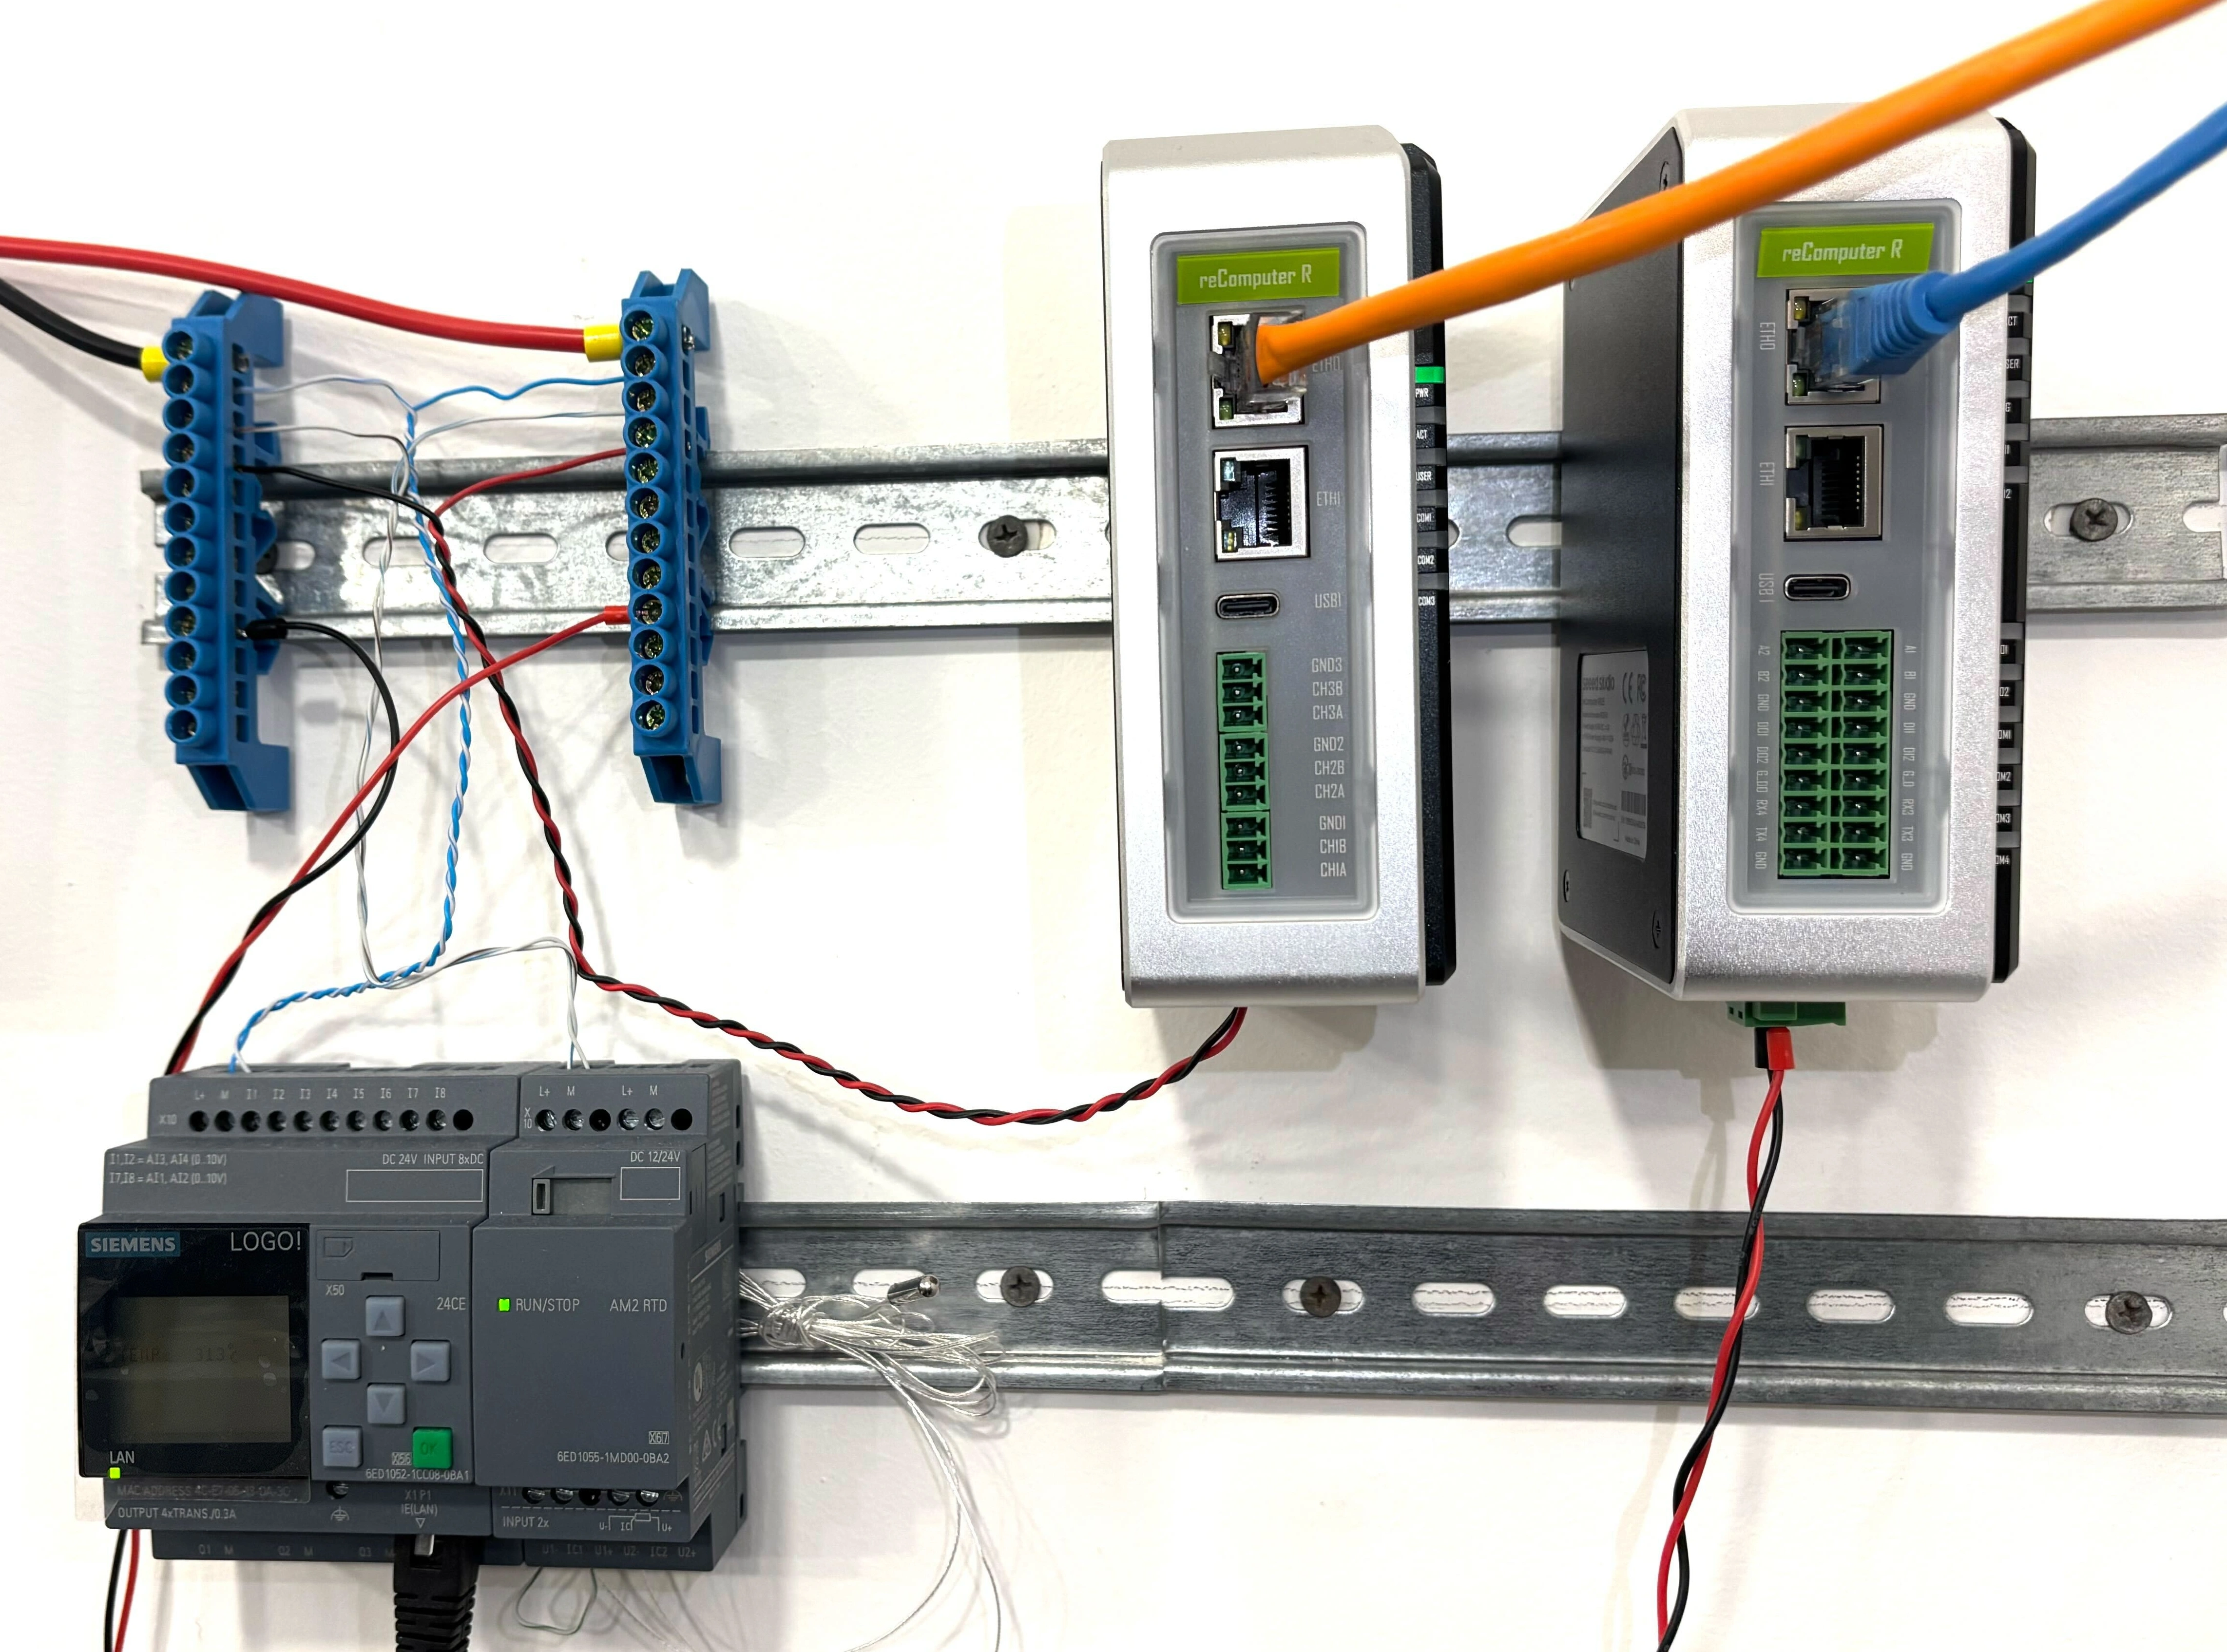 Once the ThingsBoard Edge and IoT Gateway are running on the Computer R1100 and the ModBus connector transfers data, you can visualize it on the Dashboard on your Edge instance:
-
Go to the Dashboards section, click the “+” icon and select “Create new dashboard” option.
-
In the pop-up window, enter the dashboard title. Other fields are optional. Click the “Add” button to proceed.
-
Once you have created the dashboard, it will be automatically opened. Click the “Add widget” button and select the widget you require. For example, open the “Charts” widget bundle and elect the Line chart.
-
In the “Add Widget” pop-up window, select the Device (in our case, Siemens LOGO!) as the Datasource. Please verify that the Series Key is the same as the one entered in the Advanced Configuration settings of the connector. As an example, we have utilized the designation “temp”. Consequently, the series key must be “temp” as well. Click the “Add” button.
-
You will now be able to see the real-time data on the dashboard.
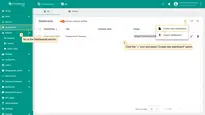
Go to the Dashboards section, click the “+” icon and select “Create new dashboard” option.
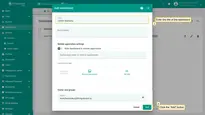
In the pop-up window, enter the dashboard title. Other fields are optional. Click the “Add” button to proceed.
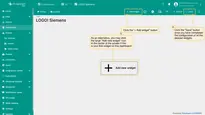
Once you have created the dashboard, it will be automatically opened. Click the “Add widget” button and select the widget you require. For example, open the “Charts” widget bundle and elect the Line chart.
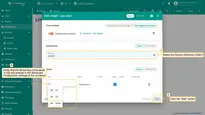
In the “Add Widget” pop-up window, select the Device (in our case, Siemens LOGO!) as the Datasource. Please verify that the Series Key is the same as the one entered in the Advanced Configuration settings of the connector. As an example, we have utilized the designation “temp”. Consequently, the series key must be “temp” as well. Click the “Add” button.
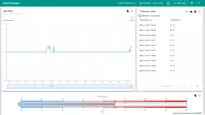
You will now be able to see the real-time data on the dashboard.