- Overview
- AWS IOT
- ThingsBoard setup
- Advanced usage: Create Downlink Converter
- Video tutorial
- Next steps
Overview
AWS IoT Integration allows to stream data from AWS IoT Backend to ThingsBoard and converts device payloads to the ThingsBoard format. AWS IoT will be primarily responsible for receiving all messages (as a broker - messaging server), filtering them, deciding who is interested, and then sending the message to all subscribers, in our case of integration.
AWS IOT
You should already have an AWS account prepared, on which perform a few settings. To establish a correct and secure connection between the service and ThingsBoard, you need to create Policies, devices, and certificates for them.
Create Policy
A policy is an object in AWS that, when associated with an entity or resource, defines their permissions. Permissions in the policies determine whether the request is allowed or denied. Most policies are stored in AWS as JSON documents.
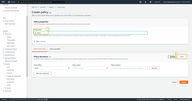
To add a new policy, choose Security - Policies in the main menu, and select the Create Policy button.
You will be redirected to the policy creation page, where you must specify the Policy Name and switch to JSON type.
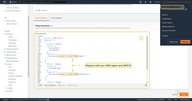
In the field for the Policy document, you need to paste the code below with your unique profile ID.
For example of policy document:
1
2
3
4
5
6
7
8
9
10
11
12
13
14
15
16
17
18
19
20
21
22
23
24
25
26
27
28
29
30
31
32
33
{
  "Version": "2012-10-17",
  "Statement": [
    {
      "Effect": "Allow",
      "Action": [
        "iot:Publish",
        "iot:Receive"
      ],
      "Resource": [
        "arn:aws:iot:YOUR_REGION:YOUR_AWS_ID:topic/*"
      ]
    },
    {
      "Effect": "Allow",
      "Action": [
        "iot:Subscribe"
      ],
      "Resource": [
        "arn:aws:iot:YOUR_REGION:YOUR_AWS_ID:topicfilter/*"
      ]
    },
    {
      "Effect": "Allow",
      "Action": [
        "iot:Connect"
      ],
      "Resource": [
        "arn:aws:iot:YOUR_REGION:YOUR_AWS_ID:client/*"
      ]
    }
  ]
}
Your region is listed in the URL when you are signed in to your AWS IoT account.
For example: https://
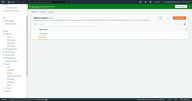
After that, click the Create button. The policy will be added to the list, and you will receive the Successfully created policy tb_policy message.
Create Things and Certificates
A Thing is a digital representation of a physical device or logical entity in AWS IoT.
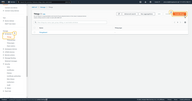
You can create a conditional device in several steps, but for it need to go to the appropriate section. On the left, choose the All devices category - then Things item. This page will display all your devices if you don’t have them yet. At the top right, select the Create thing button to proceed to adding a device.
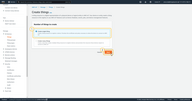
Consider the example of adding a single device, select the corresponding option the Create single thing, and then Next button.
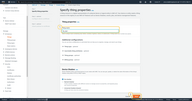
In the first stage, we will set the Name for the device, and at your discretion, additional parameters. Then press the Next button to move to the following step.
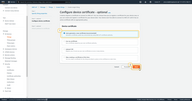
At this stage, select the Auto-generate a new certificate. Certificates and keys will be available for download after confirming the addition of the device, so just click the next button.
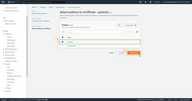
At the last stage, select your previously added policy and confirm the creation of a thing (device) with the Create thing button.
Upon completion, you will see an additional window with the possibility to download certificates and keys.
The list of files that are required to configure the integration:
- Device certificate (*.pem.crt)
- Private key (*-private.pem.key)
- Root CA certificate (*.pem)
AWS additionally requires you to save your Public key file for yourself, so please download that as well.
After saving the required, click the Done.
ThingsBoard setup
Create Uplink Converter
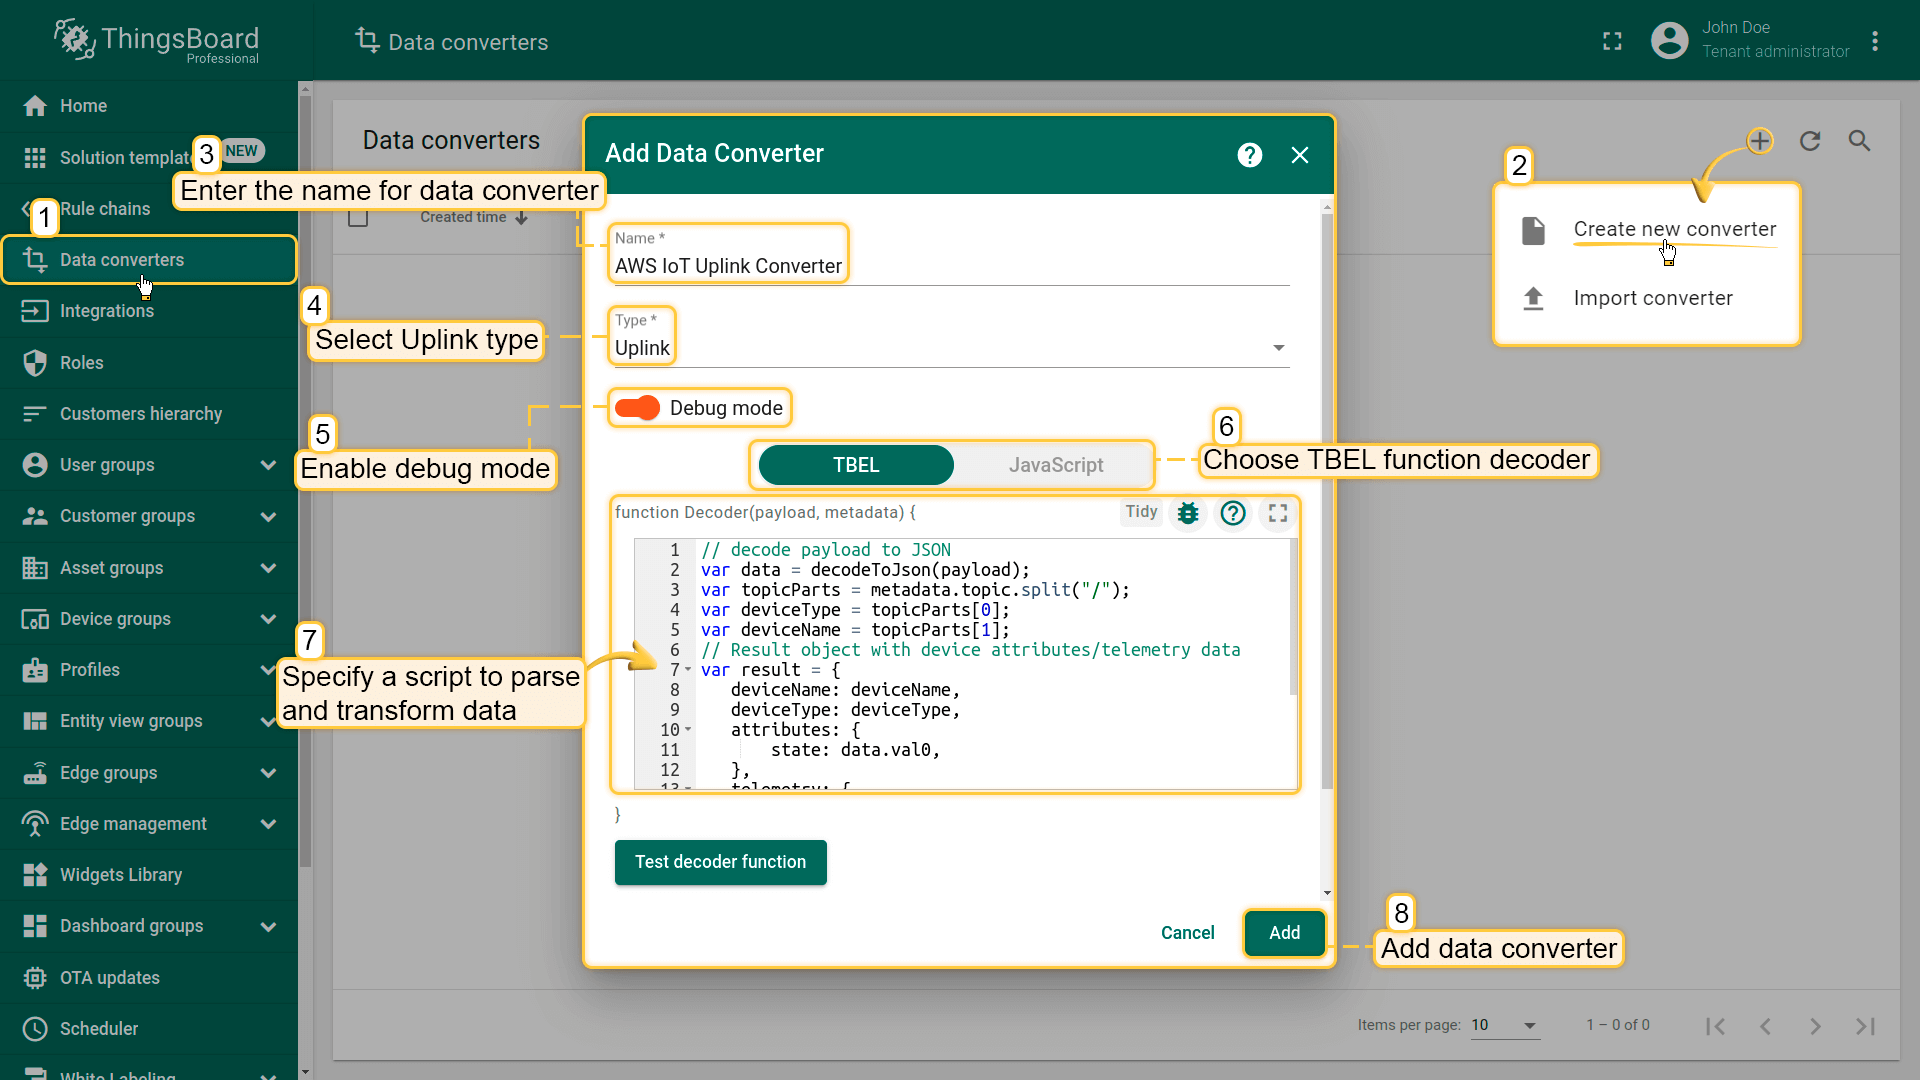
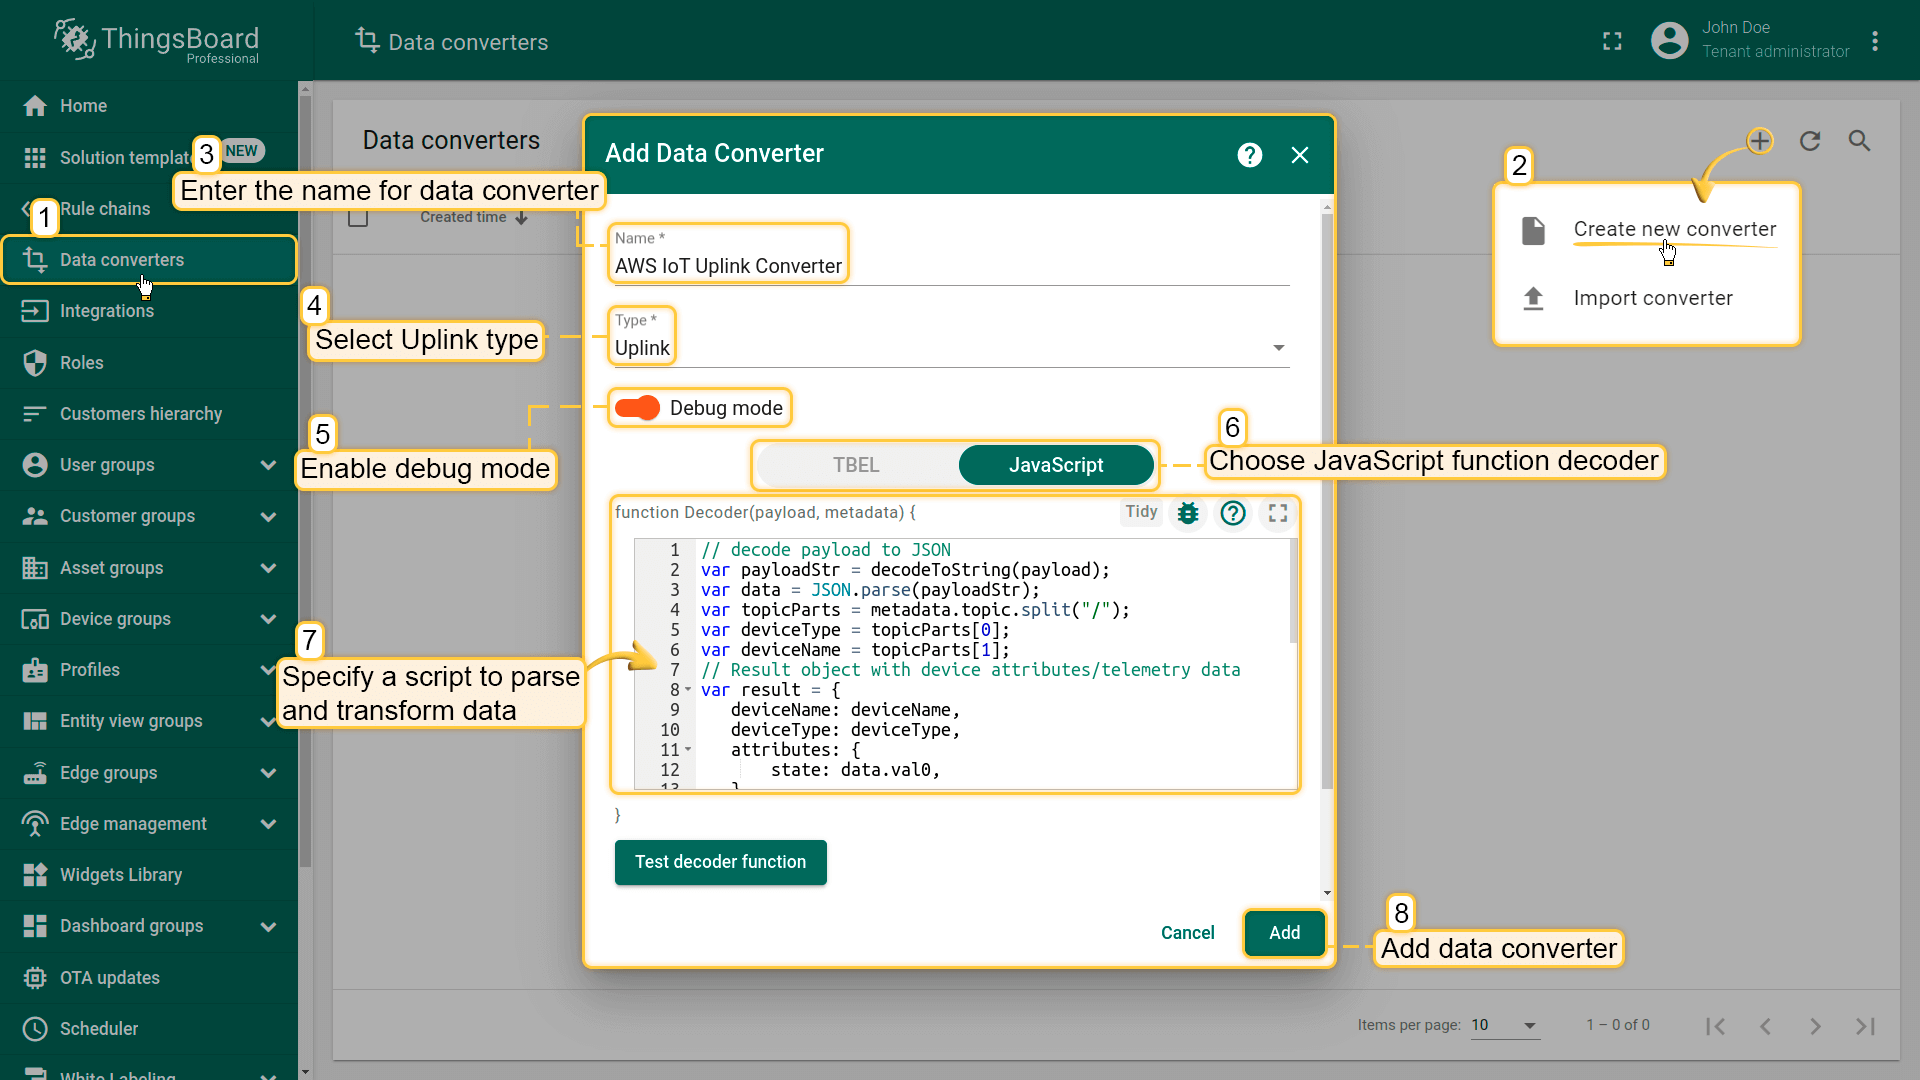
Before creating the integration, you need to create an Uplink converter in Data converters. Uplink is necessary in order to convert the incoming data from the device into the required format for displaying them in ThingsBoard. Click on the “plus” and on “Create new converter”. To view the events, enable Debug. In the function decoder field, specify a script, for it copy the example Uplink converter, or use own configuration to parse and transform data.
Debug mode
Enabling debug mode allows you to track events, states, and potential errors related to the execution of integrations. This greatly simplifies development and troubleshooting.
Debug mode settings can be combined or disabled entirely.
One can use either TBEL (ThingsBoard expression language) or JavaScript to develop user defined functions. We recommend utilizing TBEL as it’s execution in ThingsBoard is much more efficient compared to JS.
Example for the Uplink converter:
|
Example for the Uplink converter:
|
You can change the decoder function while creating the converter or after creating it. If the converter has already been created, then click on the “pencil” icon to edit it.
Create Integration
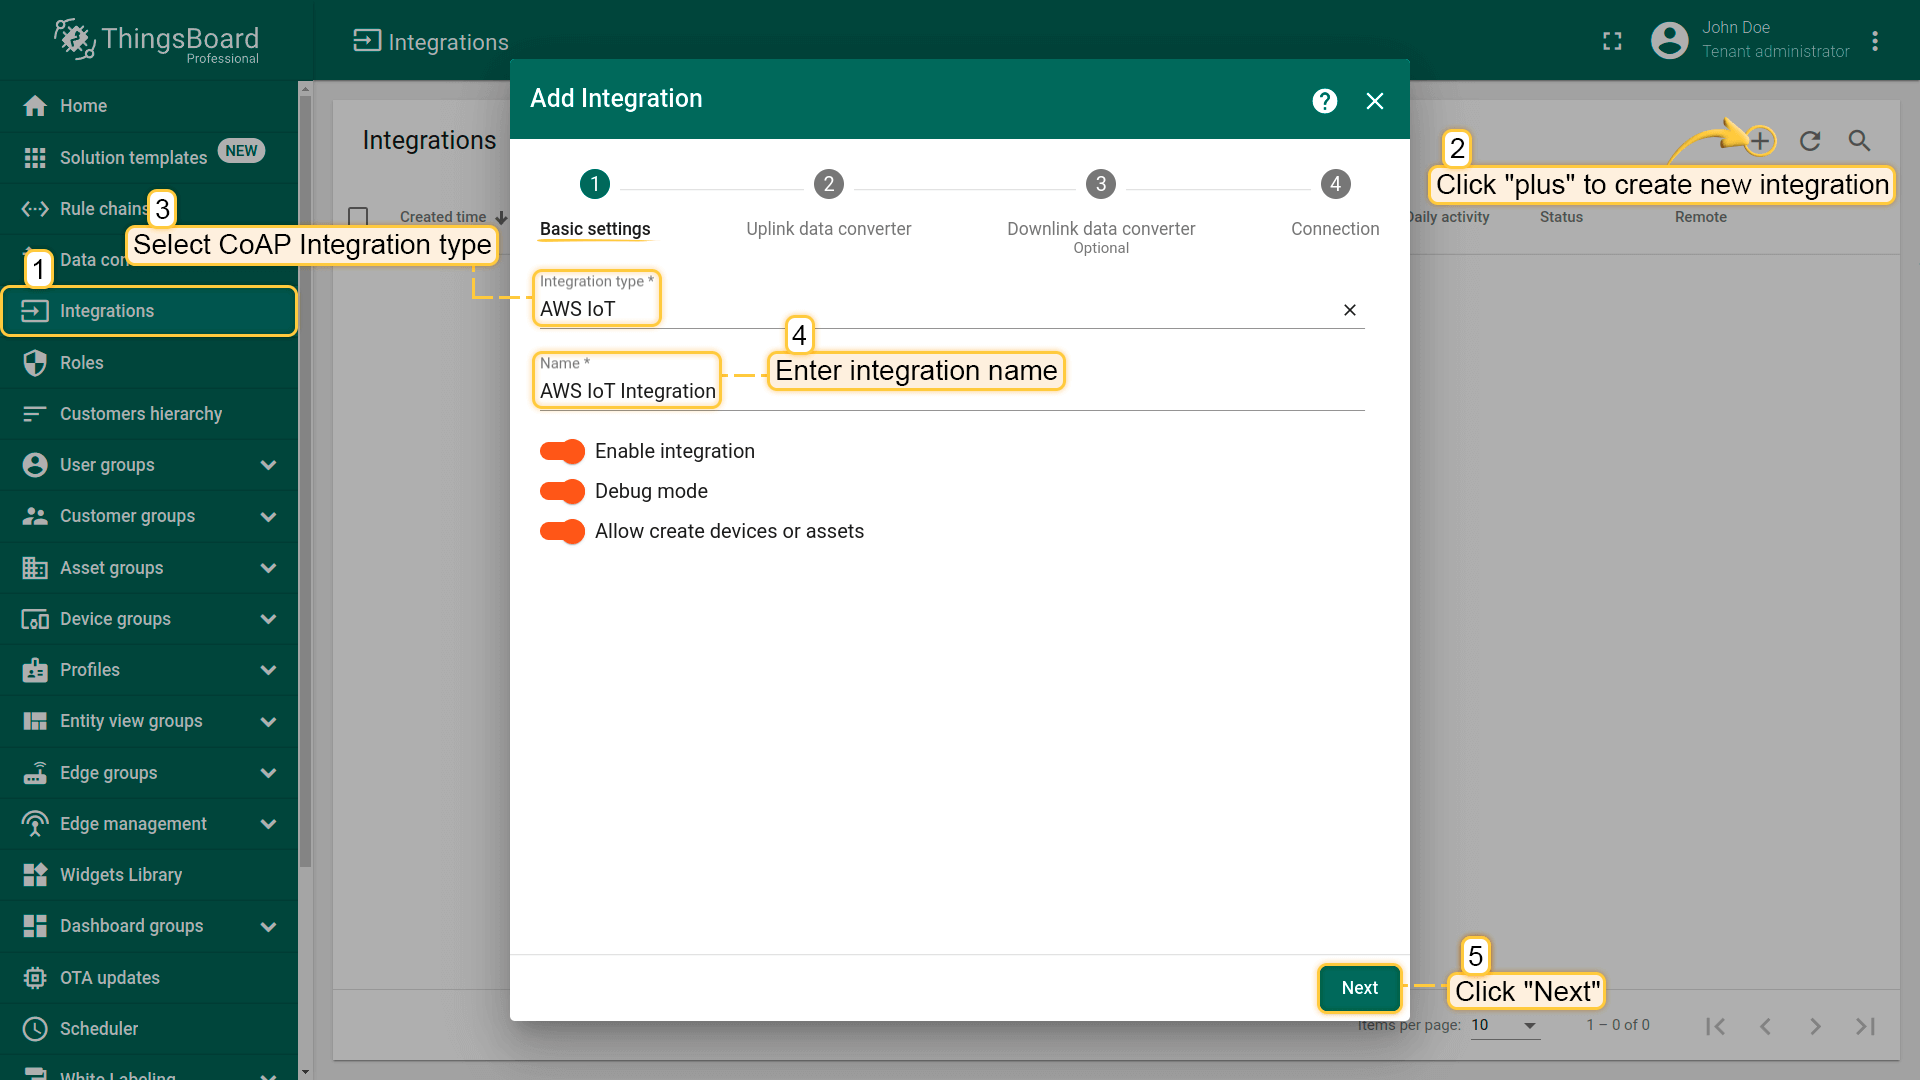
- Go to Integrations section and click Add new integration button. Name it “AWS IoT Integration”, select type AWS IoT.
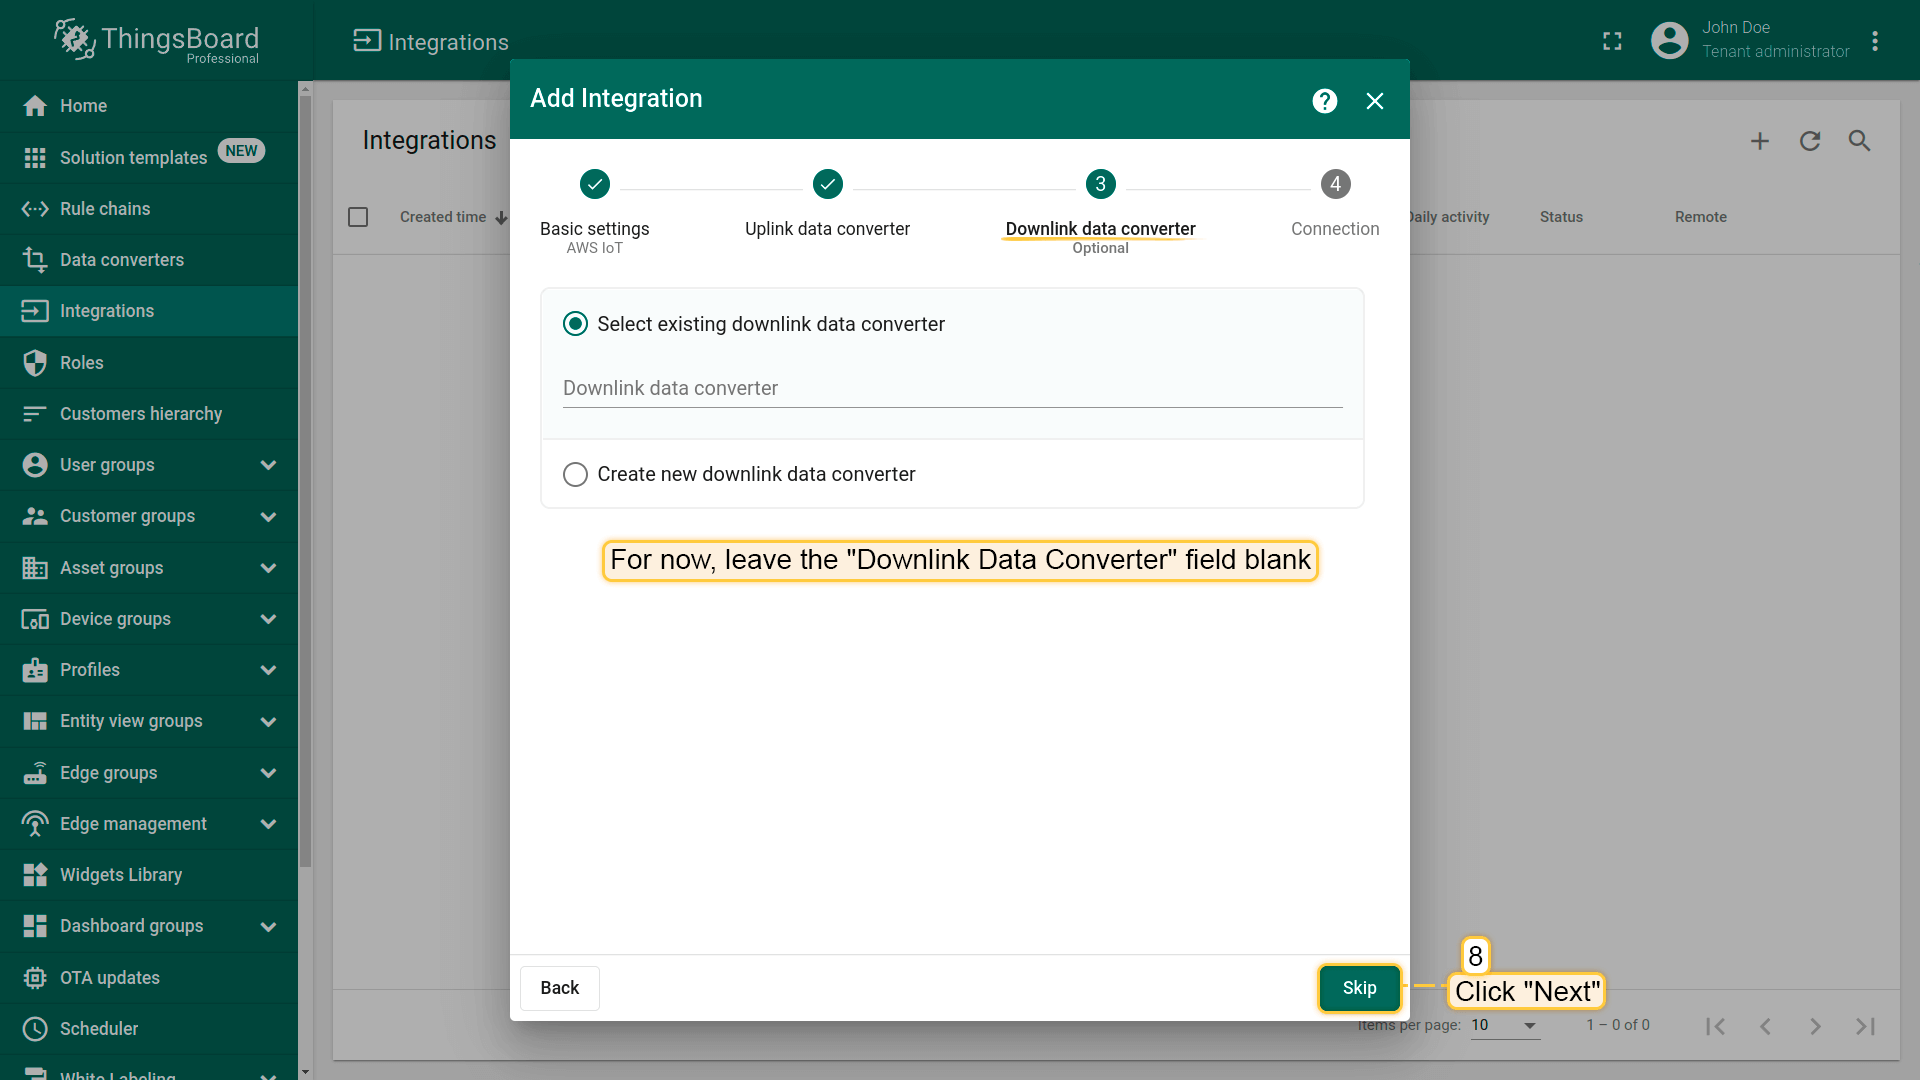
- The next steps is to add the recently created Uplink converter.
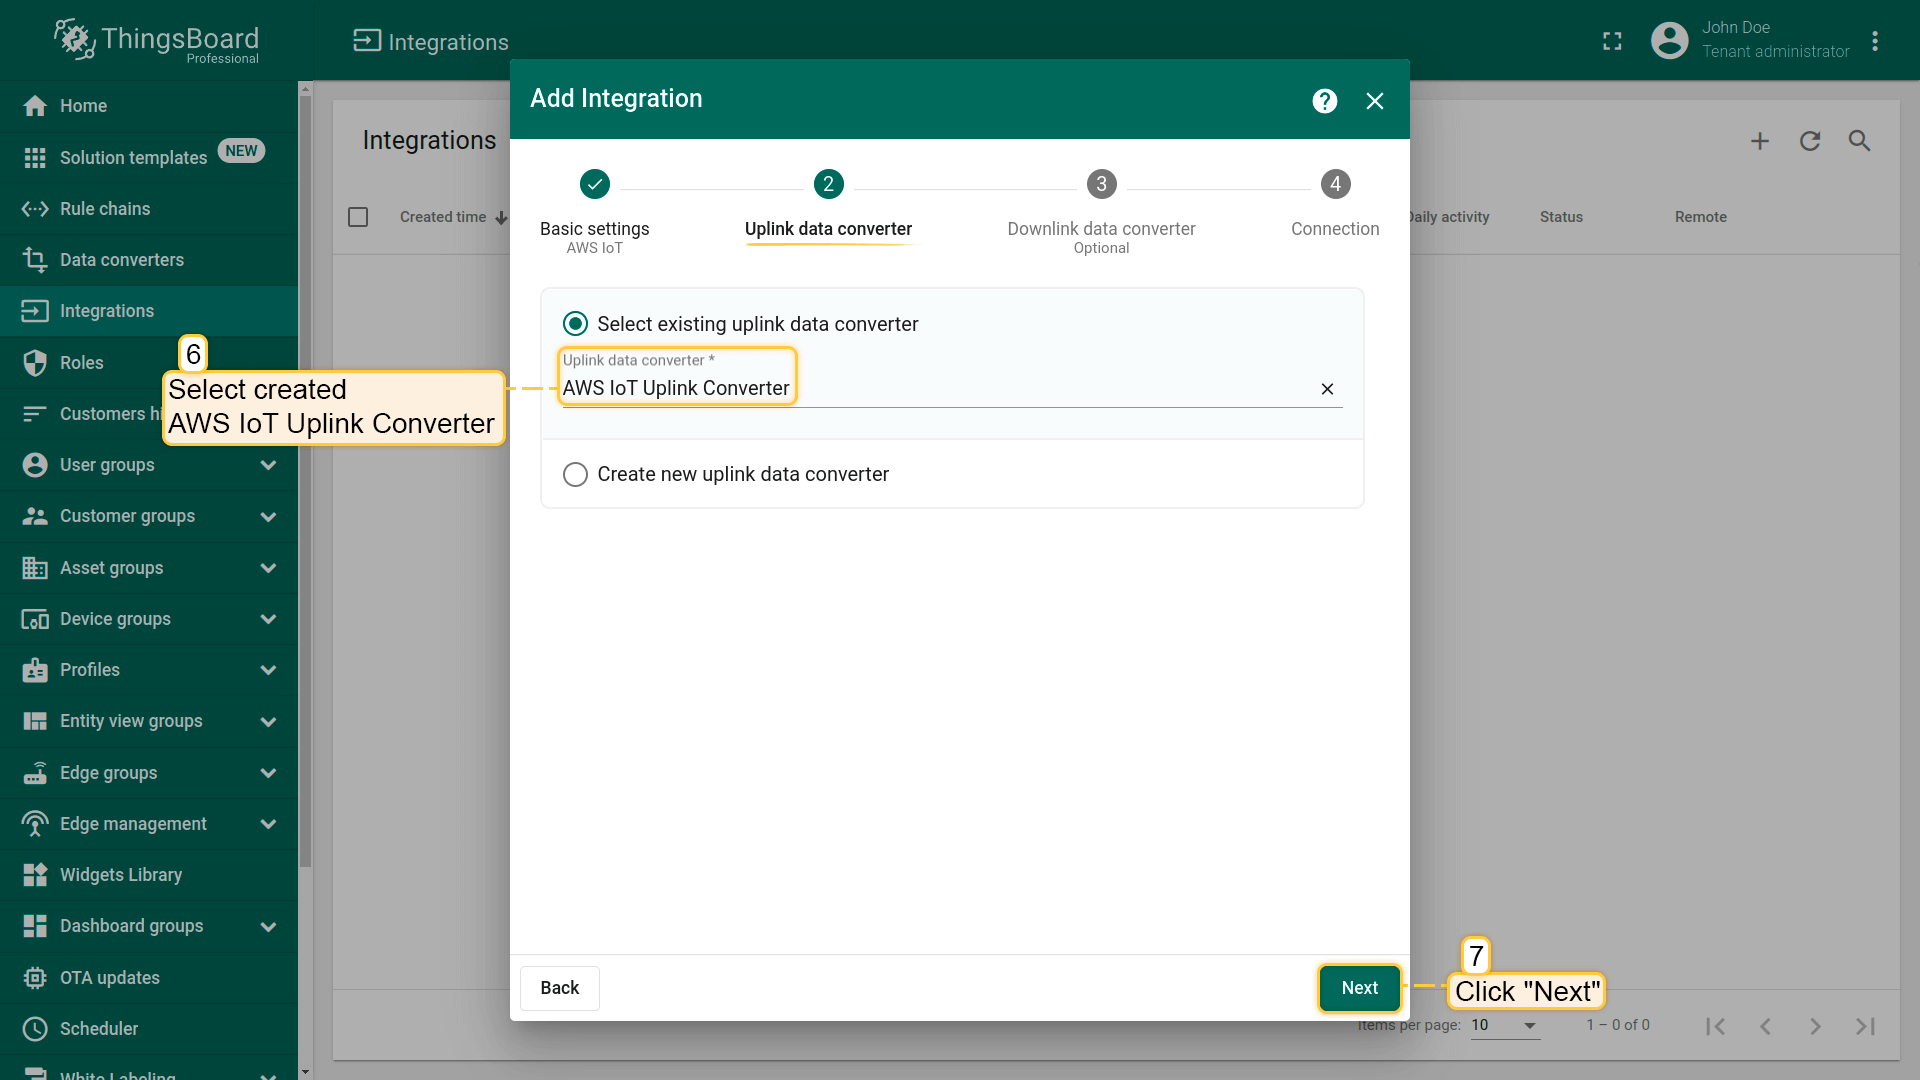
- For now, leave the “Downlink data converter” field blank.
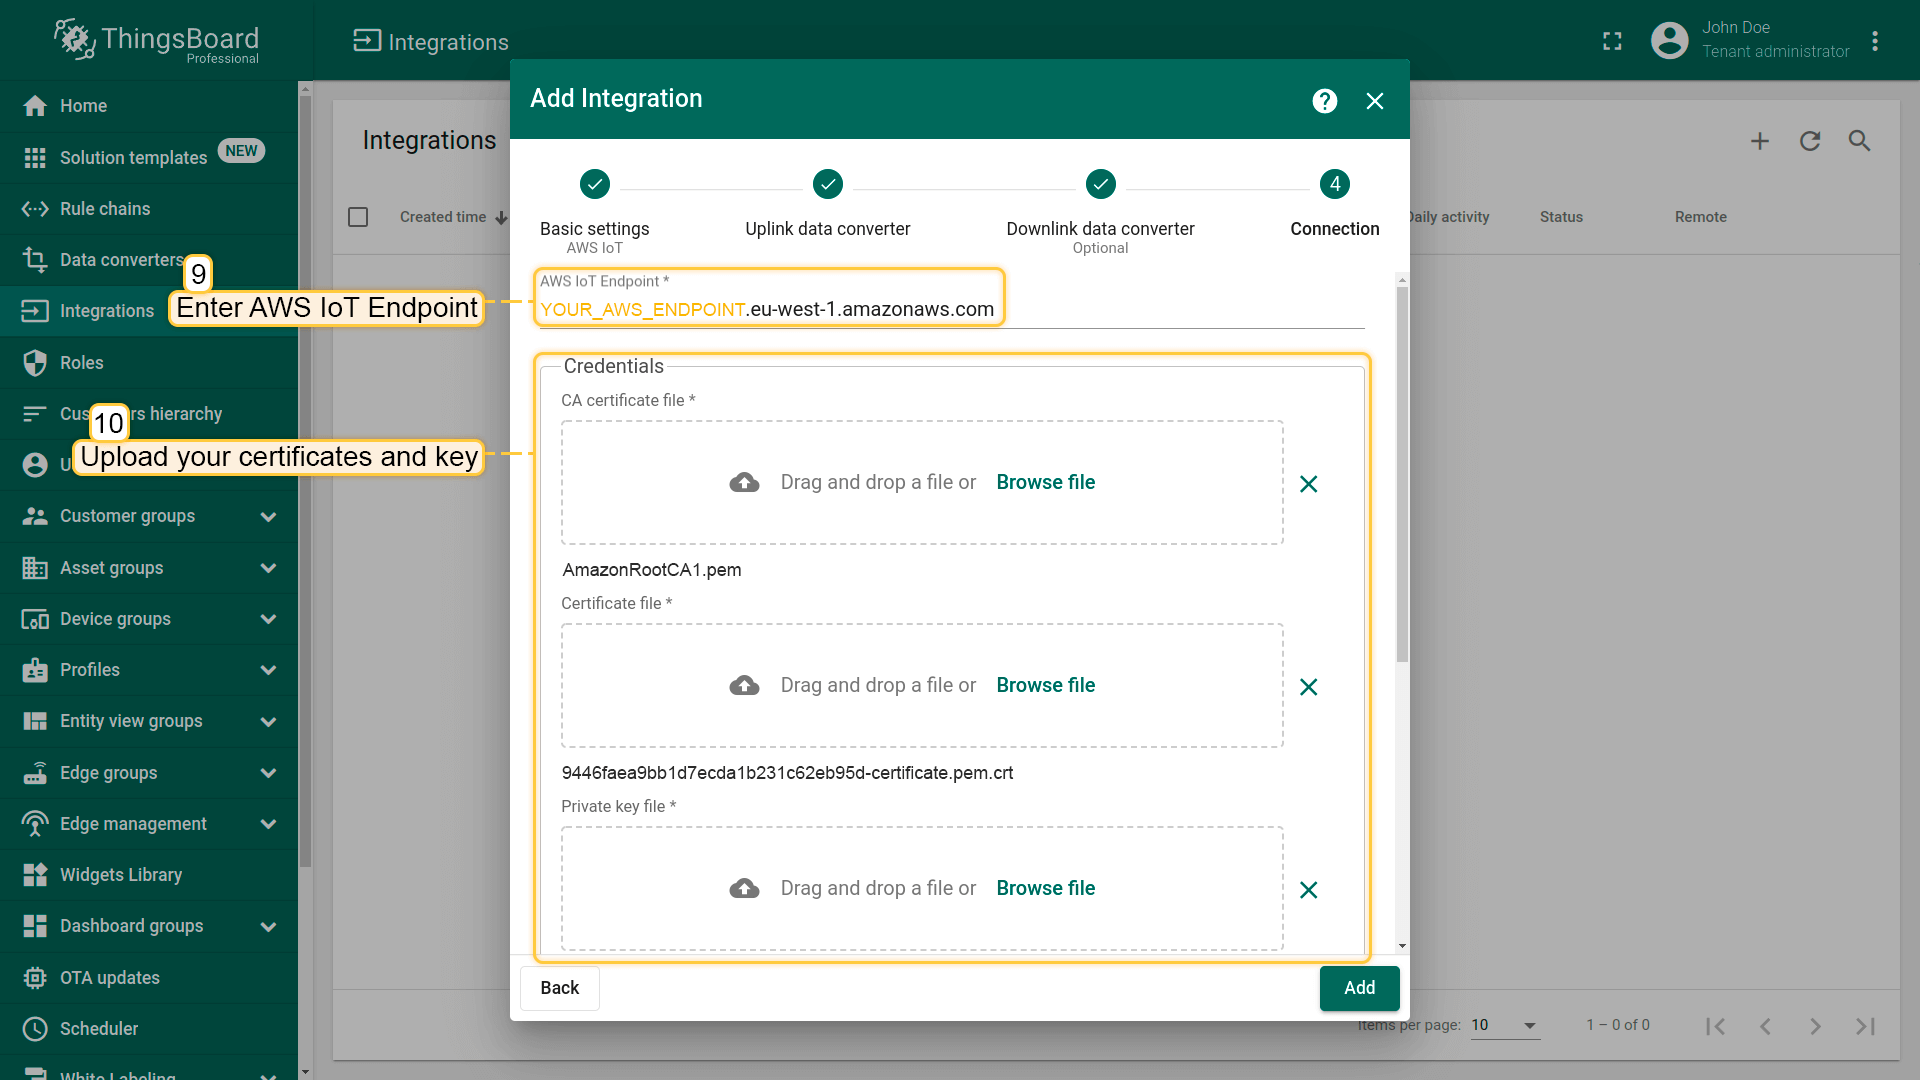
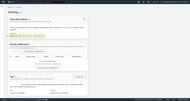
- Enter AWS IoT Endpoint. You can find it in your AWS account if you go to Settings - Device data endpoint.
- Download the previously generated certificates and key.
-
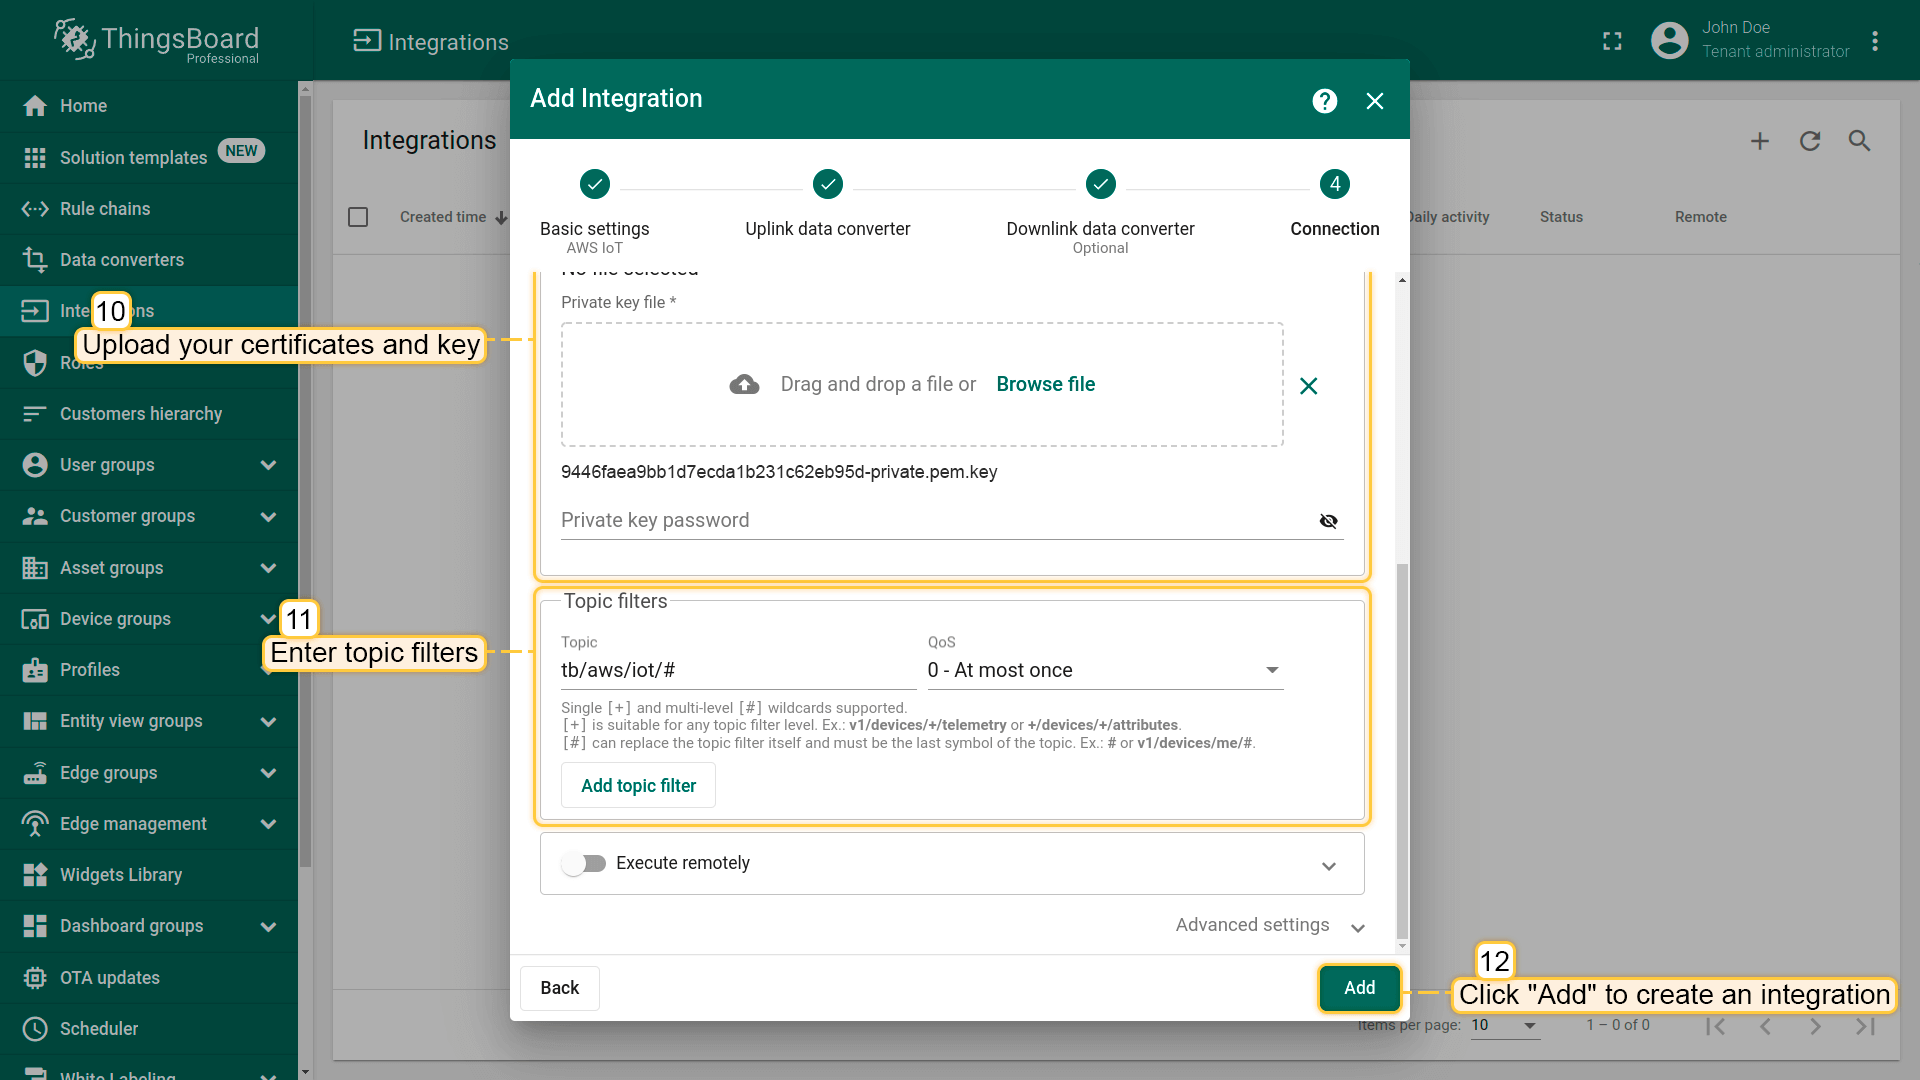
Add a Topic Filter tb/aws/iot/#. You can also select QoS level. We use QoS level 0 (At most once) by default.
-
Click Add to create an integration.
Send Uplink message
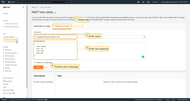
To send a test message, use the additional functionality of AWS IoT, the MQTT test client. In the main menu, go to MQTT test client, then select the Publish to a topic tab.
Example of topic:
1
tb/aws/iot/sensors/freezer-432
Example of payload:
1
2
3
4
5
6
{
    "val0": "loaded",
    "val1": -18,
    "val2": 1785,
    "val3": 548
}
To check if the message has arrived at AWS IoT integration open the events tab of integration.
Advanced usage: Create Downlink Converter
Let’s look at a simple example to test a connection and send a message. For it need to create a downlink Data converter. Then set the converter and topic in the AWS IoT integration.
One can use either TBEL (ThingsBoard expression language) or JavaScript to develop user defined functions. We recommend utilizing TBEL as it’s execution in ThingsBoard is much more efficient compared to JS.
|
An example of downlink converter: |
|
An example of downlink converter: |
Next, configure the conditions under which a message will be sent through the AWS IoT Downlink integration. To do this, you need to open the Rule Chain used for the device (in our case, the default Root Rule Chain), then add an integration downlink node, for link condition set the Attributes Updated.
To subscribe to a topic for receive messages from Thingsboard, use the AWS MQTT test client.
Now you can update the device attribute. To do this, open Device, Attributes tab, and choose Shared Attributes, then select any attribute, or add a new one to update it.
The result can be tracked on AWS page where you subscribed to the topic:
Video tutorial
See video tutorial below for step-by-step instruction how to setup AWS IoT Integration (Outdated interface).
Next steps
-
Getting started guides - These guides provide quick overview of main ThingsBoard features. Designed to be completed in 15-30 minutes.
-
Data visualization - These guides contain instructions on how to configure complex ThingsBoard dashboards.
-
Data processing & actions - Learn how to use ThingsBoard Rule Engine.
-
IoT Data analytics - Learn how to use rule engine to perform basic analytics tasks.
-
Advanced features - Learn about advanced ThingsBoard features.




-preview.png)


